

In this edition of Flameseeker Chronicles, I’ll look at each wing of Forsaken Thicket and the encounters contained in them, presenting my opinions on the battles and providing a rated-and-hated sort of summary on the three wings in the process. I’ll link up the few boss guides I compiled where relevant, but the main focus will be on how the encounter plays rather than how best to approach it. This article should prove useful for those who haven’t yet completed Forsaken Thicket and are considering raiding in GW2 as well as those who raid in other MMORPGs and are interested in comparing Anet’s offerings to their raids of choice.
 Spirit Vale
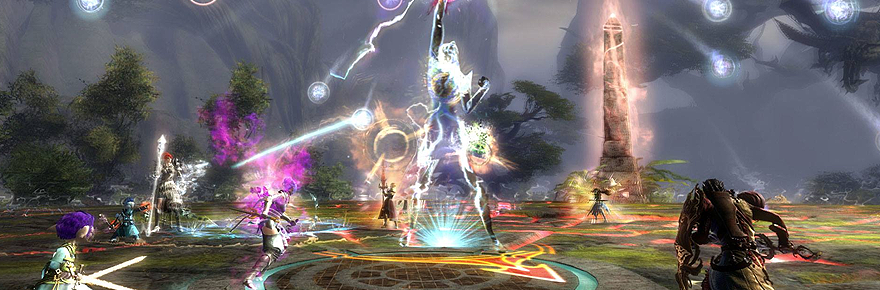
The Vale Guardian was a colourful, albeit a wee tad safe, beginning for Guild Wars 2‘s raiding history. Knowledge of what certain colours will do to uninitiated players is built up on the journey to this fight, allowing for players to learn the encounter’s most basic mechanics in a fragmented sense before the fight ties it all together. Traditional enrage timers pair well with the game’s breakbar mechanics to create the correct amount of tension and challenge, and this is a theme that is carried on throughout the raid. The fight uses phases to up the ante, meaning that your party won’t be comfortable for too long on the first few passes of this encounter. This made for a predictable but nevertheless charming encounter that definitely succeeded in setting the benchmark for ANet’s take on raiding that wasn’t terribly taxing for those who were experienced in raiding and were used to high-level endgame play.
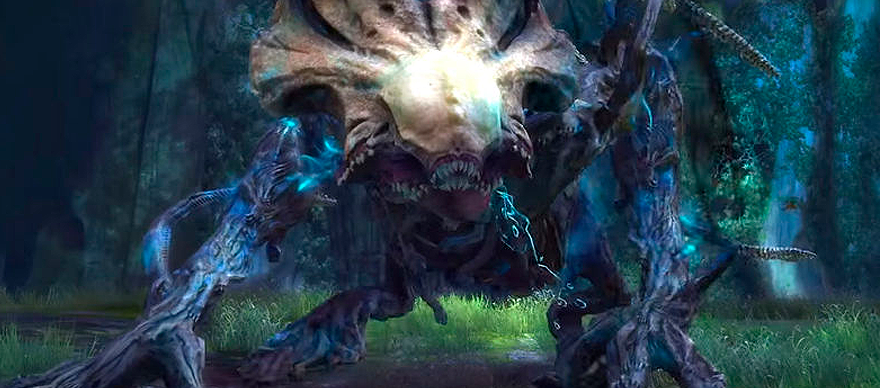
Gorseval, to me at least, was one massively hideous DPS check that served as an engaging measure of strength before throwing players up against the last boss of the wing. Strong group assignments before the battle begins will allow the party to evenly distribute DPS when it matters the most to maximise output, which should help prevent soul-crushing 1 or 2% wipes. Traditional raid mechanics are thrown at players here: Expect to split DPS, dodge from large enemy attacks, and watch your character’s feet don’t end up in goo while you hack down that epic healthpool.I found the gliding mechanics a little on the gimmicky side and was initially frustrated by the silly wipes this caused my party, but other than that I enjoyed the encounter and found the visuals fittingly gruesome for a raid-level encounter.
Sabetha
Sabetha was an interesting final encounter for the wing in that she didn’t present the crazy DPS check of Gorseval, nor did she present the safe, predictable mechanics of Vale Guardian. While playing around with party range in relation to the other raid members isn’t exactly groundbreaking on the mechanics front, the combination of several iterations of the same core mechanic really works to make a challenging encounter in Sabetha’s case. It just feels much richer than most movement-heavy encounters, sort of like GW2‘s answer to World of Warcraft‘s Lich King encounter way back in ICC. Add in her champions to the mix and you have an exceptionally satisfying fight that blends multiple mechanics into a rather intense few minutes of gameplay.
 Salvation Pass
Slothasor
I nearly believed that this encounter was a prank when an invitation to playtest the fight came through into my inbox; I remember checking my calendar to be sure it was March and not April! Shame on me I now say, because Slothasor ended up being quite a charming, low-octane encounter that eased us into Salvation Pass. Poison gating is a tried and true mechanic that can be great fun when implemented in such a humourous way, and I can’t help thinking that perhaps ANet once again took a hint from WoW’s via ICC’s Professor Putricide? Much like we saw with the Vale Guardian, this battle won’t present a worrying challenge to veteran players who know the basic mechanics, and as soon as you have the kiting pattern down this is a fairly straightforward, achievable encounter. My best advice if you’re struggling with this one is to plan the order in which you’ll take on the task of being the slubling before the fight to avoid wasting time or poor pathing due to miscommunication.
Prison Camp
The Bandit Trio is an interesting departure from the usual raid encounter, favouring a more open-plan, tactical approach to raid boss warfare that vaguely resembles Stronghold PvP or MOBAs in format. Players must protect a cageful of prisoners while dealing with waves of bandits that are led by a trio of champions with unique tricks in their arsenals. Using the champions’ unique environmental weaknesses against them to quickly deal with each in succession is key to success here, which I found to be an interesting change of pace that used a different part of my gaming skillset to more traditional raid mechanics. I have to admit that the fight became a little stale after repetition, however, which loses it some cool points.
Matthias Gabrel
I am fairly confident in saying that Gabrel manages to step up to the final boss bar set by Sabetha in the first raid wing: I really enjoyed this encounter and I particularly appreciated that he was a player strength and skill test more than a DPS metre since players need to reflect, negate or absorb damage depending on what Matthias is casting. I liked the visual use of fountains as a cleansing mechanic to make a simple movement quirk more appealing, and elemental phase-specific mechanics add on an appreciable complexity that might even top Sabetha. The end of the fight intensifies beautifully and really heaps on the pressure, so the win feels immense too!
 Stronghold of the Faithful
Siege the Stronghold
When I first tested this encounter out with the devs, I have to admit that I found it to be a bit of a slow burn and potential wipefest. For the sake of time, we ended up cheating our way through sections to get to the best bits, and I was told that had been the case several times that day. My initial opinions of the fight haven’t changed a great deal, although the fight isn’t as much of a chore as it was initially. Changing up your path as you repeat the raid where possible is a good plan to keep you going, but you’ll generally not find much of note in this part of the third wing.I have to say that the dialogue and quirk contained in this segment help make up for the lacklustre mechanics the first time through; see this as a story-building opening to the real action of the wing.
Keep Construct
The Keep Construct encounter is a telling introduction into what Xera might throw at the party, and I particularly enjoyed this encounter as a reward for storming the keep. The construct core and burn phases add an impactful finesse element to the encounter that directly rewards a cohesive and skilled team. Attunement mechanics round out the fight and test your general raid awareness at regular intervals, so keep an eye out for indicators and warning text throughout.
Xera
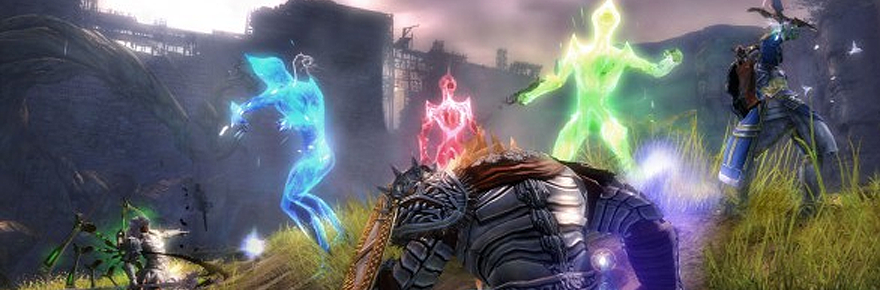
Xera makes for a fantastic end encounter for Guild Wars 2‘s first raid. Strong tactics combine with strategic nuances to make an exceedingly well thought out fight that will pose a strong challenge to most raiders. Seven platforms are used in this battle, with most of the main action occurring on the central platform and some raid cleanup being necessary on the others. Effective bloodstone management is crucial, and your measure of a job well done can be seen right above your characters’ heads: All bloodstone attacks will apply a derangement debuff to affected characters, and these stacks are negated by dealing with excess bloodstone shards. Splitting a rejoining the party and distributing healers as you cope with the rotating mechanics is the key here, and communicating clearly is vital if you’re wanting a full clear of the raid wing.
 Final thoughts
Overall, I have been totally blown away by the quality and variety offered by Forsaken Thicket. There were definitely some safe, predictable choices made along the way, but I don’t believe in reinventing the wheel when it comes to well-loved raid mechanics for a small section of players who have requested this specific type of content for years. The combination of mechanics to create interesting encounters that fit in with a set narrative has always been a strong point of ArenaNet’s, and although this was explored through world boss reinventions and fractal updates, I feel as though raiding has given the development team an even more complex playground in which to torment characters to the delight of players.
Over to you!
Have you completed Forsaken Thicket? If so, what were your highlights? Would you change anything for the next raid? Let me know in the comments below.
 Tina Lauro has been playing Guild Wars 2 since it launched and now pens the long-running Flameseeker Chronicles column, which runs every other Wednesday and covers everything from GW2 guides and news to opinion pieces and dev diary breakdowns. If there’s a GW2 topic you’d love to see covered, drop a comment Tina’s way or mail her at tina@massivelyop.com.


")

