

In this edition of Flameseeker Chronicles, I’ll unpack the story presented in The Head of the Snake and present you with my favourite elements and disappointments as well. The article will contain spoilers throughout and is not safe reading for those who have not yet completed this episode. Feel free to bookmark this one and revisit it when you’re all caught up should you not have had a chance to play for yourself yet.
 The Head of the Snake: The story so far
Queen Jennah’s invitation and weeding out the rotten
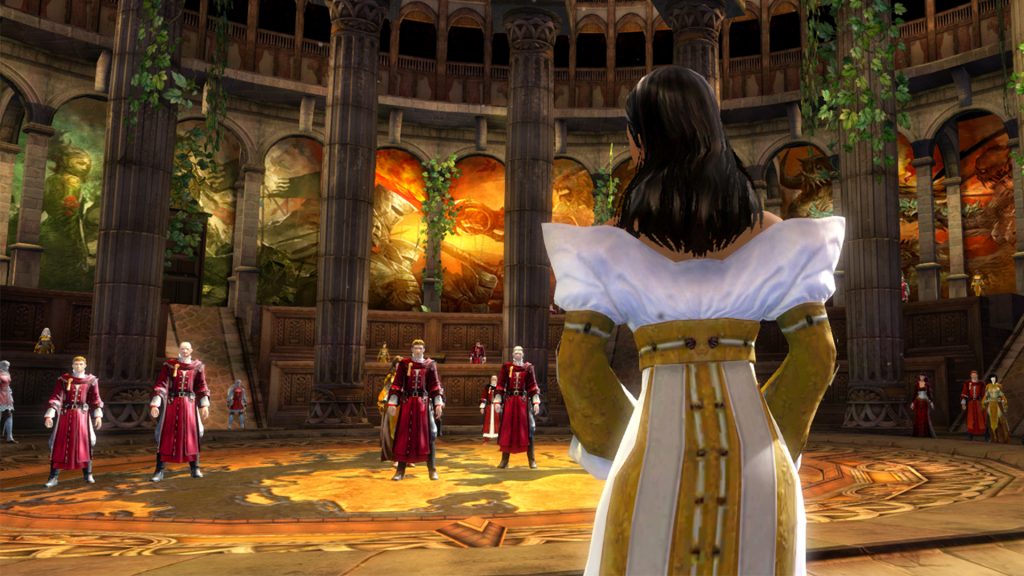
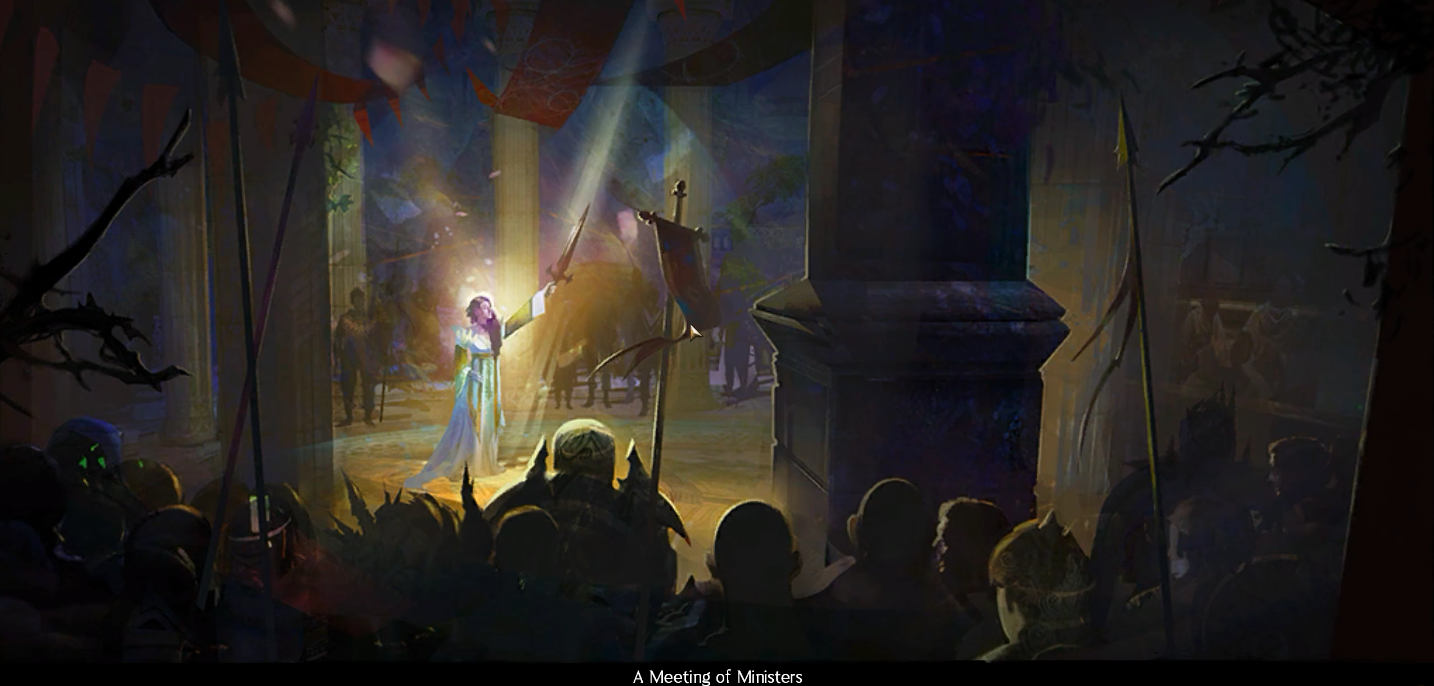
Just in case you need a refresher, The Head of the Snake opens with a royal summons and a guided tour of Divinity’s Reach’s beautiful gardens by Jennah herself. The commander’s presence is requested because the Queen knows that a White Mantle attack on the city is imminent and she hopes to weed out any disloyal ministers and prepare a defence. You are tasked with mingling with the ministers in order to gather intelligence, though Jennah does request that you keep an eye out for anything suspicious that could strengthen her future manoeuvres against the White Mantle. Guild Wars 2 being what it is, is isn’t long before a commotion disturbs the commander’s polite chitchat and the player character is needed at the gate to repair an old, broken-down golem that looks to be more useful as scrap than as a bastion of defence.
The repair job is a success, of course, though an odd robotic component seems to be spare. The gate attendant assures the commander that it isn’t part of the newly repaired golem, so curiosity encourages the player character to call on a more knowledgeable young mind to determine the nature of the mysterious part. Taimi explains that the commander was right to note that the device is similar to her own communicator design, so she pings the commander’s device in order to help the player character flush out any further listening devices in case they have been planted by the White Mantle. The job isn’t too mundane since each has an inbuilt security system to keep us on our toes, but the job is soon completed and the evidence of spy activity is handed over to the Queen.
Armed with evidence and opportune timing, Jennah gives a short speech to her ministers that explains the need for protective, restrictive measures to protect Kryta, but she is met with opposition by some vocal, disbelieving adversaries. Just as one minister becomes heated, a White Mantle attack booms across the city and White Mantle defectors spring from the shadows. The commander deals with the most immediate sources of threat and attempts to guide Jennah to safety, bolstering her defences outside the chamber and gathering the loyal ministers. White Mantle pour in from mesmer portals as Jennah prepares her defensive barriers, and Minister Estelle heads the defectors in a violent standoff at the throne room with regicide as her main mission. Blasting her is our pleasure, of course, especially since Queen Jennah proves to be very adept at explosive combat. Logan appears here to help in the Queen’s defence, not that she seems to need it, and reports that the White Mantle are mounting an offensive from Lake Doric and asks us to meet him at Doric’s Landing to appraise the battlefield.
 Lake Doric
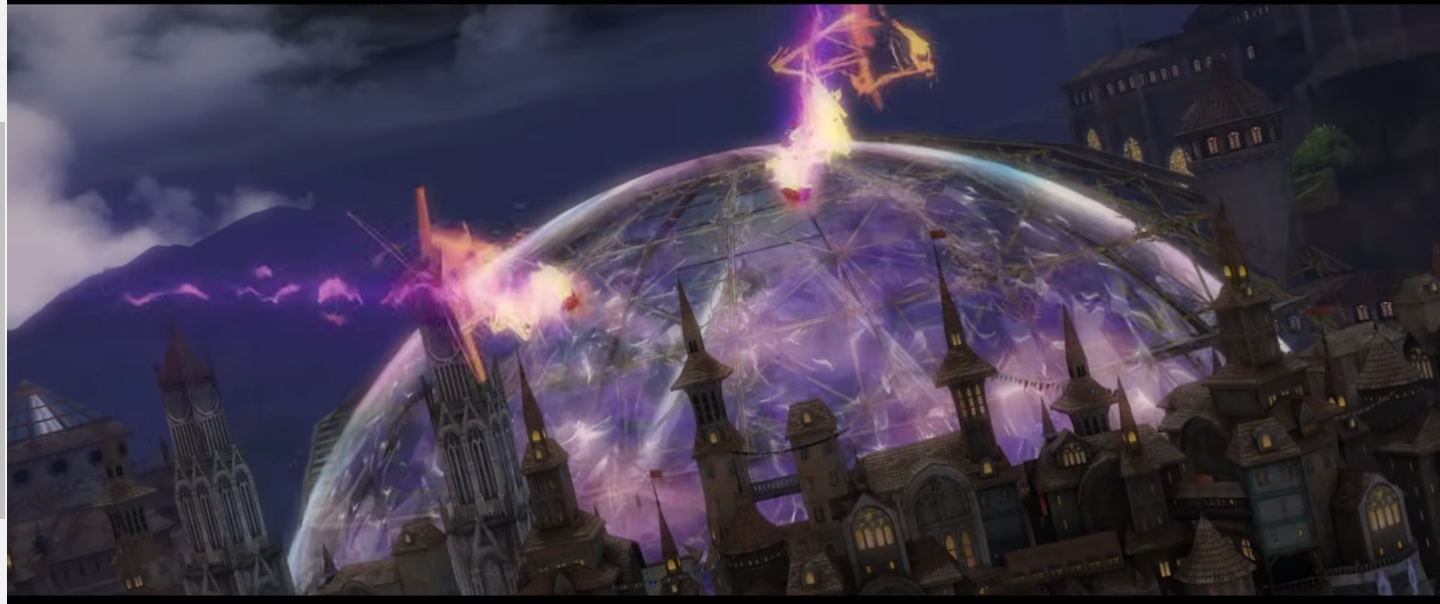
Upon greeting Logan at Lake Doric, the commander is surprised to see a Charr Legionnaire by his side. It turns out that Nylia Steelpaw has brought her troops to help defend the great city and “crush Caudecus into a fine paste”, as she so delicately puts it. The player character is tasked with appraising the situation at five key locations across Lake Doric. A mixed picture faces the royal troops: While the Bazaar’s main concern is tallying goods seized by the troops so the Crown can be billed when the trouble passes, other areas are more directly targeted by Mantle forces and require assistance. The commander also uncovers a strange well-fortified house in the middle of nowhere and Logan tells of Fort Evennia’s fall into the Mantle’s control under a strange magical storm. The next task for the commander, then, is to team up with a Shining Blade agent to sabotage the encampment.
While in a White Mantle disguise, the commander must poison food supplies, save prisoners, steal battle plans, and generally cause havoc in Fort Evennia, though all the while we must avoid the detection capabilities of the Jade Constructs patrolling throughout the keep. The sabotage is a complete success and the commander is sent back to Logan to report in once more. Impressed with the gains the commander has made in the Queen’s favour and confident that the war going is in her favour, Logan tasks the player character with stepping out on the front line to regain stronger control of the region before bringing the fight to Caudecus himself. The commander must train soldiers, defeat Mantle troops, and generally aid the residents of Lake Doric in order to restabilise the region enough for an all out assault on Caudecus’ Manor. The commander successfully cleans up many messes as possible considering an invading force has just washed up in Lake Doric, and upon returning to Logan he explains that Jennah has summoned them both to the throne room.
The Queen is not alone when we meet her in the throne room, and the mysteriously absent Countess Anise tells the commander that Canach and some Shining Blade are already placed at Caudecus’ Manor, ready to rid the serpentine traitor of his head. A strange and unexpected ally in the form of Lady Demmi Beetlestone is placed with the commander to see the loyal attack force safely into the manor: It is assumed that the daughter should be all-too aware of her father’s secret pathways. Before the commander departs, Logan reveals that he has been offered the vacant Pact Marshal position and plans on accepting.
 Approaching the manor
A shaken but knowledgeable Demmi greets the commander at the base of Beetlestone Manor, ready to take the fight to Caudecus by using the path he’d likely use if fleeing to approach the manor’s library, where the Confessor would be if he chose to make a stand. On the way, Demmi notices new defences, powerful Jade Constructs, that aren’t at all as she remembers and urges the commander to bypass them silently or pick them off one by one for safety. Anise apparates into the party’s fold, commenting on Canach’s letting Caudecus slip through his fingers once before and claiming that she will see him dead this time. Demmi mentions that there has been no contact with Canach for several hours at this point, and although the commander is worried about him, Anise urges the party onwards towards Caudecus rather than attempting to locate Canach.
Fighting their way to the keep initially proves more simple than one might imagine, thanks to some rather carelessly placed munitions that Demmi wastes no time in setting alight to cull Mantle numbers. It isn’t long before the party stumbles across Canach’s men, dead on the floor, and Demmi apologises for not mentioning the lack of contact with Canach sooner to the commander. She is quickly forgiven for the oversight; after all, it’s not every day when a child is sent on a mission to kill her own father, and she then asks for time to talk sense into Valette Wi if she is in the manor. Disturbed by threatening voices talking about cutting off someone’s tongue, Demmi picks a lock into the western tunnel and the party finds Canach facing off against a High Inquisitor. Together, the band makes short work of the Inquisitor and moves deeper into Caudecus’ tunnel system.
 Beheading the snake
Canach hastily explains that he recently had eyes on Demmi’s father but that he has been consuming bloodstone fragments and has since become unrecognisable as the man he once was. Anise heads back to tell Logan that the party has reached Beetlestone Manor and he can start his push while the commander and Demmi clear off some separatists who form a stand by the manor’s doors. Demmi unlocks the manor and Caudecus is eventually located, after which point a satisfying battle occurs in which Caudecus admits murdering his wife and Canach devises a plan to stun the Confessor underneath the room’s exceptionally large chandelier. Much to a naive Valette’s horror, Demmi ends up being shot by her father, who wishes to unite his family again in the Mists (yep, he’s bloodstone crazed at this point) before making an escape. Seeing the error of her ways, Valette creates a portal that she promises will lead us to Caudecus and pledges to help put him down to balance her moral ledger, but warns that the chamber he has retreated to has a stockpile of bloodstone in it.
Caudecus’ inner sanctum is a strange sort of self-appreciating monument to his own greatness, and the commander must solve some riddles to gain further access to Caudecus’ mad lair. Once we find him, Caudecus is no longer at all stable after gorging on bloodstone magic, so the party decides to overwhelm him with more bloodstone power than his physicality can handle. As an aside, this is one hellish battle that will try most people’s patience, so if you’ve not yet tackled Caudecus then buckle up! Once Caudecus is finally defeated, the party regroups back with Logan and a dying Demmi, unable to save her from her wounds. Countess Anise frees Canach as she has promised and is persuaded to take Valette into servitude rather than causing more death in the manor. She points the party to Caudecus’ chambers and implores her betters to investigate there, so the commander and Canach search out his private quarters while the others make arrangements for poor Demmi’s body to be returned to her godparents. The pair finds a portrait of Logan and, more importantly, an item that a note left by Caudecus claims is one of Lazarus’ aspects. Should that prove to be the case, then the ‘Lazarus’ we met in other episodes of season 3 is an imposter, and Jory could be in grave danger!
 What I rated
The first thing I need to applaud here is the inclusion of those juicy “E” letters. You might remember that I’ve been hoping the story would return its focus to the mysterious stranger again in this season, and I’ve not been left disappointed. The timing felt right to me: “E” seems to be well-connected in human political affairs and it doesn’t surprise me at all that he or she is working in the shadows to hold Kryta together in the face of the Mantle threat. Add to this the number of little clues and teasers contained in the letter pack and I was thrilled with the character’s return to the fore.
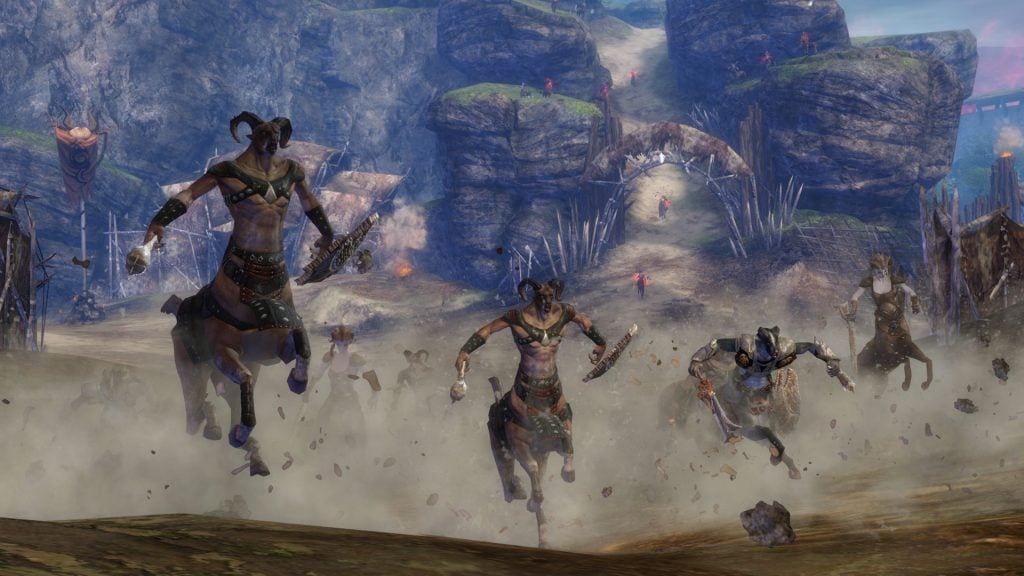
Aside from the letters, I want to highlight how much I appreciated the more intelligent, realistic, and organic enemy troop migration found around the lake. This was showcased to me during my dev playthrough before the episode released, so while it’s not a new point in my praise of this episode, I do feel it deserves another mention. I really liked having Logan back on his feet too, especially just when Queen Jennah needed him by her side.
What I hated
I expected Kasmeer to feature prominently in this episode, mainly because any storyline featuring political subterfuge, espionage, and hidden intents in Kryta just begs for her talents to be employed to sort the whole mess out. Having such a powerful NPC ability set available to the commander and then not using it is just one of those head-scratcher moments for me.
Am I wrong to say that the attack on Divinity’s Reach didn’t feel dangerous enough? The commander basically mopped up the Mantle invasion single-handedly by all accounts, and while we were out on the field Jennah has the city well under control. I need to see more murder, turmoil, and general bad guy activity if I’m to ever feel as though such a majestic city could ever fall. Compare this skirmish to the antics of Scarlet if you don’t agree and you’ll reconsider!
Dragon’s Watch isn’t doing so well in the recruitment department, huh? I’m frustrated by how reluctant everyone is to join, not because I find it unrealistic that the commander’s allies might have reservations after Mordremoth but because I feel as though it’s all just a little bit of history repeating. These heroes know the real cost of fracturing off from one another yet still choose to do so every time the opportunity arises. It’s as though all these war heroes fancy leaving the dragon threat to a plucky child genius with dangerous plans and no self-control and an angsty teen with mommy issues and a chip on his shoulder larger than the crack in Jormag’s tooth, simply because the alternative is playing nicely with one another and piling trust on other fallible people who must make hard decisions. When dragons have the capacity to destroy life as you know it, you have no choice but to put animosity aside and band together… sheesh!
 What’s next?
This is where I say a big ol’ I don’t know really; anything can happen at this point because the commander is still overwhelmed by various threats to Tyrian life. The next episode will perhaps refocus on Jory, “E,” and Kas now that we deeply suspect that Lazarus isn’t really Lazarus. I also hope we check in with Taimi after her successful experiment, and I would also love to check in with the other injured parties from Heart of Thorns, including the Pale Tree. Braham needs to be brought to heel by the other Tyrian races before he rushes on to face Jormag with scant numbers behind him, but I don’t know if anyone has the capacity if the commander can’t manage to hold her friends under the Dragon’s Watch banner. I need to see a dragon make a bold move soon!
Over to you!
Overall, this episode was perhaps more combat-heavy than I usually like, but I nevertheless found it engaging and enjoyable. Canach’s lines were the highlight of the episode, and I’ll certainly miss his snark if we don’t stumble across him again soon. What did you think? Let me know your thoughts in the comments.
 Tina Lauro has been playing Guild Wars 2 since it launched and now pens the long-running Flameseeker Chronicles column, which runs every other Wednesday and covers everything from GW2 guides and news to opinion pieces and dev diary breakdowns. If there’s a GW2 topic you’d love to see covered, drop a comment Tina’s way or mail her at tina@massivelyop.com.


