

I’ve managed to calm myself enough after finishing my Guild Wars 2 Flashpoint initial impressions piece two weeks ago to bring you a much more detailed look at the action-packed episode that is the penultimate instalment in the Living World’s eventful third season. The story contains so many twists and turns that you’ll be dizzy by the end, and in case you’ve been living under a rock for the last few months and missed all the hype about this content drop, you’ll want to know that Lazarus’ true identity is revealed within Flashpoint.
In this edition of Flameseeker Chronicles, I’ll unpack the reveals and angles taken by the penultimate episode of Season 3 and will share my most and least favourite aspects of the episode while I’m at it. This article will contain significant spoilers and is not safe to read for those who haven’t completed Flashpoint and have managed to avoid the spoilers so far. You can always bookmark this one to come back to whenever you have managed to find time to enjoy the content for yourself.
 Flashpoint: The story so far
Taimi trouble and Lazarus’ identity
You’ll remember from my first impressions coverage that the episode opens with a summons to the Dragon Lab. The commander is greeted by Kasmeer upon arrival at Rata Novus, and the exchange is a little terse since Kas has not yet been asked to be a part of Dragon’s Watch. The commander welcomes her wishes to join and soon the conversation moves onto Marjory and her accompaniment of Lazarus. When the pair reaches Taimi, she has managed to release her dragon minion test subjects, whom the commander and company must subdue. After the initial Taimi-related minor disaster is over, she shows you her most recent invention, the secret weapon in the dragon war that Tyria has been waiting for. Running off the heart of Omadd’s Machine, her device can smash both Primordus’ and Jormag’s unique signatures together in order to cancel them out, effectively making the “dragons go (death sound)”, as Taimi puts it.
Taimi wants the area to be clear for the machine’s first test since her experiments tend to be more than a little bit risky, but Phlunt is hot on her case and refuses to budge, worrying that Taimi will steal the research left behind in the lab by his associates. Of course, Phlunt has no idea what sort of machine she has built and doesn’t detect the urgency in the room, thinking that the device is a giant elixir cooler. The commander is tasked with reasoning with the cantankerous old fool and depending on the dialogue options chosen you will have varying degrees of success. Just before the experiment is to commence, Marjory comes in saying that she didn’t manage to leave the faux Lazarus without his notice, so he is hot on her heels en route to Rata Novus. We learn about his base in the Fire Islands filled with mercenaries before he arrives, and Jory tells us about a mirror he keeps with him, which Kas suspects is an enchanted mirror that he is using to disguise himself. A mirror trap is set for the imposter that will ruin the illusion, and all the while Kas has a major pop at Jory regarding her rogue antics.
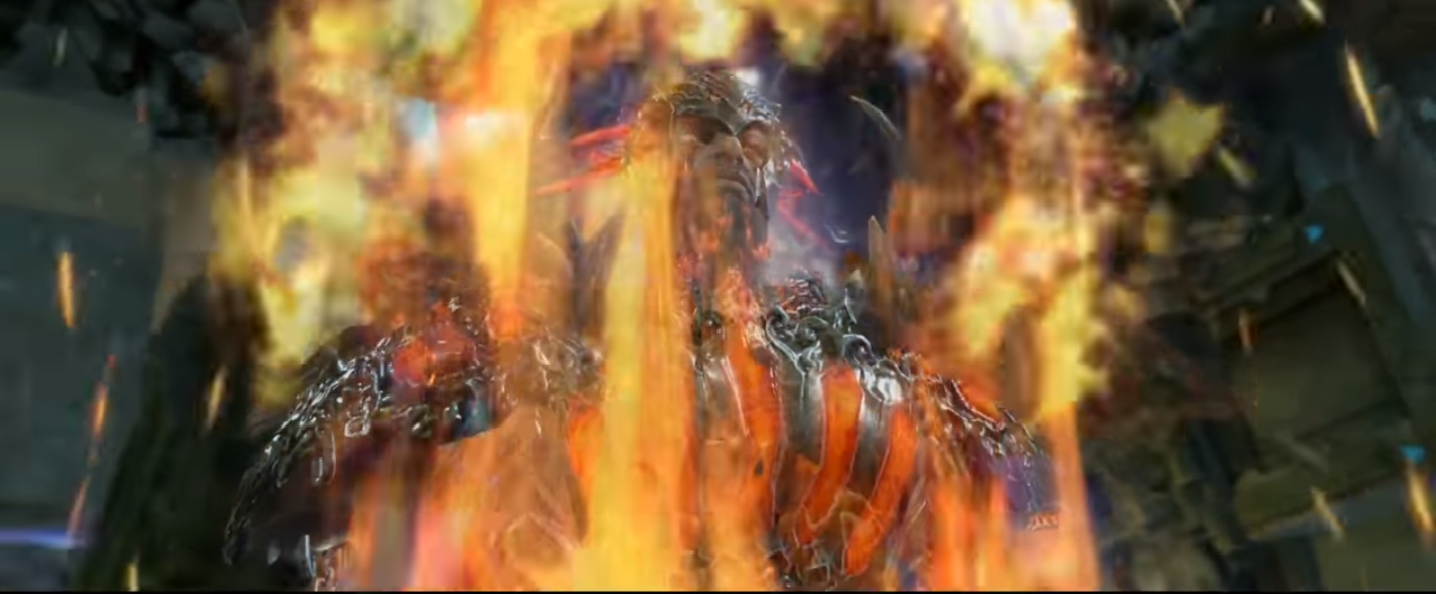
Phlunt returns and informs us that the gate is down, suspecting that Taimi’s machine is the cause of the disruption. The commander suggests evacuating the lab, but this means opening the Dragon Lab since it’s the only way out. Phlunt doesn’t believe a word that is said about the imminent arrival of “Lazarus” and is outraged at the existence of the hidden lab until the fake Mursaat himself glides in. Phlunt makes a quick exit and Lazarus chastises the commander for not telling him about the machine. He is pointed toward the creation — and past the point where the mirror beams converge — and a battle of epic proportions ensues while we hope the mirrors cast off the Lazarus disguise. Phlunt arrives with backup as the fake Lazarus is eventually revealed to be none other than Balthazar: Kas is frozen in awe while Jory is seriously wounded by the god, who bids his mercenaries to kill everyone in the lab so he can take Taimi’s machine. We picked a fight with the God of Fire and War, and Kasmeer is so awestricken that she runs out on us, unable to oppose the will of one of the Six.
 The Fire Islands: Draconis Mons
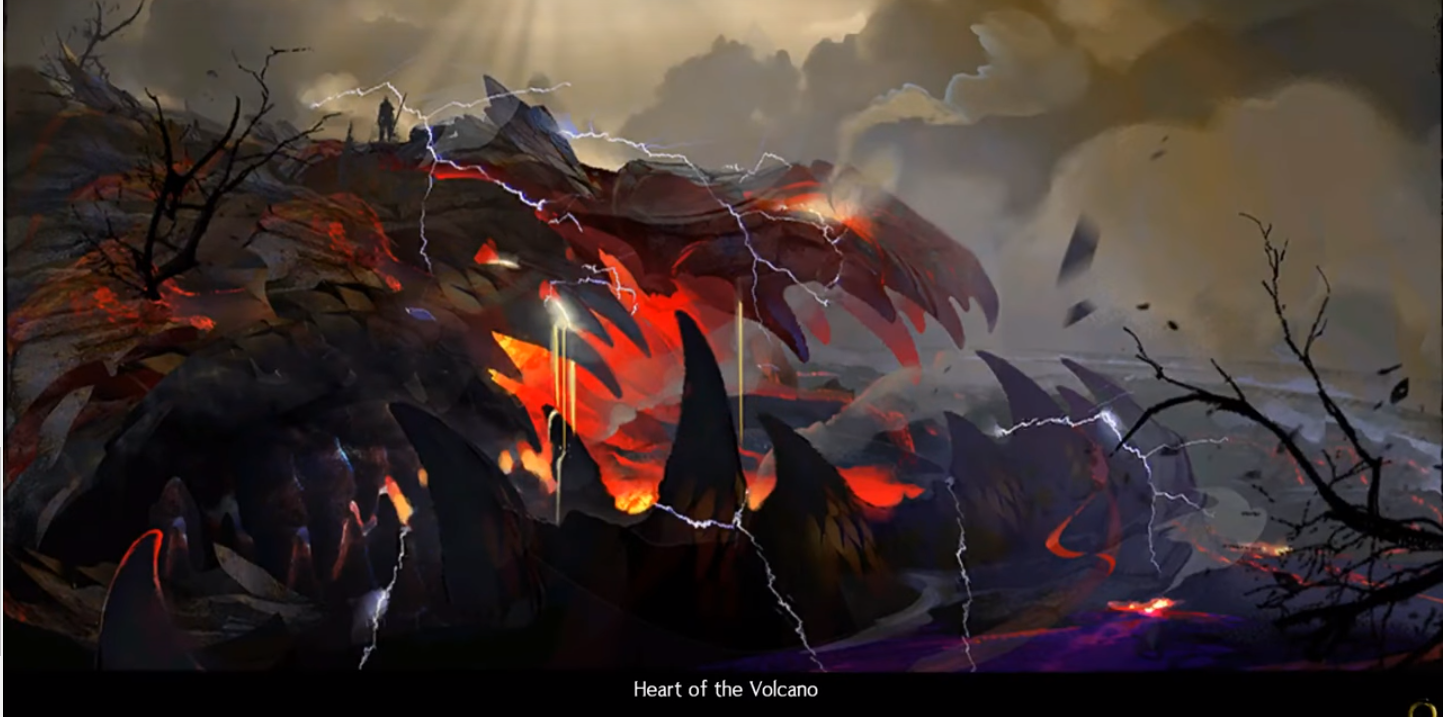
The commander takes a submarine out to the Fire Islands, hot on Balthazar’s tail in an attempt to retrieve the dragon-killing machine from the rogue god. We find ourselves in a new zone called Draconis Mons, a thriving yet treacherous area within the Fire Islands that features a huge volcano that gives the zone its name. Draconis Mons is a unique cavern with an amazing biome and exceptionally hot waters that have been heated by volcanic activity, causing a useful obscuring mist to fill the huge cavern. A scientist carrying a tracker for the dragon machine within the initial expedition troop is grabbed by vines and a mysterious wind prompts us upward to locate him. The commander finds the missing scientist, but the tracker was irreparably damaged in the grab and is now useless. Nettleblaze is the Oakheart spirit behind the mysterious voice and he warns us not to stay on the Islands, but when he realises we are trying to remove Balthazar from the locale he lets us know where he went, sending us to the peak of the volcano.
Balthazar has entered the volcanic well and Nettleblaze isn’t very happy about our failure to catch him before he reached the mountain’s apex, but the commander assures the spirit that some resourceful friends could find a way to let mortals enter the volcano’s throat too. Fearing the pollution that more trespassers would bring, the spirit offers its assistance instead, though he warns that his way is dangerous and painful. This is where Draconis Mons becomes much more interesting to me: here in the story, we realise that Zinn has had an influence here and has trapped four ancient spirits in his vaults. The commander sets to work freeing these spirits in order to gain their protection so the lava is penetrable.
The throat of Draconis Mons
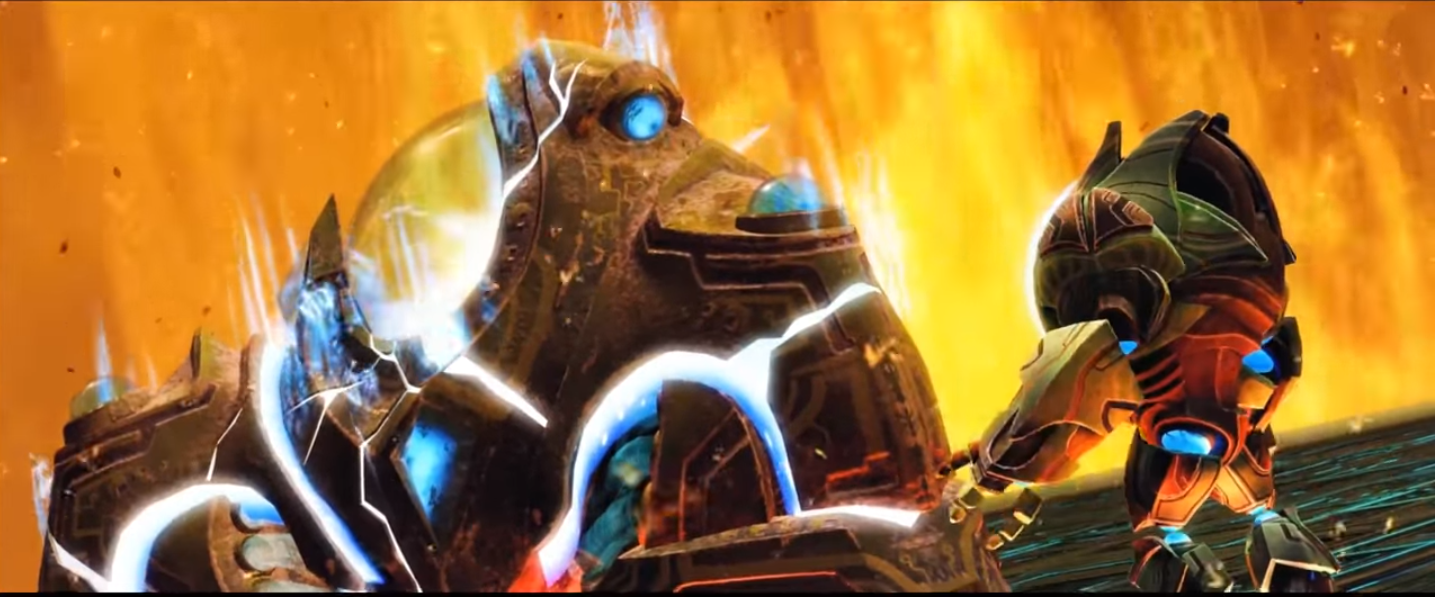
Aided by an Asuran Tin-Man of a golem called M.O.X., the commander finds the first of Zinn’s vaults and gains access. Cue some hilarious exchanges with Taimi via communicator when she notices the commander heat-spiking wildly on her readings: Somehow the story of ghost voices and magic doesn’t sway her to believe the commander is alright! Taimi interrupts once more with an urgent interception once all the spirits are freed, showing the commander that her projections show that Balthazar could very well destroy the eternal alchemy, and Taimi also warns us that the machine has no off switch and must be destroyed if it is started by Balthazar. The commander enters the throat of the volcano and stumbles across Taimi and a freshly minted Scruffy 2.0. Feeling guilty about Balthazar being armed with such a destructive invention, she simply had to accompany the commander in its retrieval.
The commander uses a scanner of Taimi’s to assess a volatile energy shield in the centre of the cavernous structure. The pair learns that the shield anomalies can be used against it to destroy it, so the commander gets to work in collecting anomalies to ruin the barrier. The commander plunges deeper and deeper into the volcanic chimney, which turns out to be the sleeping chamber of Primordus! With a great primordial roar and the dropping of all destroyers in the vicinity, we realise that Balthazar has turned on the machine, leaving us with two options: Either let Balthazar destroy the dragons and absorb their magic or destroy the machine and lose the secret weapon that promised to vanquish the dragon threat.
A paralysed Primordus lies in front of a rattled Taimi and the confused commander, and Balthazar’s image floats above the dragon machine. He has somehow fused himself with it to absorb the draconic energies when they are destroyed, and as the pair gear up to destroy the machine, Balthazar speaks. Angry at being overshadowed and not willing to cease his plan, the commander urges him into battle, buying Taimi time to start the overload process. Just as Taimi confirms she is ready to overload her machine, Balthazar strikes her down and boasts about his new-found power. Taimi is not seriously hurt and hits the overload, but the machine doesn’t immediately react. Eventually, the machine put Primordus and supposedly Jormag back to pre-awakening energy levels without destroying either one and we can no longer see Balthazar: We assume he was vaporised in the blast but cannot be sure. We are left to ponder the new relationship the Tyrians will have with the last two remaining dragons, now knowing that their destruction will end Tyria, and we also need to find out if Balthazar really is gone.
 What I rated
I applaud Taimi’s bravery in tackling the thief Balthazar and the appearance of Scruffy 2.0, even if he isn’t yet armed and ready to kick some godly butt. I also adore the tension building between Jory and Kas, and I hope the final instalment of the season highlights how torn up Kas must be to have come face to face with one of the Six and have him not be who she thinks he ought to be, especially since he wounded her Jory. I love the twist with the Dragon’s Watch needing to protect and not vanquish the last dragons, not least because I have long since suspected that the final two being killed would ruin the equilibrium. I really cannot wait to run into Braham again and try to convince him that Jormag needs to be placed into an eternal slumber of a different kind; I can’t see him volunteering to since the dragon lullabies! Lastly, I am delighted to see the gods walk among men again.
What I hated
There was nothing that particularly struck me as a hate in this instalment, so I’m absolutely bursting at the seams with excitement for the last episode of the season and the expansion whenever it follows. I’m expecting a very different direction to be taken and it’s too soon to rate or hate on that.
Over to you!
I want to know everything: Did you expect the Lazarus reveal to take the direction it did? Where do you see the story going in the next episode? Let me know your thoughts in the comments below.
 Tina Lauro has been playing Guild Wars 2 since it launched and now pens the long-running Flameseeker Chronicles column, which runs every other Wednesday and covers everything from GW2 guides and news to opinion pieces and dev diary breakdowns. If there’s a GW2 topic you’d love to see covered, drop a comment Tina’s way or mail her at tina@massivelyop.com.


