

Where we left off
I’d recommend reading each previous story breakdown if you have missed them before continuing on with this one, so I’ll just provide a brief recap here. The commander tracked Balthazar by applying pressure to his Herald, but unfortunately, the god had already caught up with Vlast and was attempting to kill the dragon. After a valiant attempt at meddling, the commander is overpowered by Balthazar and Vlast sacrifices himself to save our lives. The dragon exploded into crystal shards that hold a record for Aurene and her champion, and these crystals eventually help us make sense of what Vlast was doing and lead us to track down a powerful weapon that could be used by the war god to easily vanquish Kralkatorrik. We eventually made our way into Glint’s lair and destroy the weapon, and after his admission that he freed the god unknowingly in the Mists, Rytlock steels his resolve when he notices the crystalised remains of Snaff’s golem and swears to make the mistake right. The party listens to Kasmeer and decides that they need to consult the other gods to help with Balthazar, so they travel to the Tomb of Primeval Kings to access a Mists portal there.
Tomb of the Primeval Kings
At the Tomb of Primeval Kings, Kasmeer hopes to find answers from her silent gods, but there are several blocks on the road to that truth-finding mission. There are hostile ancient spirits that guard the area to prevent entry to the Mists, and the royal rulers of old assume we are thieves and trespassers. We first fight Queen Nadijeh, the founder of the Sunspears, who uses mirror images to confuse and split the party. Once defeated, however, she lets us enter the temple, believing that the other Primeval leaders will stop us if our intentions are untrue. The commander and company then clear the guards from the royal treasury and defeat King Wasi, who is decidedly cooler towards us and points us to Nala and Dala, the last rulers of the dynasty. Cue another fight: This is an interesting encounter in which we must deal with each sister in turn and use mines placed by Canach to succeed. The sisters are bound and must be downed at the same time, otherwise the downed sister they simply respawn and pester us again.
All the rulers eventually get together and reluctantly decide that perhaps we are telling the truth, so we have a chance to honour them and prove that we mean them no harm. Once the short formalities are complete, the ghostly rulers allow us to pass through the portal and venture into the Mists. Kasmeer muses on how Joko is terrorising them even in their deaths and the party steel themselves to put their questions to the gods.
Facing the truth in the Mists
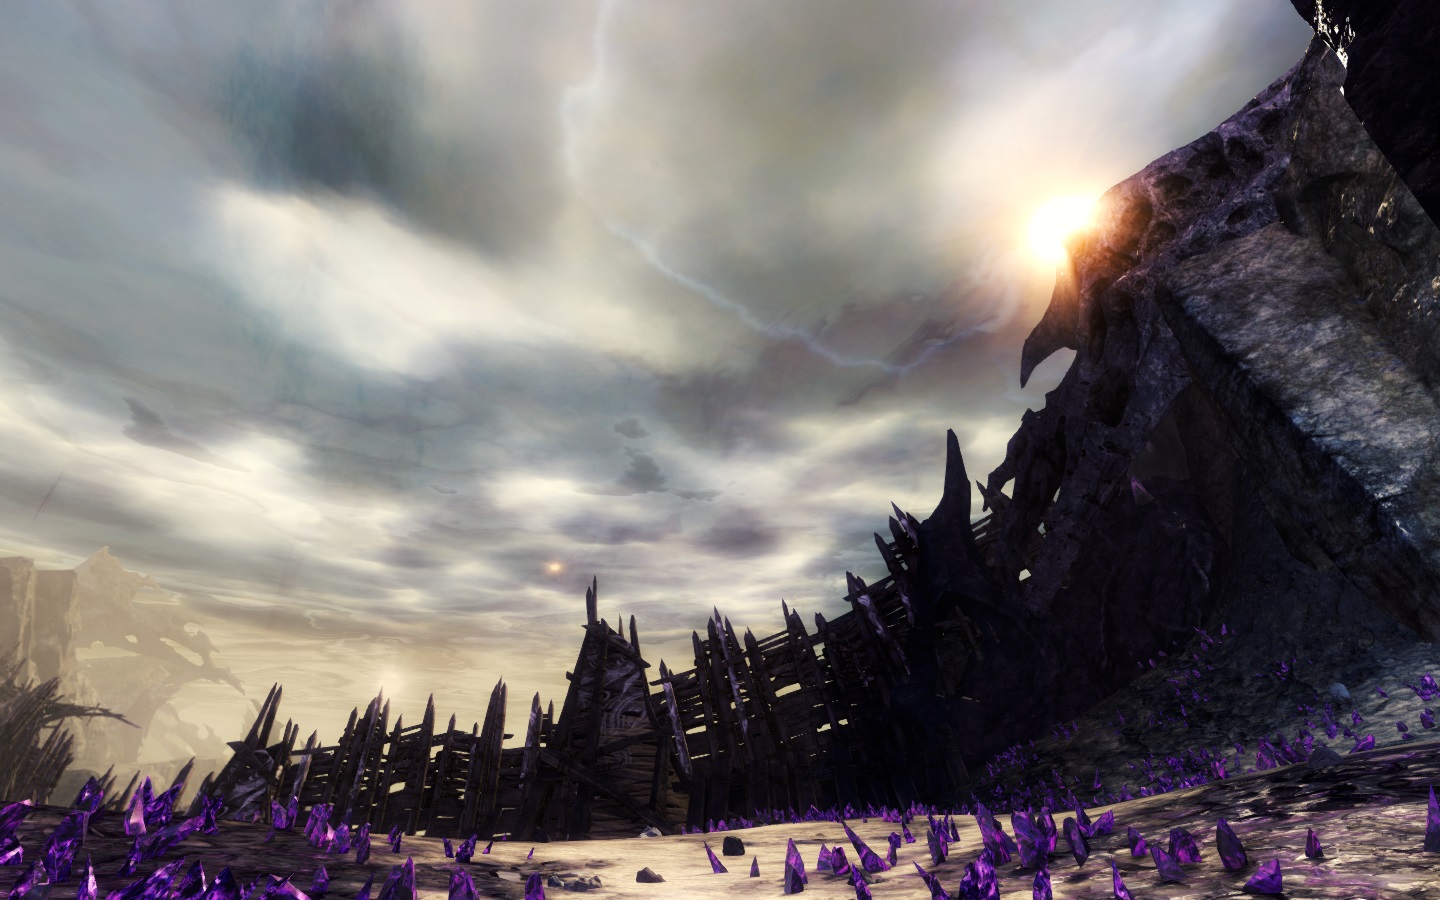
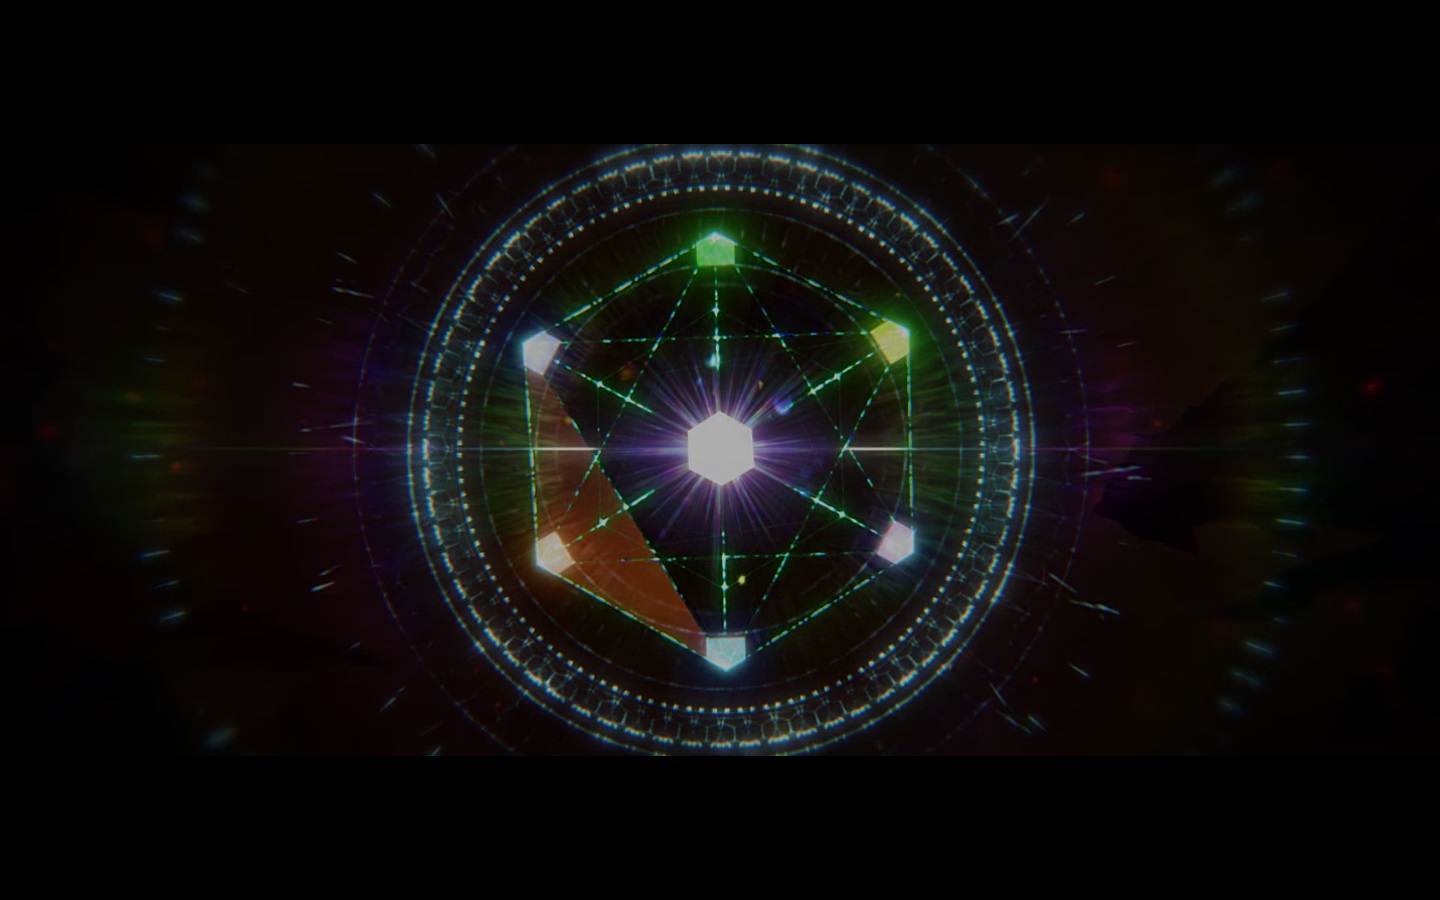
The party is scattered when it enters the Mists after a tumultuous ride through the portal and must reunite in unknown territory before venturing on to locate the gods. Even Kas has no idea where we should head to next: The stories become somewhat vague after locating the passage to the Mists, apparently. The commander is faced with an obscuring, impassable sandstorm but lighting a nearby lantern clears the haze and reveals some sort of structure that is in the shape of the sigil of the Sunspears. Kasmeer is sure that this is the right path and we set out to investigate the platform, eventually discovering a puzzle that requires us to place certain stone wedges and then discs into the right slots in the platform. This is a lengthy, repetitive task, and some discs will require turning in order to line the patterns up properly too.
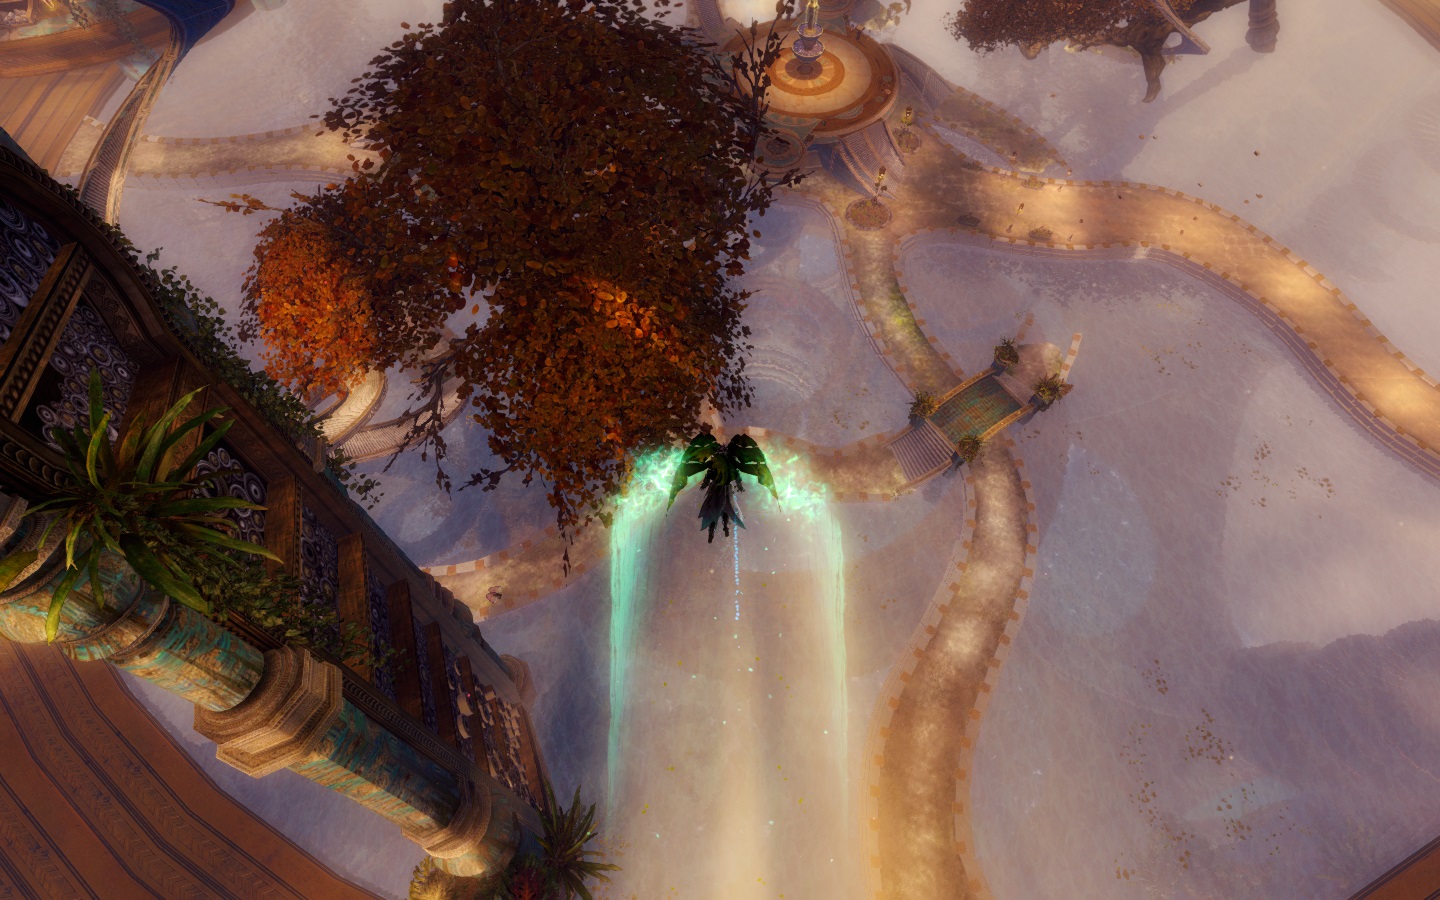
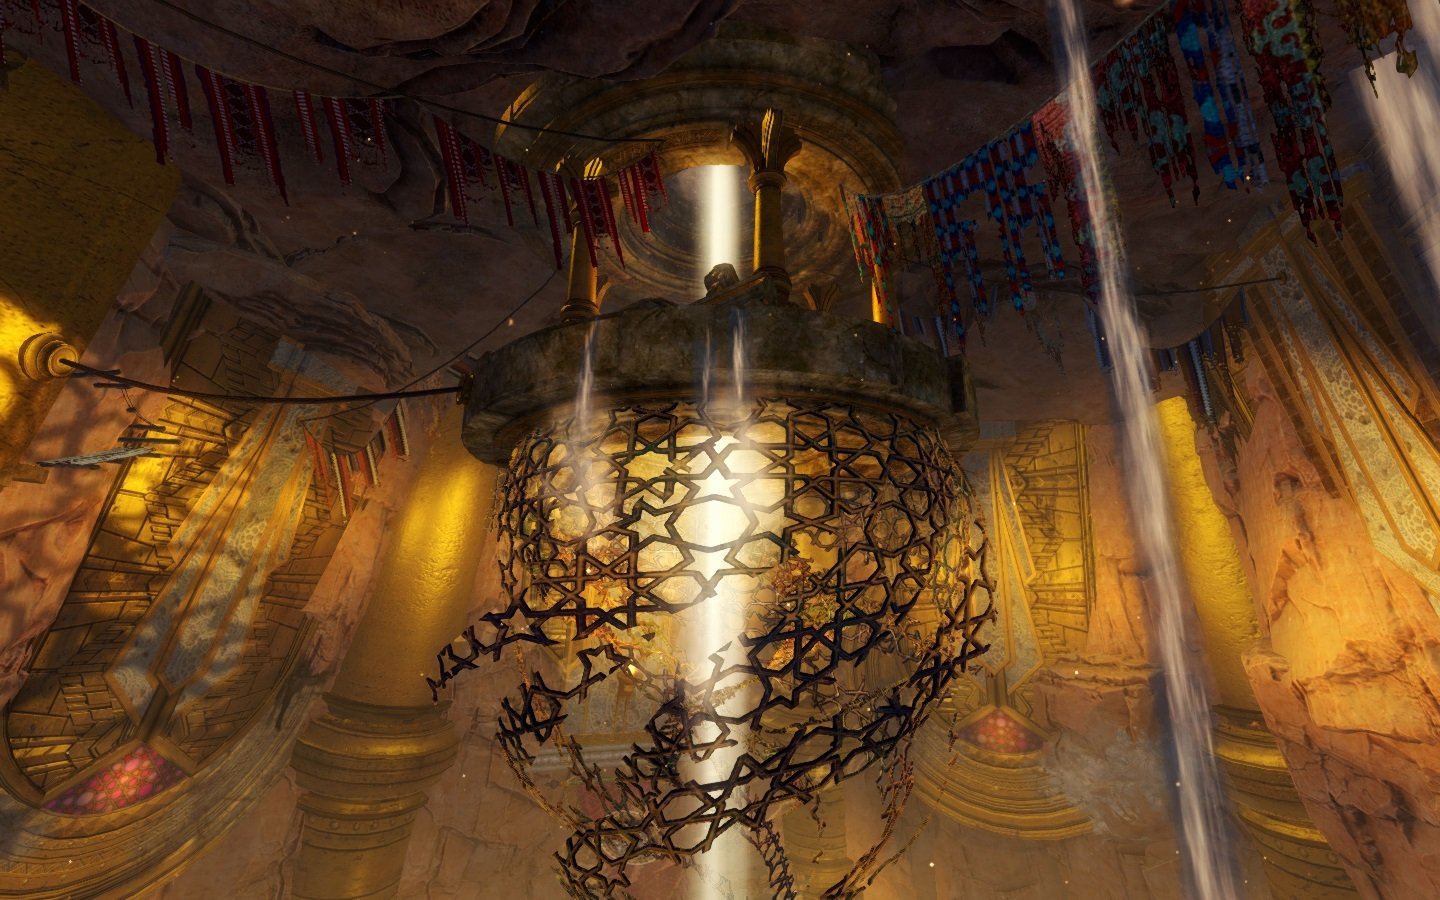
Once we do so and adequately demonstrate the eight virtues the Sunspears hold dear, a portal forms on the centre of the platform and Canach and Rytlock jibe Kasmeer about how hostile and crazy their experience of her gods has been so far, clearly nervous about continuing. She doesn’t react well and reminds them not to spit in the face of the gods when they need their help so badly, which settles their complaints before we continue through the portal. It leads the party into a glorious sanctum that really is one of the most beautiful small maps in the game. The sanctum is one massive, dreamy library, filled with golden light, spiralling staircases, and stunning water features. Kas is quite overwhelmed, though Rytlock remains unimpressed.

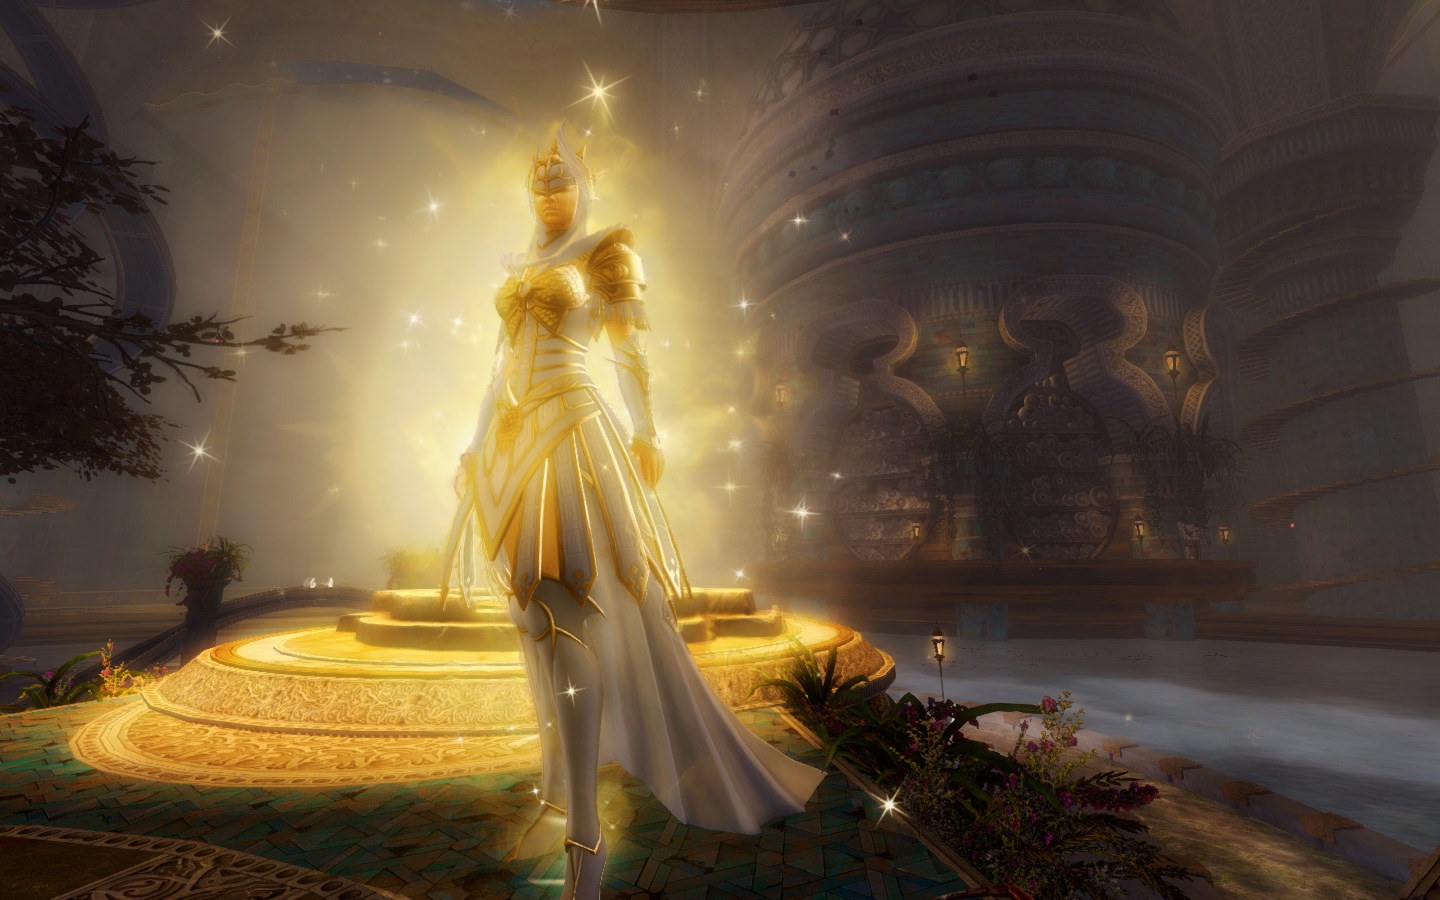
The goddess of truth Kormir appears in the central platform, and the commander hails her, opening the way for Kas to make the plea for guidance and aid to her. Unfortunately, Kormir admits that she already knows about Balthazar and that there is nothing she can do to help: She declares that he is no longer one of the Six and uses her platform to tell the tale of his demise to the gathered party. She explains that a god-versus-dragon war would tip Tyria apart, which is why the gods chose to withdraw in the first place — with the exception of Balthazar, that is! While Kormir dubbed the dragons a primal force that is beyond even the gods, a prideful Balthazar vowed to claim their power as his by vanquishing them all. The remaining Five stripped him of his power to protect Tyria and chained him in the Mists, which is where an unsuspecting Rytlock stumbled across him and freed him.
When pressed again for assistance by the commander, Kormir reminds us that a god war would ruin Tyria as well, and points us back to the war against Abaddon and how it changed the Crystal Sea into the Desert we know now, creating the Desolation, and ultimately awakening Primordus and causing the latest cycle of destruction that threatens Tyria. In a somewhat cringey Wizard of Oz moment, Kormir ends the discussion by telling Kas that she was already on the correct path without Kormir and that she should continue following the trail left behind by Vlast, claiming that all the answers we seek lie within the desert. With a flash of brilliant light, she departs to join the other gods. The party decides to follow her advice and split up to comb the desert for these unknown clues.
Finding the way forward
When the commander returns to the Crystal Desert in search of… something, the logical first point of contact is the office of the one man in the desert who can get his hands on anything, so we go and visit Zalambur once again, who points us to a Priory scholar named Glokk in the Elon Riverlands. Glokk isn’t given much to go on considering that we have no clue what exactly we’re hoping to find, but we are nevertheless pointed toward Vlast’s birthplace, an ancient lost city that was a hub of Forgotten activity. The commander checks in with the locals to find out more and the River folk discuss Kesho, a Forgotten nursery for Vlast, and we are signposted to a deep fissure that leads to a cave system.
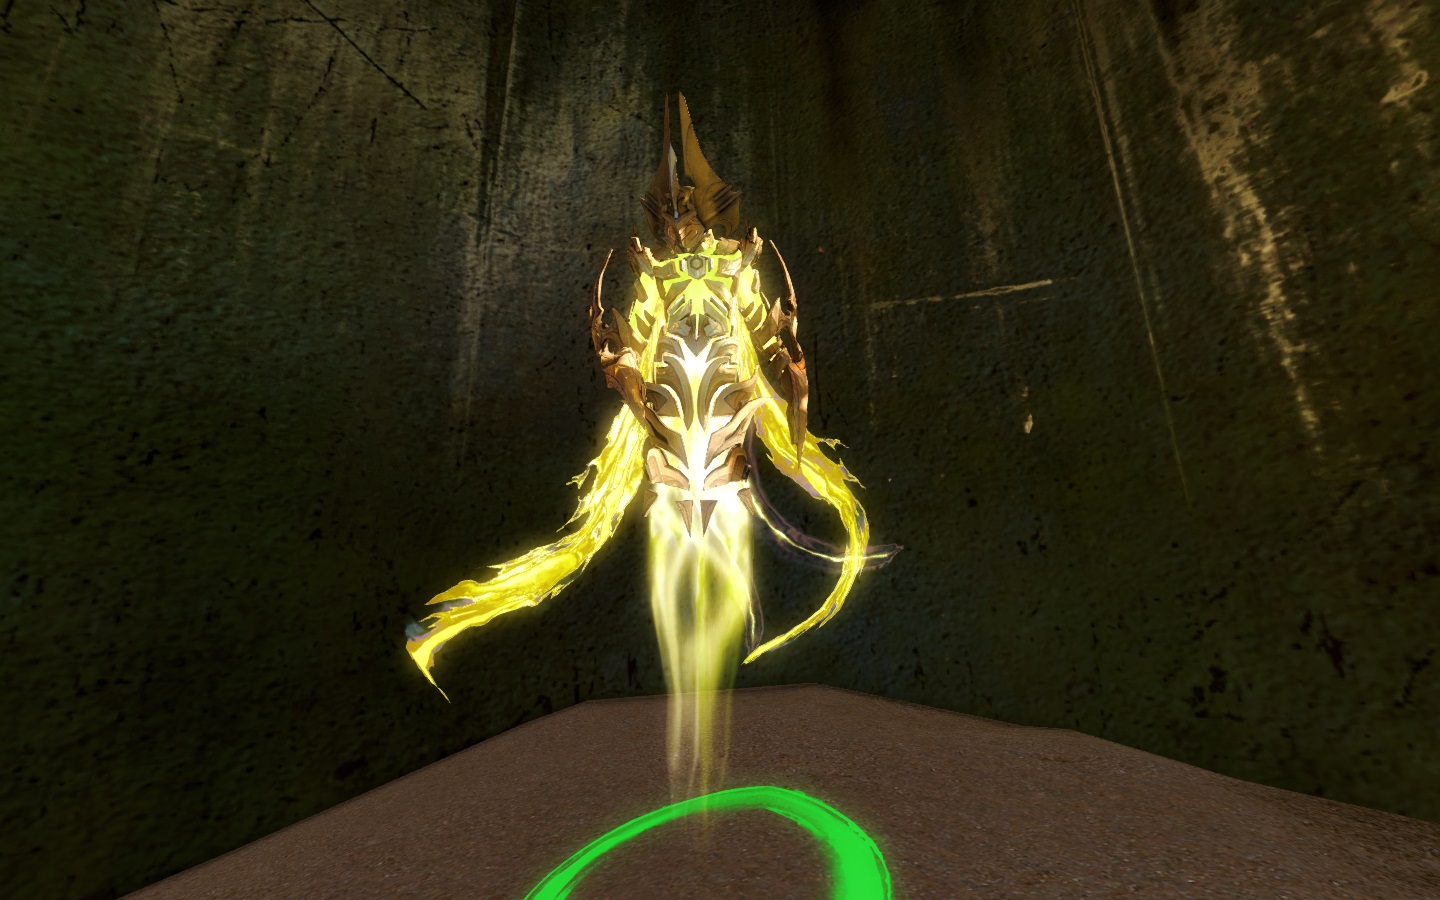
The commander leaps into a deep pit that is flanked by Forgotten statues, sure it marks the way forward. Taimi pipes up after a long silence to inform us that the signal is very strong wherever we are and that we must be on top of a leyline nexus. We talk Taimi through our surroundings, describing the sand mounds and tarir-like pedestals with Exalted sentries floating above them, seemingly alive but unresponsive with a red glow to them. She believes that we need to restore power to the city and we place a power crystal on a pedestal in the centre of the room, opening a door that reveals one active Exalted who angrily says that we have just revived the Forged Exalted on those pedestals and tells us to destroy them. Once that is done and we explain to the Exalted that we are Aurene’s champion and are here to stop Balthazar, the unknown Exalted identifies itself as Sadizi and explains that the magic that created Exalted is what Balthazar used to create the Forged. Sadizi sealed itself into the chamber to avoid the same fate, the last caretaker of this fallen city left.
Each pedestal holds the secrets we seek and Sadizi can reveal them to us: The Exalted attempted to convert Kralkatorrik via Glint and failed, though they did realise that Kralkatorrik’s weakness was its own crystalline creations. The Forgotten also reveals that Vlast was raised in isolation and that it affected him terribly. Kralkatorrik’s weakness is why Balthazar wanted Vlast, but why did Glint and the Forgotten risk raising Vlast and Aurene if they knew the Elder dragon’s destruction would end Tyria? At the end of the corridor, the commander breaks down a door and a cutscene is triggered that explains that Tyria works on a cycle of draconic extremes: The elder dragons either sleep or are ravenous. Glint and the Forgotten wished to create a balance between these extremes to stabilise Tyria, but destroying two elder dragons at once created a void that started the breakdown of this system. They hoped that Vlast and Aurene could restabilise the cycle, filling the void with entities that would choose to share and cycle magic rather than hoard it.
It is clear that Balthazar only sees Glint’s legacy as a means to an end, but they could be instrumental in rebalancing the natural order of Tyria. Our main goal has thus shifted: Aurene must be protected at all costs. The commander tells Taimi to gather the other members of the party and get them to meet at the spire north of the skimmer camp with Kiel’s airship. Sadizi sadly realises that, if we found the entrance to the city, then the Forged cannot be far behind, and vows to seal off the city forever. A portal is opened for us to leave the city forever, leaving the Forgotten behind.
Over to you!
This was perhaps my favourite segment of the story: I loved learning more about the strive for draconic balance and Glint’s intentions, and I totally adored Kormir’s sanctum. I also completed the jumping puzzle within Kesho and recommend it to fans of that type of content: The views are stunning and the jumps are challenging without being too frustrating. I didn’t enjoy some of the Kas-Kormir dialogue but I feel as though the interjections by Rytlock and the commander made it much more tolerable, and I also really enjoyed the throwback visuals that backed up her rather weak storytelling. I guess I’m just not much of a fan of the human story arcs in the game, aside from the Krytan throne politics. Kormir has never really spoken to me as a character, so I’m not shocked that I didn’t totally buy her excuses and admit that this could be just me!
What did you make of Act II? We’re nearing the end of my story deep-dives: Next time, I’ll cover all of Act III in a bumper edition, clearing the way for my general impressions and thoughts on the story in its entirety.
 Tina Lauro has been playing Guild Wars 2 since it launched and now pens the long-running Flameseeker Chronicles column, which runs every other Wednesday and covers everything from GW2 guides and news to opinion pieces and dev diary breakdowns. If there’s a GW2 topic you’d love to see covered, drop a comment Tina’s way or mail her at tina@massivelyop.com.


