

In this edition of Flameseeker Chronicles, I’ll share with you the main story points of the episode and will discuss my highs and lows throughout. Please note that, although major spoilers will be hidden by tags where possible, this article is best enjoyed after you’ve played the content for yourself due to significant spoilers throughout.
The story so far
I’m going to keep this fairly brief since the story is so fresh in our minds: If you need a bigger clue as to recent events, check out my PoF story articles. The commander died after an ambush by Balthazar and a chain of events occurred that allowed their spectral form to learn once more who they were and what their purpose was before final judgement. While in spirit form, the commander also encounters a cell containing none other than Palawa Joko: Balthazar has tricked and imprisoned him within this place and he cannot move on or face final judgement since he is not truly dead. He tries to coerce the commander’s confused and traumatised spirit into releasing him, but we resist and when we realise who we are the commander comes back to life, having resolved to vanquish Balthazar.
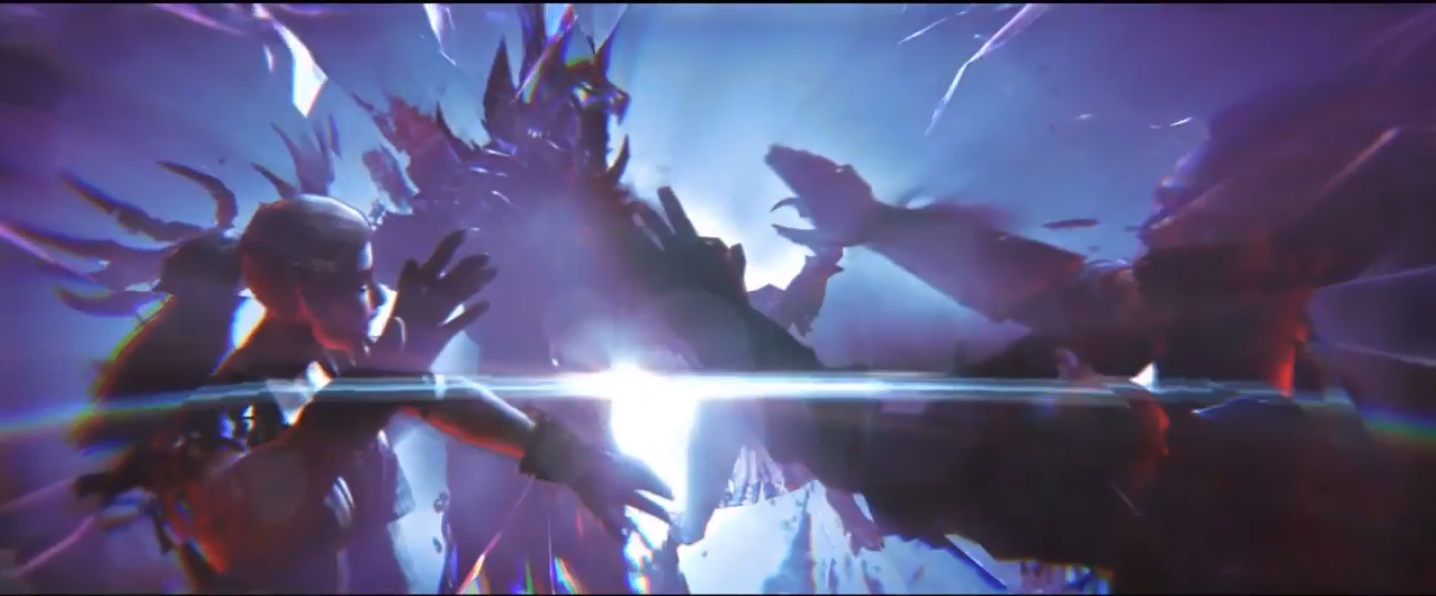
Knowing that Joko is trapped, the commander used Kas and her disguise abilities to take control of his armies and bring down Balthazar, but not before Kralkatorrik takes damage from a trapped Aurene who is forced into the war god’s Warbeast, and the pair accidentally absorb the untold power held by the war god from his rampage of dragon magic sapping. Both Kralk and Aurene flee the battlefield and the commander and company head to Amnoon to regather and inform the city leaders about Kralkatorrik being loose, but it is ultimately too late as the crystal dragon interrupts the celebrations over Balthazar’s death by appearing at the city gates.
Eye of the Brandstorm
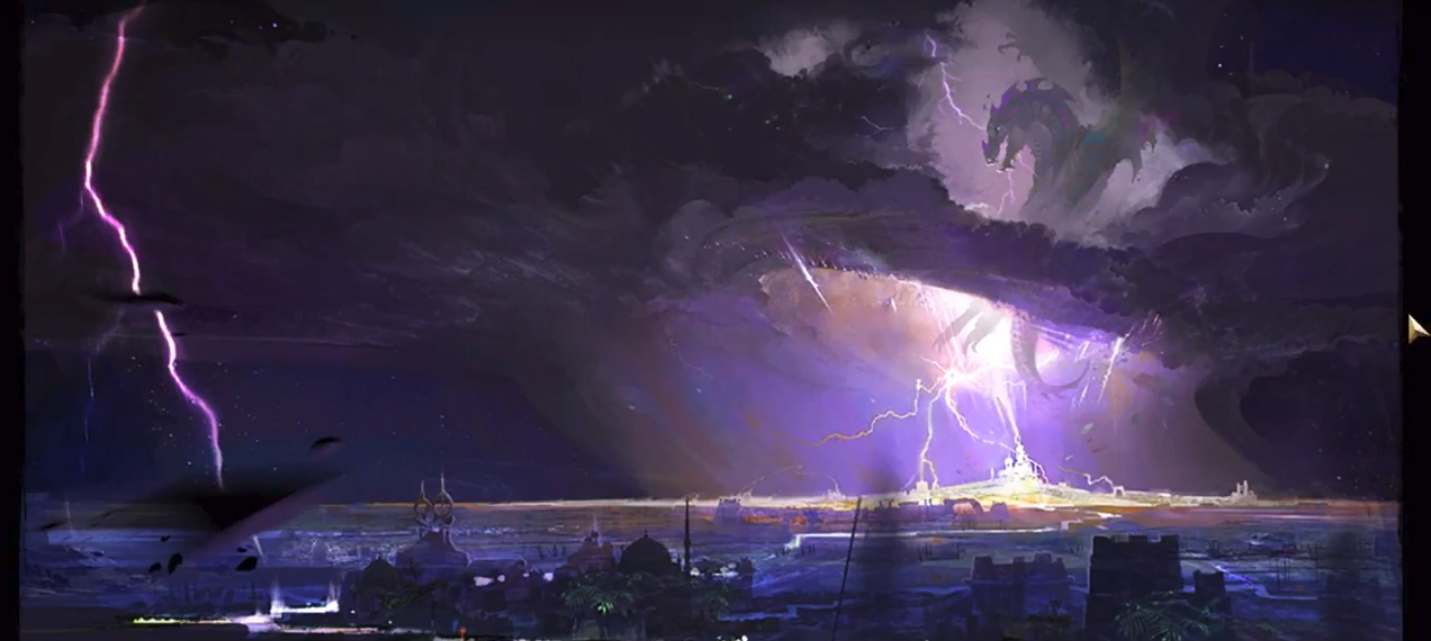
Taimi and Rytlock use the communicator to let the commander know that they are at a dolyak ranch just outside Amnoon and Scruffy 2.0 is almost ready to start the search for Aurene. We find the pair hidden away at the back of the corral after being told by Kito that they must keep a low profile since they stole Joko’s army, and Taimi also tells the commander that Jory and Kas have tracked Kralk to the mountains where he is acting strangely. Taimi noticed that her communicator signal is being disrupted just before a brandstorm hits Amnoon — with no sign of the crystal dragon overhead — and the party worry that Kralk has learned some new tricks to cause ranged branding like this.
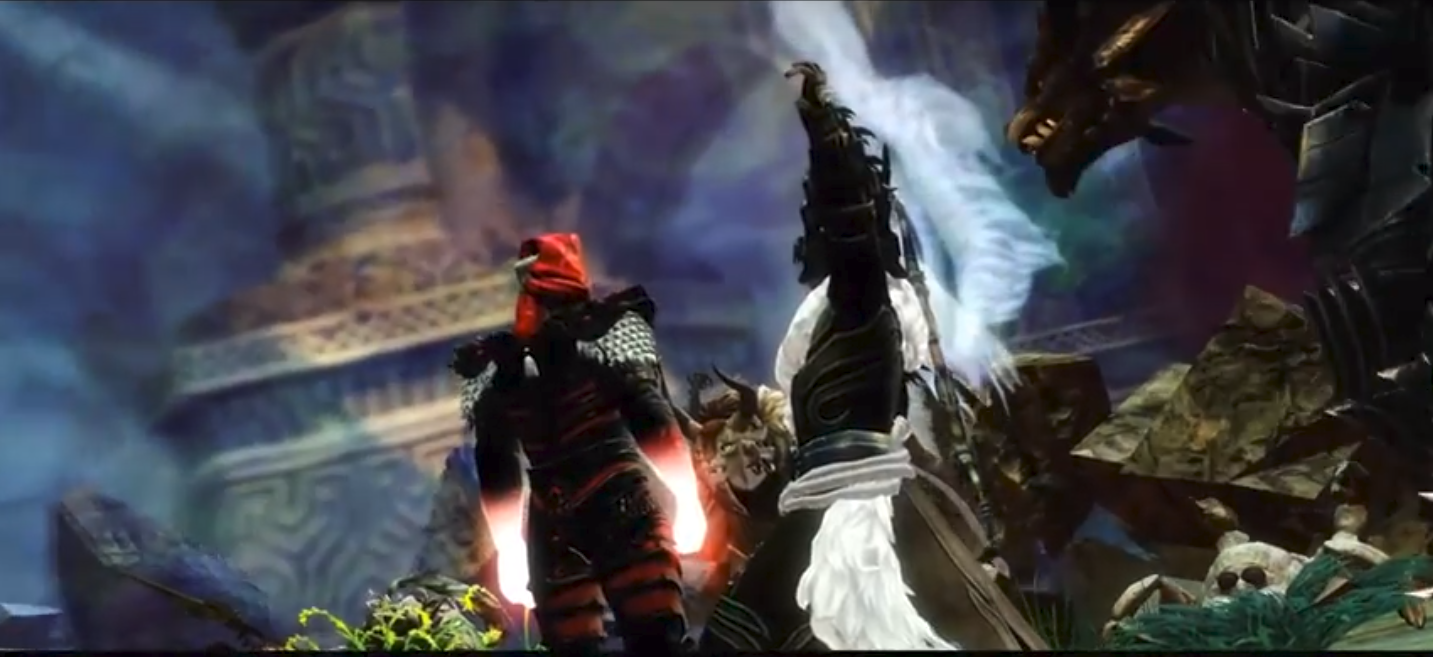
Rytlock and the commander head to the city to investigate, knowing that Canach is there collecting his winnings, while Taimi has Scruffy run a scan to check on how the storm came about. Citizens are trapped within crystal and the duo takes time to free them before they are forever branded, but then Rytlock and the commander notice that a much older looking Aurene is engaged in combat with a similarly sized dragon once they reach the south gate, where they also find Canach. After dealing with some Risen lieutenants and pesky crystals that heal the Branded and dispatching with the corrupt Deputy Qais, the wyvern that has tangled with Aurene lands right by the commander and attacks. The encounter is drawn out and quite difficult, but eventually, the commander overcomes the wyvern and approaches Aurene, who gives the commander and company a vision. Aurene’s vision is disorienting and scream-filled, but Agent Kito makes out the city of Fahranur in the chaos. Aurene takes flight once more while the party ask Kito about access to the city.
The party’s next steps are to track down the Sunspears to follow the trial started by the vision, and it transpires that they are hiding in the Astralarium in Istan. The commander ventures on alone as Taimi wishes to analyse the debris left behind in Amnoon by the storm while Canach and Rytlock stay behind to clean up any rogue Branded that are remaining.

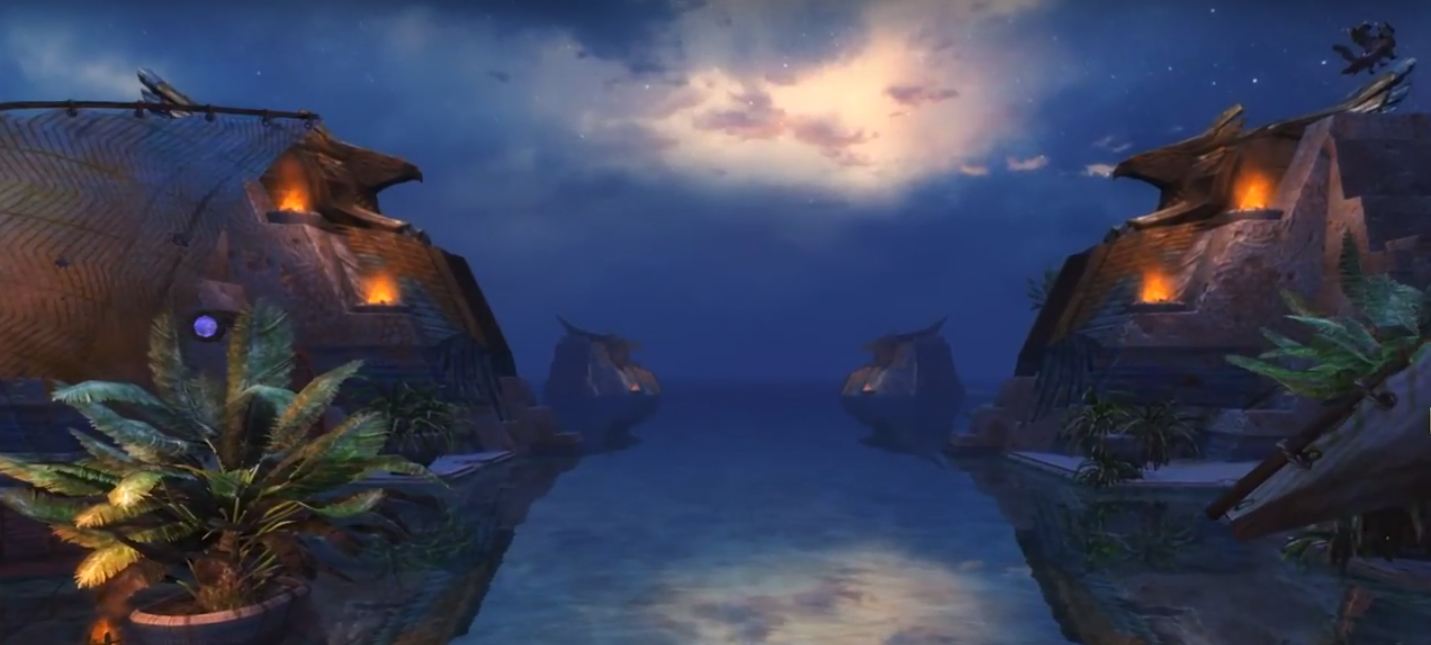
Under the Stars
The commander brokers passage with Dockmaster Jonnick, who mentions that Joko has placed a price on the notorious guild leader’s head. Once on Istan, the commander sets out to meet up with Kito and find Astralarium, the bank of knowledge on the island. Once located, the commander searches for the Archivist and she instantly recognises the god killing, dragon slaying leader as Canach’s crony who has a heavy price on their head. Archivist Rhadha lets the commander know that many scholars here are altering historic chronicles in favour of Joko, while others are risking their lives to preserve the true accounts of history. This secret archive is where the Sunspears hidden base is, but she explains that entrance will not come easily. The player must complete the area’s heart to impress Archivist Salwa, who is in charge of this restricted archive.
Reveal small spoilerThe commander eventually enters the Sunspear camp to seek entrance to the city from the vision, only to discover that the only person who can grant access to Fahranur is Spearmarshal Zaeim, who is off south to retake Champion’s Dawn from the Awakened. The commander is pointed to a priest there who would know the Spearmarshal’s location, so the commander sets off in search of the key to the city once again.
Champion’s Dawn
At Champion’s Dawn, the commander finds Priest Sazeer, but as he is telling the commander that the Spearmarshal did pass through to challenge Awakened, it transpires that Sayida the Sly has captured him in order to sell him to the highest bidder. The elder priest explains that the Sly Corsair family are seeking a coin that has familial significance to them, and that returning the coin could free the Spearmarshal. However, the Sunspear Champion holds the coin and no one has ever managed to beat him to earn it back. The commander follows a trail of the dead to find the southerly cave to attempt the feat; after all, what’s death and defeat when you’ve already been brought back to life once? The champion is an Awakened Koss Dejarin (yup, that Koss!), who has hidden in the cave system to be far enough from Joko’s draw to resist his command, and once the commander makes clear that the Sunspears still exist and a marshal is in danger but the coin can help, we gain the help needed after besting Koss in battle.
Convincing the Corsair
The commander has a check-in with the various guild members who are helping, and since Kralkatorrik hasn’t stirred on the mountain and the others are relatively free, it is agreed that they should all come and focus on the Sunspears. While the others gather, the commander heads off to the Slys to barter and is given access by a hidden Order member who is known to the Slys as the dockmaster. Sayida Sly knows the value on the commander’s head and is happy to claim the bounty until she sees the coin, at which point Kito apparates and joins us for negotiations. She explains that she has already handed the Spearmarshal over, but the commander suggests that handing in the god slayer is the perfect reason to recontact the Mordant Crescent, at which point the captured commander will break the pair free somehow.
The commander must help prepare grog before going to jail (I still am not quite sure why… something about a gift for the host?) and this occupies the commander for much of this chapter. This is a fun way to explore the area that is best done with mounts and a light heart if you’ve not completed this step yet. The grog is apparently strong enough to knock the enemy to sleep, so the commander hopes that all the effort is worth it later.
The Hero of Istan
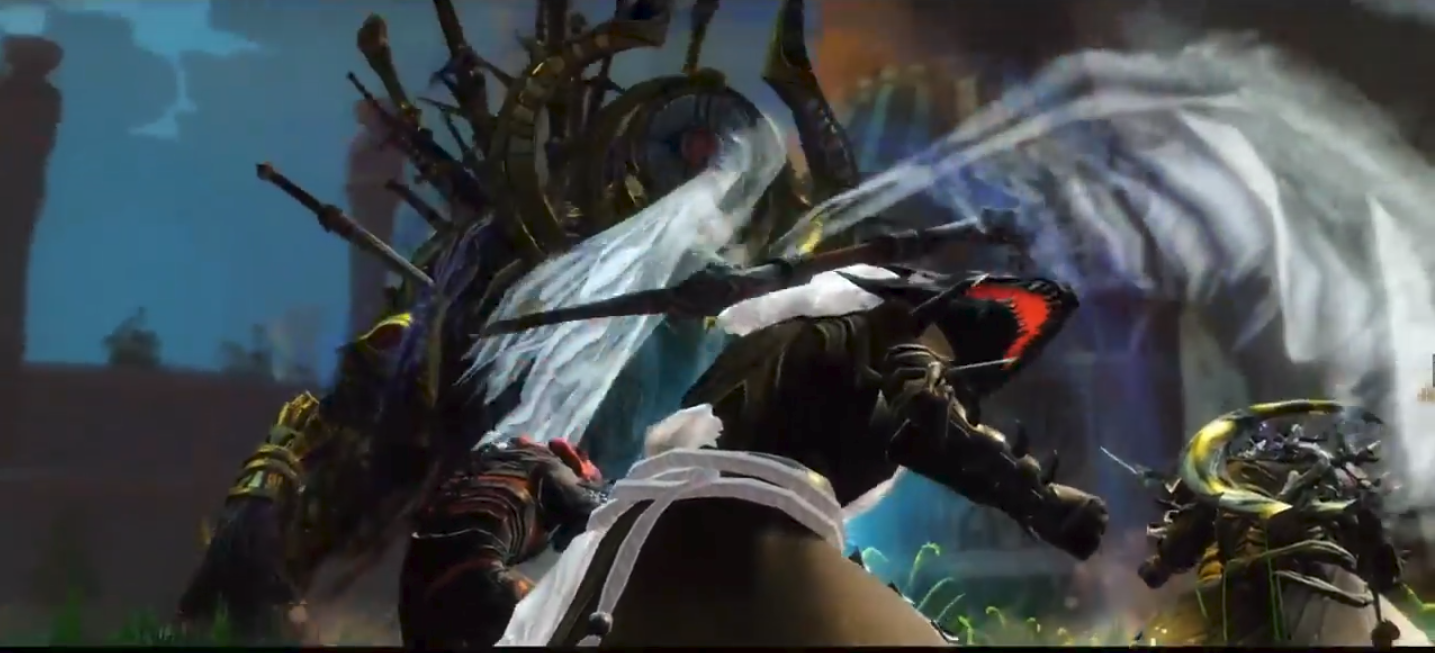
The commander meets a waiting Sayida outside the Great Hall to enact the grand plan: complete with her grog and manacles, she “captures” the commander and marches her gift inside. Warden Amala reluctantly agrees to toast to Joko with the sleep-inducing grog and the plan is going smoothly, until Taimi pipes up on our communicator and she knocks the commander out. We wake up in a holding cell next to Zaeim and introduce ourselves, and we note that the guards seem rather tipsy and soon fall to sleep as promised. The pair uses this time to find a way out, with the help of some hijinks and jiggery-pokery. When the commander is reunited with the iconic backpack, the communicator is missing, so they are alone to break free of the jail and convince the Spearmarshal to guide the guild to Fahranur.
Breaking out of the jail is fairly straightforward in principle: Guards are slain and the commander hears the communicator, but a pained and terrified Taimi is begging for rescue by the time this happens. She says that “he” has got her and she needs help, so the commander rushes into the great hall straight into Warden Amala, who expected the ruse. A fierce and greatly protracted battle ensues that slows the commander in the rescue of poor Taimi significantly, but we eventually get the communicator from her corpse and get through to Taimi again who thinks she is in the city from Aurene’s vision. We hear a voice that the commander is sure is Joko say that Taimi is next and communication ceases as a commotion kicks off outside the building that turns out to be the Sunspears facing off against the hall’s defenders.
Rytlock and Canach are with the forces and are shocked at Taimi’s capture: Rytlock urges s onwards immediately to find his friend. Unable to stay and help the Sunspears take Champion’s Dawn due to the Taimi situation, the commander yells out for Aurene to protect them and leaves swiftly to find the Lost City.
The First City
Our first task is clearing out the ibogas that block the path to the old city, but the commander and friends make short work of it. Awakened meet us at the gate of the city, so there is no respite for the weary to be found in Fahranur. Challenges exist to bar the unworthy from the city, which are conveniently geared towards the game’s new mount mechanics. After these tests, the commander must defeat the Mordant Crescent Arbiter who stands in the way, but afterwards, the commander finds her hair bow and knows that the band is on the right track. We enter further into the city and discovers that the Branded are also attacking in the area, but they thankfully do not distinguish between Awakened and the party. The commander eventually stumbles across Asuran bodies — though thankfully not Taimi’s — and it is noted with trepidation that they are Inquest.
To escape this walled-in area, Canach sets his bombs craftily, but the party is quickly becoming overwhelmed and, in the chaos and haste, Canach’s bombs accidentally ruin the roof above the party’s heads and cause an avalanche. Who should save the party from certain death, however, than our broody Norn frienemy Braham: Rox and the petulant son of Eir came through the same portal the Awakened apparently did, which have been spawning all over Tyria. Rox assumed the commander was there for the same reason until she is told about Taimi being captured, which riles up the tension between Braham and the commander once again as he blames us for “letting” Joko get Taimi and for putting Jormag to sleep. Braham does reluctantly put it to one side to join the commander in saving his little friend though and joins us in clearing out the Awakened in our way.
A flame wall slows the party once again, but the guildmates eventually overcome the barrier by disabling it. While we are frantically searching out Taimi’s location, we see Joko force her to override the systems for him and open the gate for more Awakened on security footage, and then the commander and Braham pursue her to the central platform with all the Awakened portals. An Awakened Asura passes on a message from Joko, however, and deprives the poor girl of air inside Scruffy by taking control of the assistance golem. The party need to get Taimi out before she runs out of air, but she has spent a lot of time upgrading the golem and it won’t be easily beaten, and there’s no guarantee that beating it won’t also kill Taimi or that they can disarm it before she runs out of air. I won’t spoil the fight mechanics for you and I’ll put the ending in spoilers in case you want to keep Taimi’s fate a mystery, but suffice to say I enjoyed the quirk offered by the encounter, even if it was another long-fought uphill slog.
OK, no, what happens to Taimi?!
What I rated
I loved the novel use of mechanics to spice up the action in the opening episode of the season. I also love that ArenaNet was brave enough to seriously mess with a character that is as beloved as Taimi, and I give huge props to her voice actor for pulling on my heartstrings with her terrified antics. I like that the Braham thread was picked up: He is a naturally restless NPC and I knew that affecting Jormag would mean he would have to focus on something else for a while, but I didn’t know how they’d cool him off the dragon trail while the rest of the story has time to unfold. I love the continued nods to the franchise’s history too.
What I hated
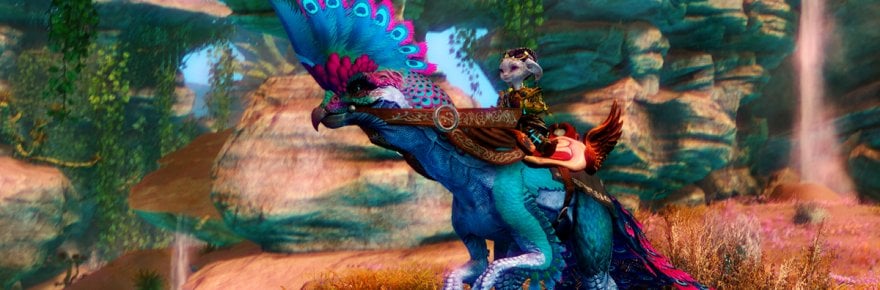
Aurene’s new appearance isn’t my favourite thing ever: I know she’s in the awkweird teen phase at this stage, but her proportions are so drastically different that I don’t see the link to the little hatchling we all fell in love with. I disliked how frantic and thrown together some of the location jumping felt, and the commander is beginning to have a nasty habit of giving their life story to everyone who questions them despite everyone seemingly knowing who we are at this point in the story.
I also am not so impressed that none of the guild members decided to check in with Tyria and ensure that there are not more portal sources where this hub came from: Although taking out the hubs right here is the best practice, stemming the bleeds caused by the overspill on the other side is a job that a guild member or two could perhaps have done. Sending messages to Logan is a little bit of a hamfisted way to handle the two sides of the coin, don’t you think? With Inquest intelligence, Joko can be in many places at once and is focused on the commander and their homeland, so I feel grouping like this is somewhat shortsighted.
Over to you!
What did you think of Season 4’s opening? Let me know your thoughts in the comments below. I’ll share my thoughts on the other new content from the patch — including the raid — in my next edition of Flameseeker Chronicles.
 Tina Lauro has been playing Guild Wars 2 since it launched and now pens the long-running Flameseeker Chronicles column, which runs every other Wednesday and covers everything from GW2 guides and news to opinion pieces and dev diary breakdowns. If there’s a GW2 topic you’d love to see covered, drop a comment Tina’s way or mail her at tina@massivelyop.com.


