
After my initial dev tour through The Secret World’s Issue #12 , I couldn’t wait to get back into the newest dungeon, The Manufactory, on my own Illuminati. Heck, I was so excited that I went ahead and poked into it without a full group — an endeavor that did not end so well, I might add. The Manufactory is no pushover by any means, especially in the Nightmare version, which leaves little margin for error during the fights. Luckily for me, I had the opportunity to go through my first time with Lead Designer Romain Amiel and Communications Manager Tor Egil Andersen, who shared tips and tactics on how to face the trouble down in the Orochi Tower’s basement — tips and tactics I am happy to pass along to you! And for those who aren’t as geared up as a dev-tour toon (like all my personal characters!), I’ve got a few tips I have gleaned from my own run-through.
In the interest of letting folks discover all tactics on their own if they prefer, I forewarn you that this little guide does contain spoilers! However, I am not providing a step-by-step walkthrough to lay out exactly how everything should go; rather I am just giving a peek so players know a bit of what to expect. If you’ve got plenty of time to kill (our run went nearly three hours) and want to see the fights through the eyes of a front-line battle photographer (me), you can check out our streamed run.
 Start at the beginning
One of TSW’s signature aspects is the lack of pointless trash mobs that seem designed for nothing more than elongating your time in the dungeon. In The Manufactory, there are scant trash mobs, and even those can be easily avoided for the most part (although players who want the cat ears clothing piece or lore will definitely want to clear them). No where is this more apparent than when you first open those elevator doors to enter the dungeon and come face-to-face with the blue boss barrier. Yup — there’s no exploring for you until you face and dispatch the first of the bosses. Trust me, I tried; that would be the part that didn’t end so well before!
So without any dillydallying, you get ready for your first boss encounter, who you come to find out is John. In fact, John is the only boss you face throughout the entire dungeon. He takes on different forms, but every bit of mechanical mayhem is all him. You see, John is holding a grudge against you, the player, a grudge that plays out in all his little taunts throughout the dungeon. Hopefully your team will have a few deaths during your run so you can hear some of those barbs he tosses out! You might even want to be sure to wipe once on the final boss just to experience that special little cutscene. Otherwise, here is an overview for finding success in your fights.
That first miniboss payers will encounter will be a single cyborg that John takes over in order to launch at the group and crush them. During the fight, he’ll unleash little balls of energy that will crackle and grow. Each ball will deal basket loads of damage if not contained, so a player who has the cybernetic AEGIS shield on (and as Amiel pointed out to me, be sure your shield is at at least 1,000 and at close to full strength!) needs to walk on over and basically stand on the ball. This will absorb the blast, keeping the rest of the group safe. It might also be a good idea to interrupt the cyborg’s psychic shield so it doesn’t come back up! And avoid spinning cyborg at all costs.
 Moving on
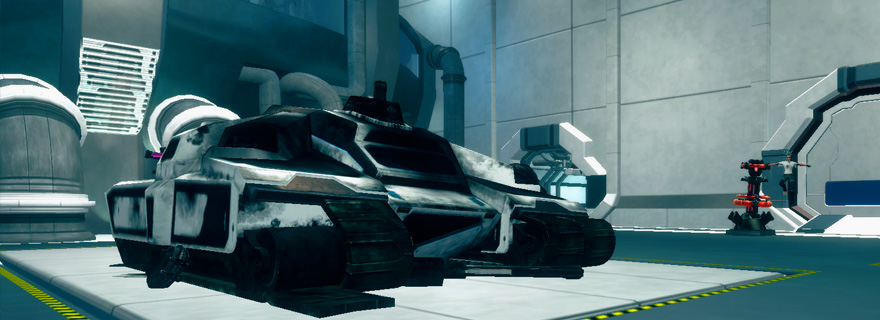
You’ve bested the first miniboss? Then it’s time to move on! The next room does have a couple of trash mobs, but players can pick which one to take on before descending down to the next boss, which happens to be the tank one revealed in screenshots before the issue released. For this fight, your tank tanks the tank while the DPS splits up, each one taking one of the three surrounding turrets. This is vital, as every 20 seconds or so these turrets will create a beam that will regenerate the tank’s (the mob, not your groupmate) AEGIS shields. The turrets also do more damage to players over time, so the faster the DPS can incapacitate them, the better. To add to the fun, there is a laser on top of the tank that will occasionally target players and root them. Here is where the tank gets to get active: S/he can step in front of the beam and steal it, redirecting it elsewhere so DPS can continue their work. You’ll know if you fail to interrupt a turret’s cast, as a colored beam of shield-regenerating goodness will shoot at the tank.
For those who really want the bunny ears headpiece, there are a few more trash mobs in the hallways as you continue on. Be warned, however: In TSW, we call trash mobs boss trash! In my non-dev run our tank was heal-tanking, and noted that with that build the trash mobs really were harder to deal with than the bosses!
Farther in, players will encounter new mechanics in a boss fight. According to the devs, this fight is a fairly complex one; Amiel told me, “The best way to explain it is it’s a domino fight.” Basically, the only damage this trio of cyborgs will take is from the other cyborgs! These three bosses have a special shield that makes them invulnerable to player attacks, so groups must find the way to make them hit each other. But there’s a catch: The bosses need to attack one another in a specific order in order for the chain of events to lead to victory. Hence, the domino reference. In addition to this, when one cyborg dies, the other two enrage, and the more health they have at this point, the more damage they can dish out. Amiel noted that the elite version won’t be too punishing when payers mess up as they learn the fight, but in nightmare mode, he said, “You need to apply the mechanic properly.” I’ll just add to make sure the adds don’t, well, add up in here or things will be even more difficult.
Although you may not care so much about trash mobs, if you are interested in getting the lore, you’ll need to go to the other side of the conveyor belt after you defeat the bosses and clear out all the cyborgs there to reach one lore at the end of that room.
 Hacking in
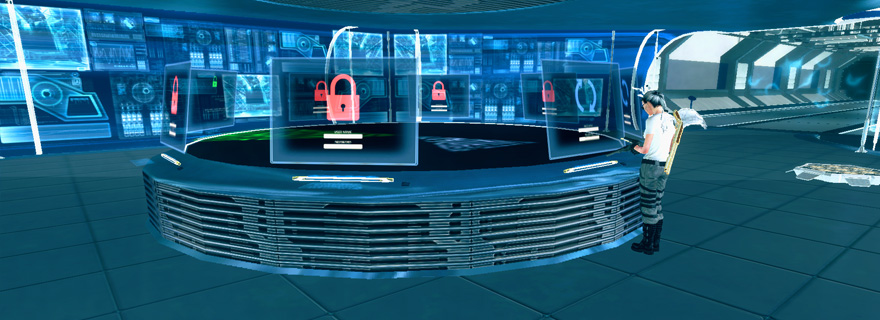
This next encounter isn’t actually John; instead, you are facing the Mitsubashi again, the bee-blessed Orochi. That team of five is trying to prevent your team from hacking into the computer. (Here’s a hint for this: The Mitsubashi respawn on a timer, so explore while you can, but be sure to keep up the pace). In true TSW fashion, the fastest way between two points is not a straight line. You come to a blast door that you want to get through, but you can’t; there isn’t a direct route, so you have to go around. And that’s where more fun comes in. This series of encounters will give players a chance to use their PvP builds if desired. Personally, I used my survivability one that I use in scenarios instead. These builds work well because the group is not necessarily concentrated on any one mob, and all the mobs will be trying to knock your tank down (who, if she happens to be healing, won’t be able to heal you frequently).
Once you get to the necessary terminal, most of the members of your group will actually be trying to keep enemies off your hacker so the process isn’t interrupted. Hint: Don’t actually kill those adds too fast because they gain in power; just keep them occupied. If your group takes too long, you might also have to deal with a counter-hacker.
Another hint for lore collectors: Don’t try to pick up the one in this section until after you complete the drone boss so that all the manifestations are gone.
After running through a bit more trash (which gives you a hint of what is coming up), you come the next boss. Like the balls of energy from the first boss, exploding drones await players. The drones, however, utilize all three AEGIS attacks and will randomly latch on to specific players. The best way to save your team is to approach it like you did the first boss: Run and step on the orb if you have the corresponding shield up in order to absorb the damage and neutralize the threat to your groupmates. After all that is defeated, you get to face the conglomerate drone; here, I’ll leave you with the tip to be sure you trade off who stands closest so no one person takes the full hit twice.
 The end is nigh
To finish things off, you’ll have to retrace your steps a bit by jumping through the now-shattered windows. But before you lore collectors shout Geronimo, look out carefully and you’ll notice a lore perched on a pipe just below the window. Once you get that, then you can drop to the floor. Next up you’ll want to face a cute smiley machine (aka a security mech) that drops another lore when defeated. Then it is the final run through a long tunnel and a few trash mobs to reach The End.
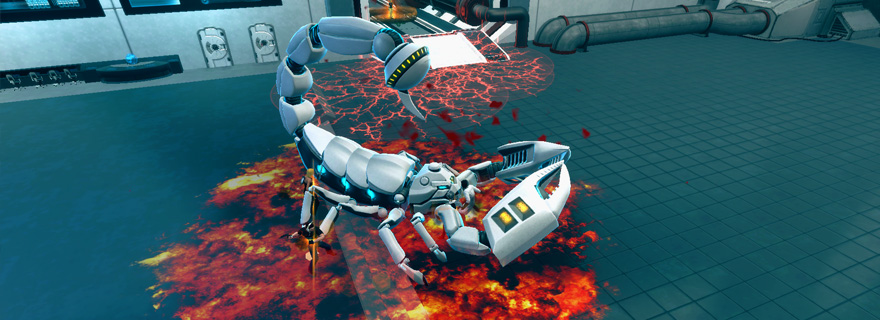
John amusingly gets frustrated and throws a tantrum when he can’t take over a certain mech, but he does find something else from the facility to exploit, and that is the final battle. Without giving away the entire fight, I’ll just say be sure to coordinate who uses an ultimate power in what order so you don’t waste any, and only use it on the baby scorpions. Also, try to contain the lava placement so you can still move around the room. And my final tip: When one player gets pinched from under the ground, run and stand on the claws with your groupmate to spread the damage among you all (although if a player has enough health to actually survive that solo, there is an achievement for doing so!).
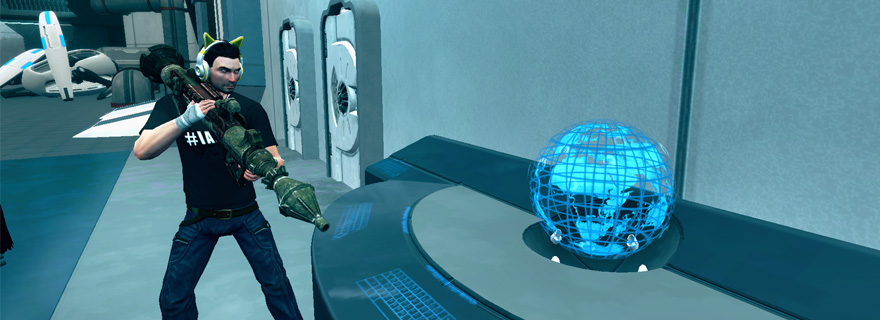 Made it through all of that and defeated this final incarnation of John? I’d recommend taking a look around the room with a focus on the monitors. There just might be a few interesting things depicted there to make you wonder…
 Is it real? In The Secret World, rarely is it not. Conspiracies, ancient legends, paranoia, secret societies, chaos — they all swirl together in a cacophony of reality. In Chaos Theory, MJ Guthrie infiltrates this secret world, exposing the truths that lurk beneath the surface. The big question is, can you handle the truth?
