

Moongrave Fane is the name of an ancient Khajiit temple ruin – and it’s also one of the dungeons releasing with The Elder Scrolls Online’s new Scalebreaker DLC, which just so happens to be launching today. Last week, ZeniMax Online Studios took me on a guided tour of this flame-infused vampire-ridden ruin, and I came away rather impressed.
Just a couple of notes before we dig into the impressions: This article is based on my experiences with Moongrave Fane on normal difficulty. It contains spoilers for both the dungeon story and mechanics. If you’d rather discover those things for yourself, you’d best come back after completing the dungeon!
The dungeon starts with a conversation with Chevalier Renald, who vows to “tear the Hollowfang Clan down to its foundation.” Through Chevalier, we learn that the Hollowfang Clan is a group of vampires that has talked Renald’s friend Grundwulf into helping them trap a dragon. The Hollowfang plan to drink the dragon blood in an attempt to gain super dragon blood power, as you do. Of course, Renald sees this as an enormously bad idea, so he enlists the help of your dungeon group to distract the vampires while he attempts to rescue the misguided Grundwulf.
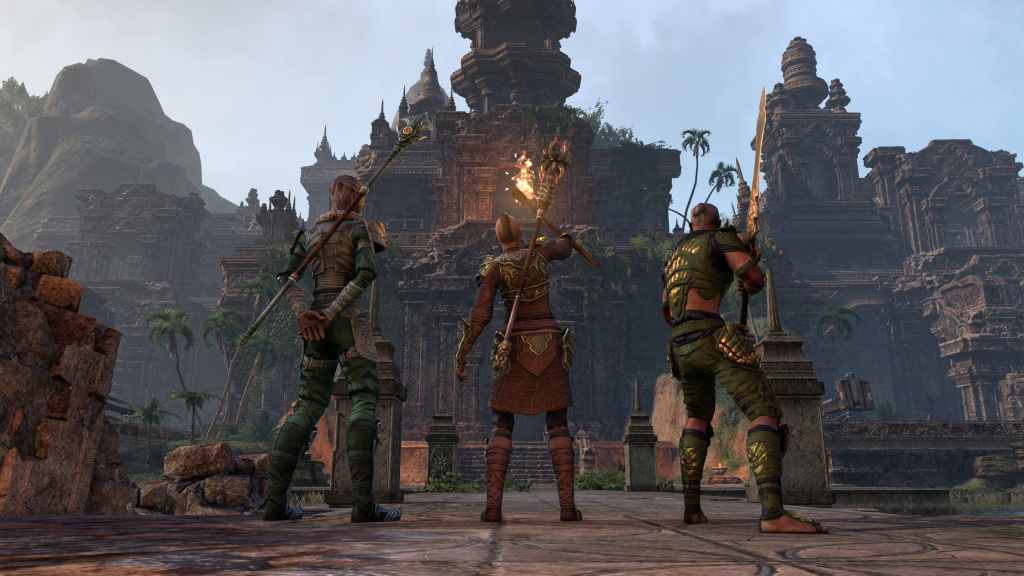
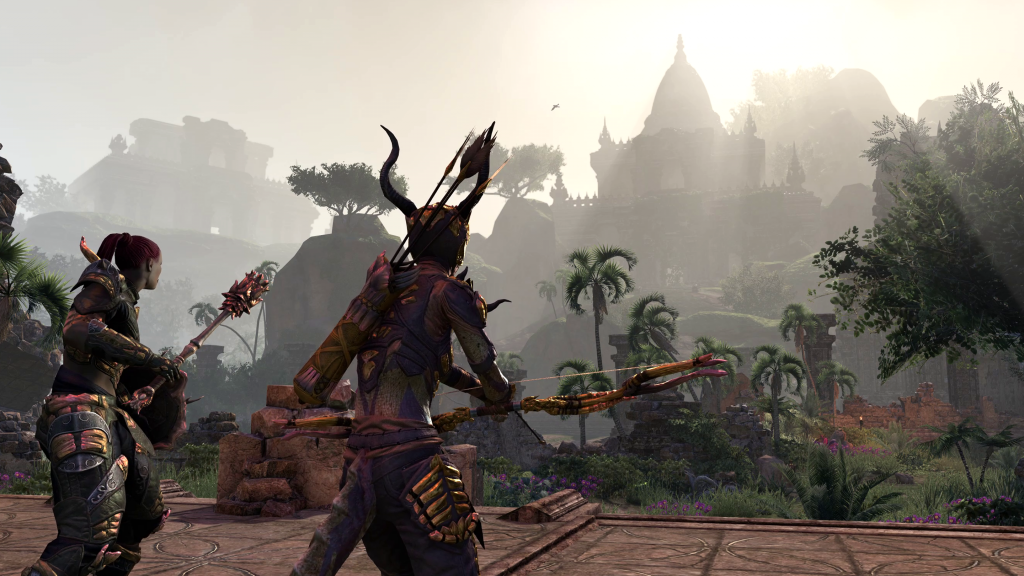
Upon entering the breached outer wall of the ruin, the player is treated to a beautiful view: a vast landscape that speaks to the enormity of the temple amidst crumbling walls and overgrown pathways. But one mustn’t dally too long! Just ahead, we find a pair of vampire cultists who have discovered a large block (called a sliding stone) on the trial. They slide the block back and forth as they try to determine its purpose. This is ZeniMax’s way of introducing a new dungeon mechanic. As we learn after dispatching the cultists, we are also able to manipulate the large block, through light and heavy attacks. In the case of this first block, we’re required to place it on a pressure plate and open a doorway leading to the next section of the dungeon. In later areas of the dungeon, the sliding stones become increasingly important. In an extra blast of realism, if a player character gets hit by a sliding stone, she’ll be knocked backwards!
The second sliding stone puzzle is slightly more complicated as it involves two stones and two different rooms, but it should still only take a few minutes for experienced delvers to solve. I’m a big fan of the sliding stone/pressure plate mechanics. The puzzles inject an aspect that differs from the normal in-combat dungeon mechanics, and they bring back memories of time spent in puzzle-centric games like Portal.
Another new mechanic shows up during the first boss fight in the form of hemo helots. Hemo helots are ritual circles where “blood must be sacrificed,” be it blood from an enemy NPC or blood in the form of player character health. To sacrifice the blood of an enemy, you must kill said enemy inside the ritual circle. To sacrifice your own blood, you must activate a synergy while standing in close vicinity. Completing the sacrifice results in a levitating “blood ball” that must then be defeated in order to cause spatter damage (my term, not theirs) to ensure the boss remains vulnerable to attack.
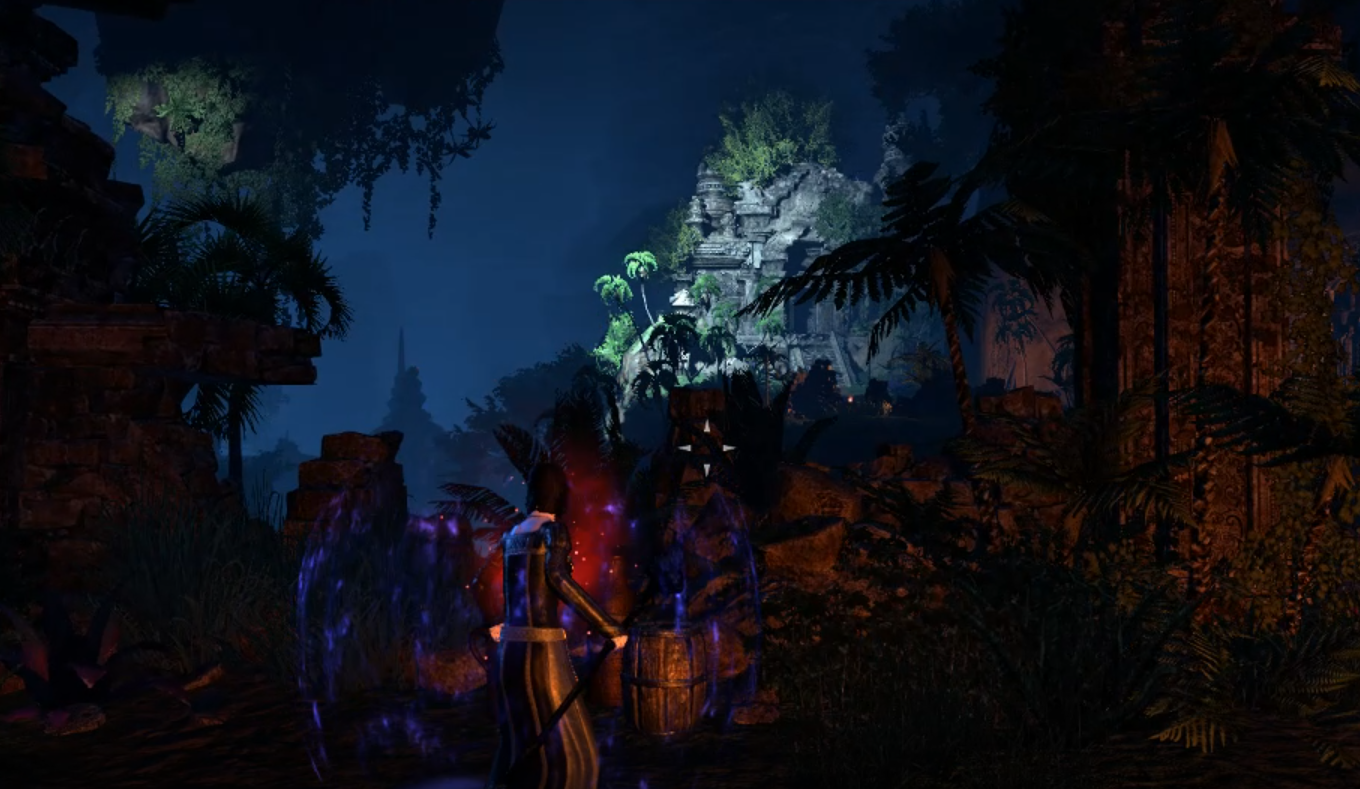
Between the first and second bosses lies possibly my favorite bit of scenery in the entire dungeon, and if you’re not paying attention, you could miss it entirely. In one very dark section of the path, as you look across the way through what appears to be a hole left by crumbling walls, a large section of the underground portion of the temple is illuminated by some unseen hole in the cavern ceiling. It’s a fantastic use of lighting that really showcases the beauty and mystery of the ancient Khajiit.
The second boss fight also makes heavy use of the hemo helots, but in this case, the big bad Dro’zakar draws power from them. So be mindful to burn them down as soon as they spawn. At one point in the fight, Dro’zakar turns himself into a giant pool of blood, slithering around on the floor. You’ll notice there is a very sanguine theme in this dungeon. The vampiric theme has been heavily drawn upon for both bosses and boss fight mechanics.
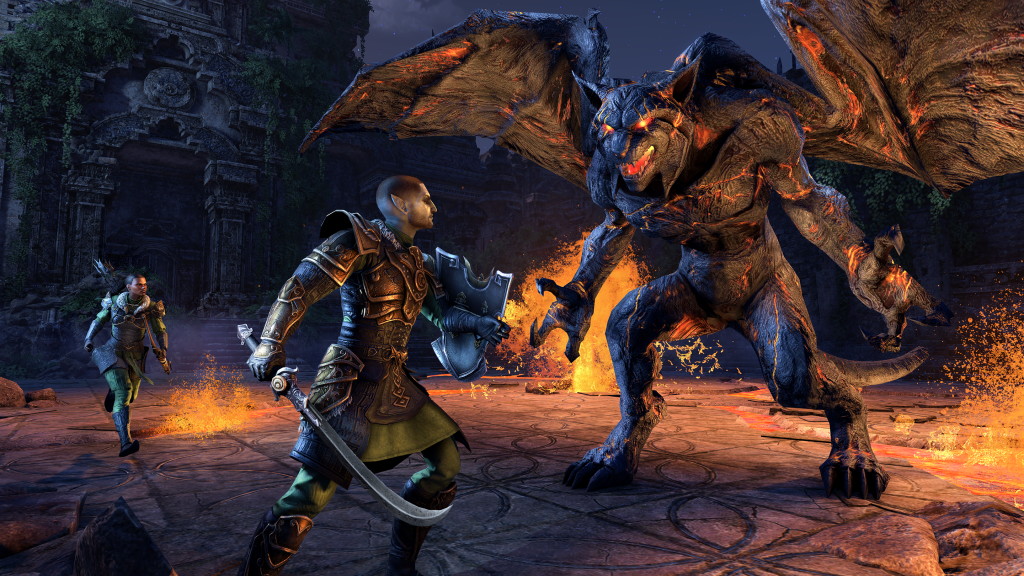
After the Dro’zakar fight, players are treated to a winding pathway through fallen walls and flooded corridors before meeting back up with Chevalier Renald, who appears to have been successful making his way through the hordes of Hallowfang Clan lackeys. Unfortunately, he disappears almost as quickly as he shows up, leaving you to face one of the most interesting bosses in the dungeon, Kujo Kethba.
Kujo, a gargoyle, lives up to his fearsome name by pounding on the ground, throwing fireballs, and causing flame-spitting geysers to appear at random points on the floor. Players must move the two available sliding stones around the battlefield in order to cover the flame geysers and plug up the holes. This is a fun combination of the puzzle aspect introduced earlier in the dungeon and normal boss fight combat mechanics. It does take your DPS away from damaging the boss for a period of time as well as scatter them around the field of play, so healers, be on your toes!
Once Kujo is kenneled, the group dives deeper into the underground portions of the ruin, which eventually opens up into a vast, Moria-esque room that includes not only the downed dragon but also two bosses: cultist Nisaazda and Renald’s pal Grundwulf, who was not swayed to abandon the plan. While Nisaazda falls, Grundwulf turns into a colony of bats and flies down to the injured dragon, where he empowers himself by consuming the dragon’s blood. Thus, the final boss fight begins.
As the blood of the dragon is extracted, little bits of it fall on the floor and start to fight you. I actually laughed when I first saw the coagulants appear as enemies, but it does lend to the awesome power of the dragon blood that even tiny drops of it can be lethal. Simultaneously, the dragon, unhappy with this unsolicited transfusion, begins spitting fire in all directions and lighting up the edges of the room with flame, a nice cinematic touch.
As the group battles against the dragon blood-enhanced Grundwulf, the weakened dragon looks on, attempting to muster enough strength to assist. Eventually, he blasts a fiery breath in the direction of Grundwulf, who hides behind the sliding stone. It’s up to your group to move the stone so he can be weakened by the dragon fire. Once Grindwulf has has been killed, we get to witness the dramatic demise of Sahrotnax, the captured dragon.
I really enjoyed this dungeon. The ambiance of the Khajiit temple ruins coupled with the new sliding stone mechanics and the overall story involving a trapped dragon provide for an interesting and satisfying run. Just make sure that as you’re cruising through this one, you take the time to look around and appreciate the mysterious beauty that surrounds you.
 Traverse the troubled land of Tamriel in the Elder Scrolls Online! Larry Everett and Ben Griggs will be your guides here in Tamriel Infinium on Wednesdays as we explore together the world created by ZeniMax and Bethesda in one of the biggest MMOs in the genre. Larry and Ben welcome questions and topic ideas!


