In this edition of Flameseeker Chronicles, I’m going to share my first impressions of Season 3’s second installment, based on my experiences over the weekend’s preview time. I played through the best part of two chapters and tackled the new jumping puzzle while I was hopping around the islands. I’m going to keep the article intentionally light on the spoiler front since this episode is just launching today and I want you to enjoy it for yourselves, but please don’t read on unless you’ve completed the first episode and are up to date with the story so far if you’re worried about spoilers. Anything that I feel could be too revealing will be placed behind our special spoiler tags for your reading convenience.
 Living Story Season 3
The story so far
Should you need it, I have an in-depth outline of episode 1’s contents in my Out of the Shadows breakdown, but I thought I should give a quick outline here to set the scene before launching into my playthrough experiences. The player character met up with the usual suspects — minus the sick and the grieving, that is — at Eir’s funeral and was talked into forming a new guild in preparation for vanquishing the remaining dragons. In Rata Novus, Taimi explains that a Bloodstone in the North is flaring on her leyline energy map and sends you to investigate.
Your character is almost caught in an explosive-then-implosive blast that we later learn was caused by the destruction of the bloodstone. Strange aftereffects are seen everywhere in Bloodstone Fen, and both the environment and its inhabitants are forever warped by the blast. Players learn that Bloodstone energy can be harnessed and consumed, which leads to some interesting counter mechanics once a mastery has been unlocked. The White Mantle are a huge theme in the first episode and the player helps Canach chase down Caudecus, the corrupt minister who soon admits to being in charge of the White Mantle’s recent activities and announces that he wants the Krytan throne for his own.
It is then that none other than Lazarus arrives on the scene, calling Caudecus a heretic and displays no interest in the throne, so we’re presented with a rift in the Mantle ranks and no clear answer as to who is responsible for the bloodstone explosion, though Lazarus becomes our prime suspect. We fail to apprehend either Mantle leader in the confusion, and the episode ends with Taimi dropping a Primordus-shaped bombshell, explaining that the dragon is active.
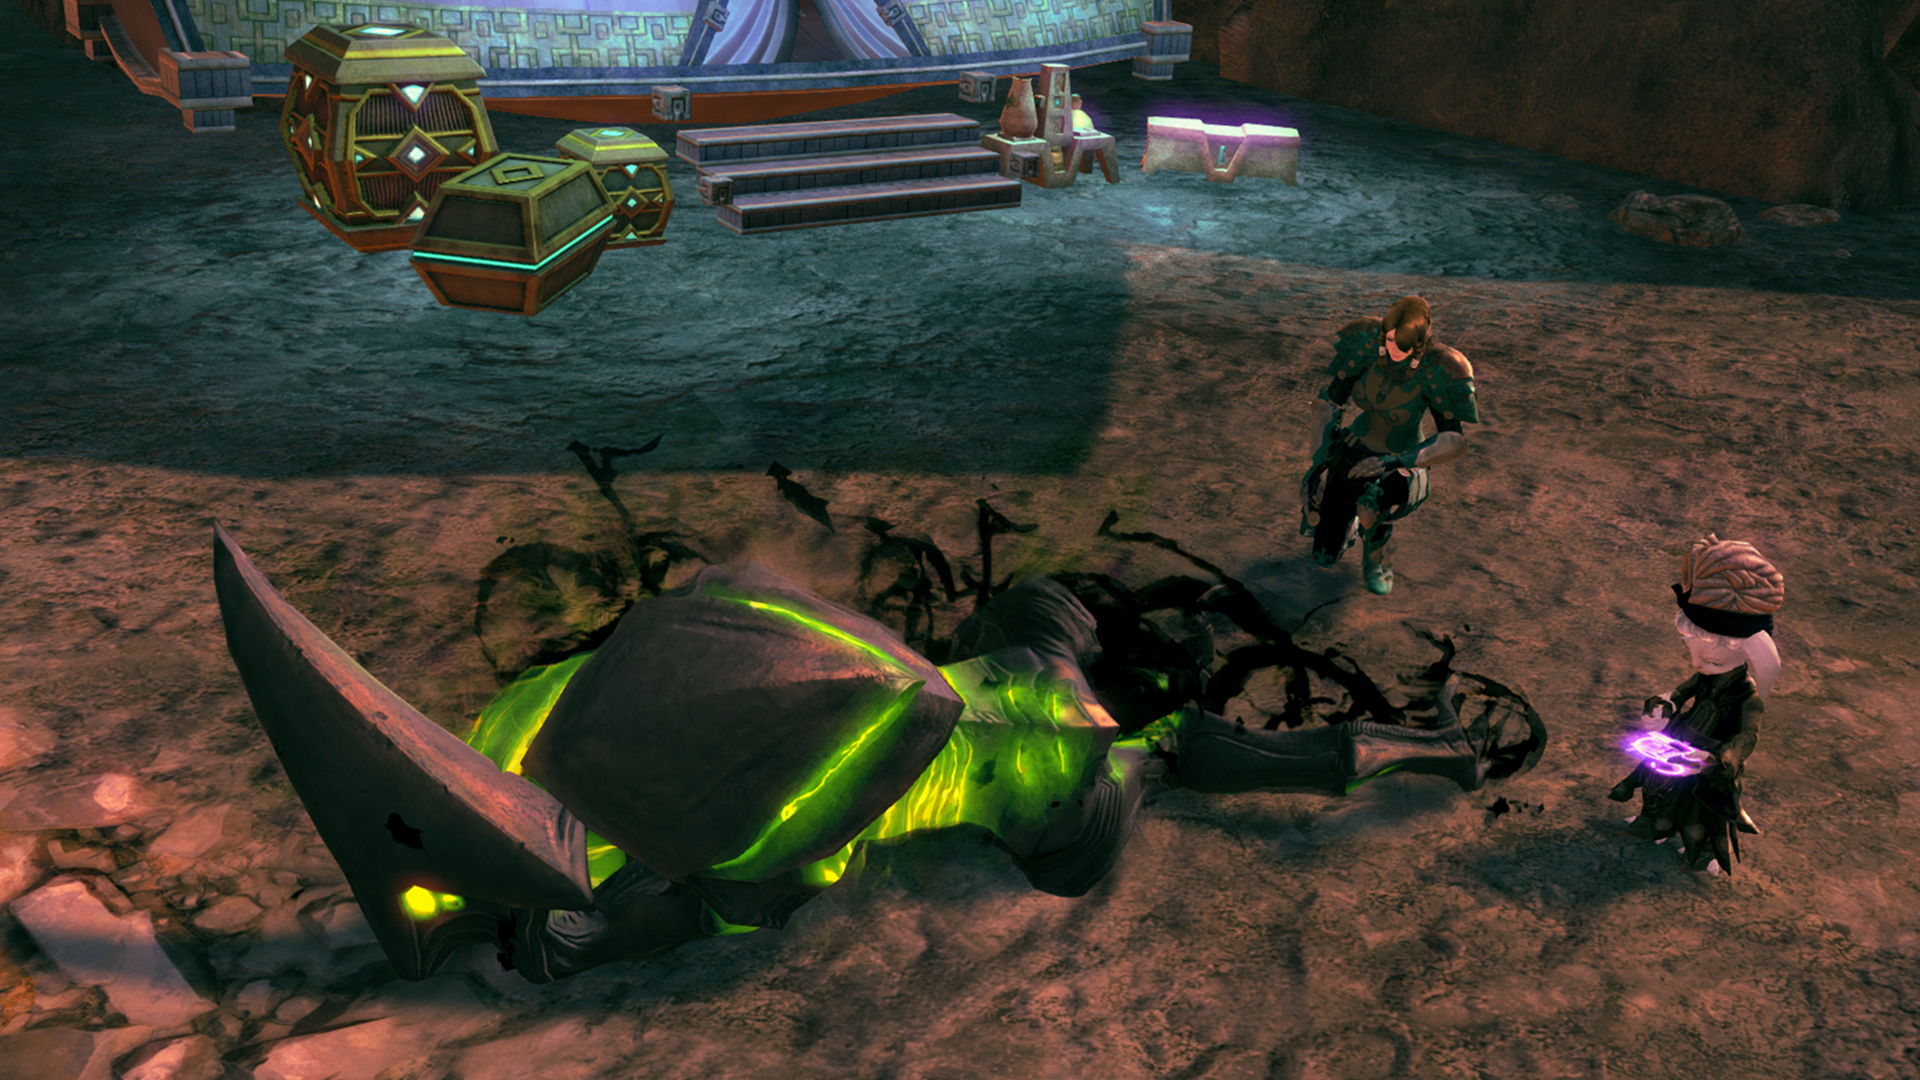
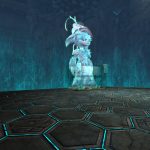
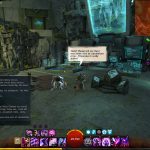
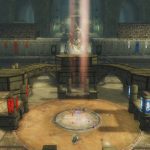
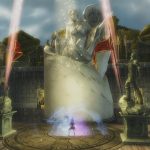
My press preview playthrough started with a chapter called Taimi’s Game in which we joined the diminutive prodigy back in her Rata Novan dragon lab. I adore the scripting for Taimi — especially in this season — and this episode features even more charming laugh-out-loud moments for us Taimi fans to go nuts over. Things are never simple when it comes to Rata Novus and the tiny genius, and this time around we are placed in a simulation room of Rata Novan design that Taimi discovered in our absence.
Click to reveal spoilers about the simulation room!As the simulation plays out, the player character is briefed on Taimi’s work and everything that she has learned while the happenings of episode 1 were occurring. Taimi has thrown herself even more deeply into her work and notes that her Asuran pride is at stake as Primordus is the next dragon target. She also explains why the Fire Islands are the direction in which this episode takes us: Primordus is on the move and has headed there. You’ll need to play for yourself to find out why!
There is much more to learn in the chapter, of course, but I won’t say any more for fear of massive spoilers ruining your fun. I was absolutely gobsmacked by the reveals in this chapter in particular, and I can’t wait to hear your thoughts as soon as you’ve uncovered the lessons Taimi teaches us. There are fun Easter eggs and funny asides to enjoy there too, so take your time looking around. If you watched the promotional videos released by ArenaNet over the last week, then you might be familiar with some of the enemies we’ll fight in the new zone, so some of the simulated goons may not be much of a shock.
After learning all we can from Taimi, we head off for the Fire Islands for her in order to help her research. Without explaining specifically why she needs us to head off, I don’t mind saying that Ember Bay is quite a dangerous environment that holds many nasty creatures and mursaat secrets for the player to find. Our main task is to explore the hostile environment and kill what we find, but there’s plenty more to see and do on the island that isn’t strictly related to the Living World story. I was thoroughly impressed with just how expansive and rich the new zone is, especially since it being introduced as part of a story episode and not as part of paid expansion content.
Click to reveal spoilers about the new renown hearts!Getting around is fast and fun with the introduction of thermal tubes and the clever use of leylines to form a sort of rollercoaster route that makes unbound magic gathering much more fun. Thermal tubes catapult characters into the air in much the same way as jump pads do. Most tubes will launch you towards another one, creating a transport line that links key locations together, but players can simply open their parachutes to come off the track if they see something of interest.
 Resources are hard to come by in the dangerous, scorched terrain, so nodes work a little bit differently than you might expect. Petrified wood is a sort of currency in the zone, operating in much the same way as unbound magic is. There are specific daily heart vendors too. Speaking of unbound magic, I love how its dispersion across Ember Bay locations leads players to branch out in exploration, much the same way we do in Bloodstone Fen. The climbs in Ember Bay are rather challenging, which leads us quite neatly to the ginormous jumping puzzle we can find on this map.
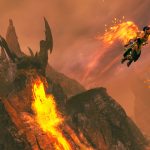
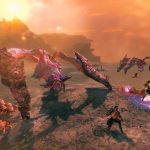
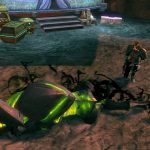
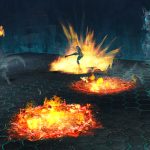
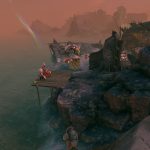
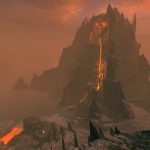
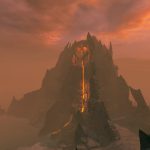
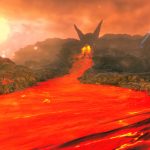
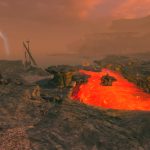
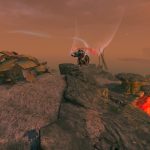
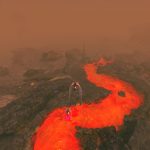
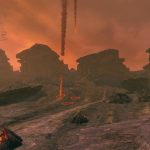
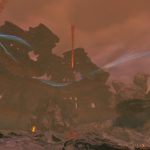
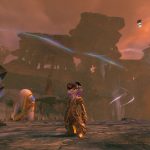
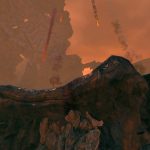
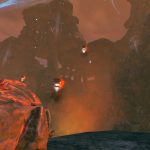
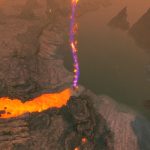
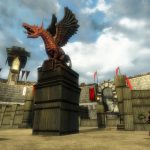
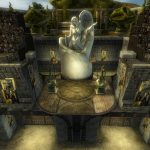
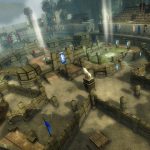
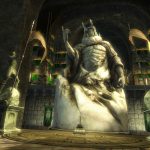
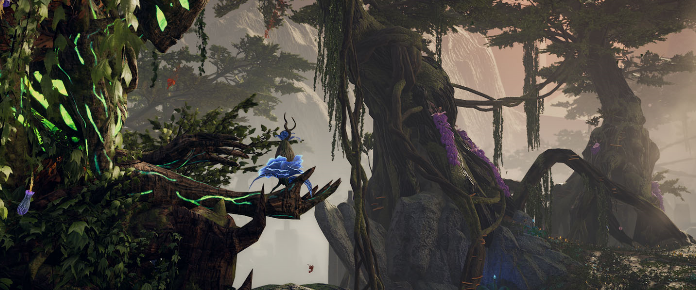
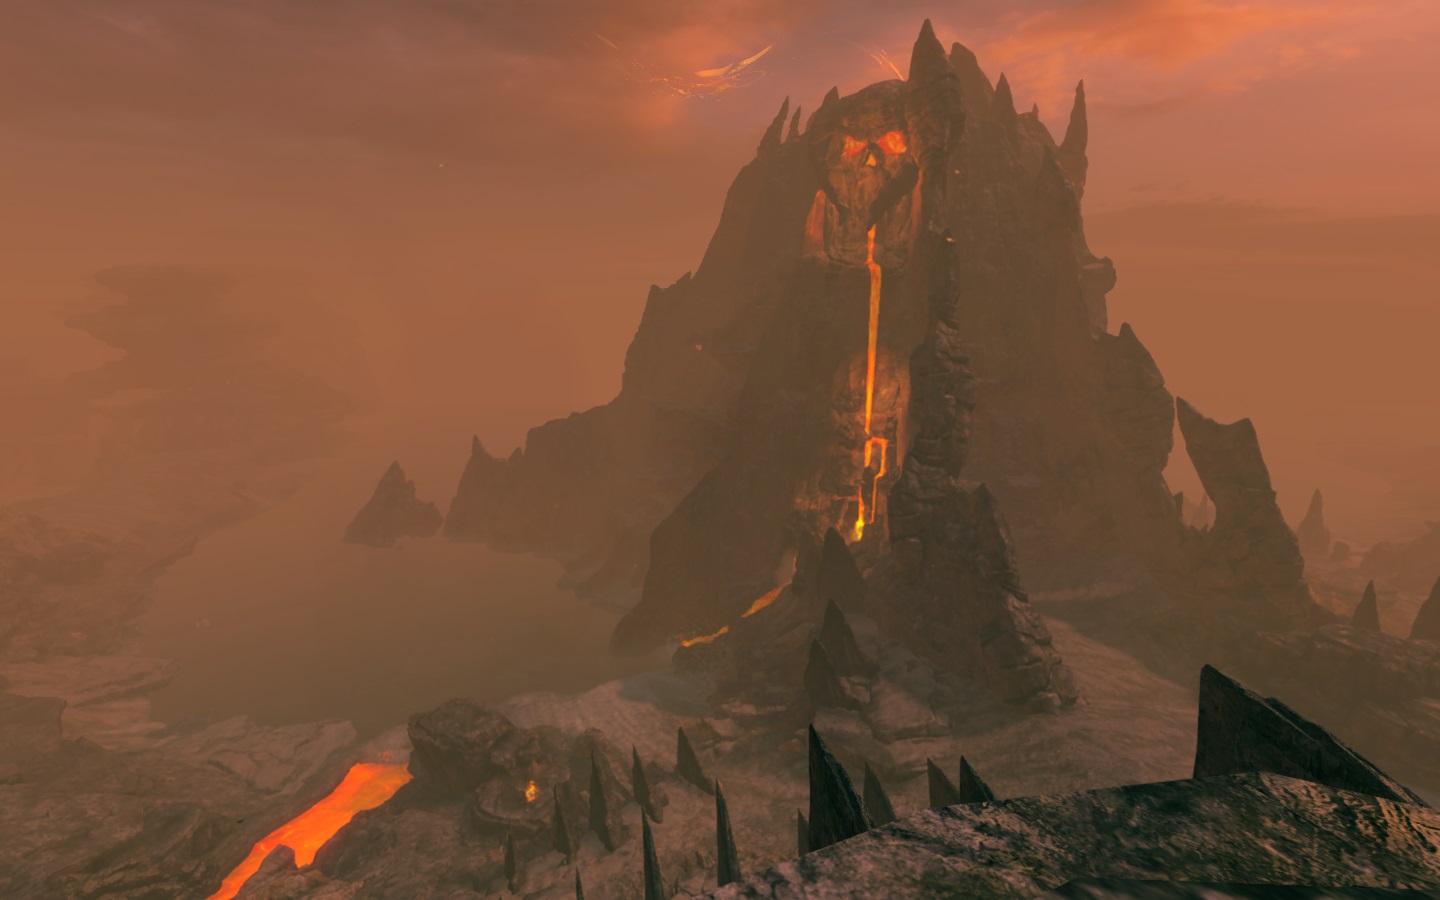
It goes without saying that the zone is quite alien to the player: Although many enemy models have been only slightly altered for the zone, the actual environment feels very different from anything else I’ve seen in GW2, so it most definitely feels like its own distinct region. The zone really is very interesting aesthetically, and I really appreciated how much work has gone into its design. It features a dizzying amount of landmarks that any intrepid adventurer is sure to appreciate. I can’t even begin to include everything, but have a look at the gallery below for some glimpses of the sights you can expect in this episode.
Jumping puzzle madness
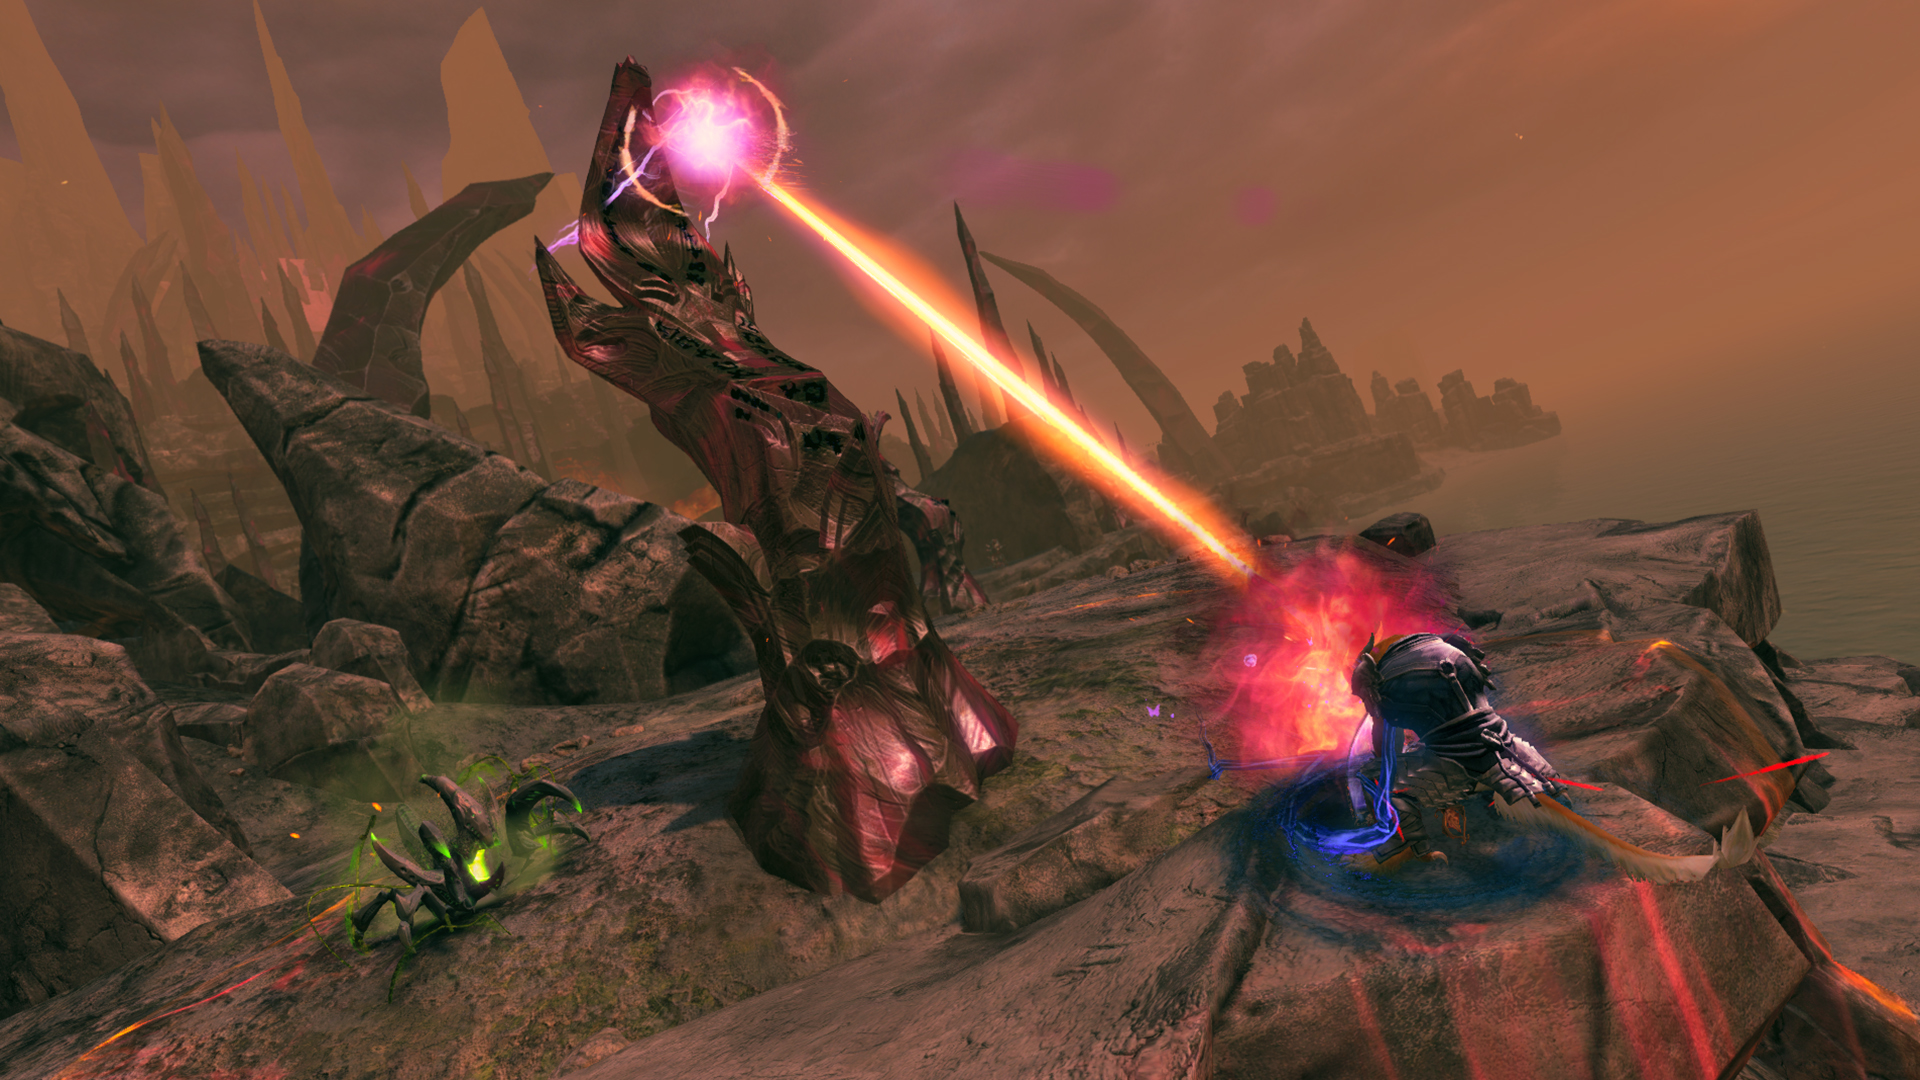
I eventually found the start of the goliath jumping puzzle (with a point in the right direction by the devs during the guided part of my playthrough), but I have to admit that I didn’t complete it. Massive lava pools, burning ropes, and steep volcanic climbs are only the beginning of the challenge to be found here. I won’t spoil the fun for you by explaining any of the unknown features and challenging factors you’ll face up there, but suffice it to say that even the most challenging jumping puzzles we’ve faced so far are childsplay in comparison.
 Over to you!
Just as in the last episode, Rising Flames’ core story layers the heartwarmingly humourous with the serious in an unmistakably ArenaNet fashion that I just can’t get enough of. I didn’t play on much more so that I would have plenty of surprises left for the episode’s launch, so I’m very much looking forward to seeing how this episode ends after the reveals of its beginning chapters.
Let me know what you think of this episode over the next few days; I can’t wait to hear your thoughts! I’ll be sure to come back and leave some (relatively) spoiler-free comments as I discover more throughout the day.
 Tina Lauro has been playing Guild Wars 2 since it launched and now pens the long-running Flameseeker Chronicles column, which runs every other Wednesday and covers everything from GW2 guides and news to opinion pieces and dev diary breakdowns. If there’s a GW2 topic you’d love to see covered, drop a comment Tina’s way or mail her at tina@massivelyop.com.
