

In this edition of Flameseeker Chronicles, I’ll talk you through my initial impressions of the Stronghold of the Faithful and will include as many little tips as I can to get you started. ArenaNet has again asked that I not go into great detail when it comes to specific tactics since it’s day one for this content, so bear with me as I set the scene without revealing too much strategy that could spoil the fun.
 Wrapping up Salvation Pass
I wanted to kick off my recapping on the end of Salvation Pass for those who either haven’t completed the raid wing or who have subsequently forgotten all about the discoveries that occurred in the raid’s lore. The wing’s climax is an engaging encounter with Matthias Gabrel, the leader of the bandits the raid squad had subsequently been tracking and also an Inquisitor of the White Mantle, an (until now) largely forgotten destructive magical cell that was believed to have been purged past the point of sizable return.
The player learns firsthand that arcane sacrifices are being made of the captives — Gabrel even attempts to sacrifice players throughout the encounter just to drive the memo home — and that a recently deceased scholar has left a tattered paper trail of useful observations strewn about for the player to follow as a sort of wing three story teaser. We’re left wanting more: Now that we know what we’re up against, raiders want to push ahead and attempt to foil the plans of the White Mantle once and for all. With the Mursaat all dead, what exactly is the awful sacrificial magic in aid of? Cue the third and final installment of Forsaken Thicket!
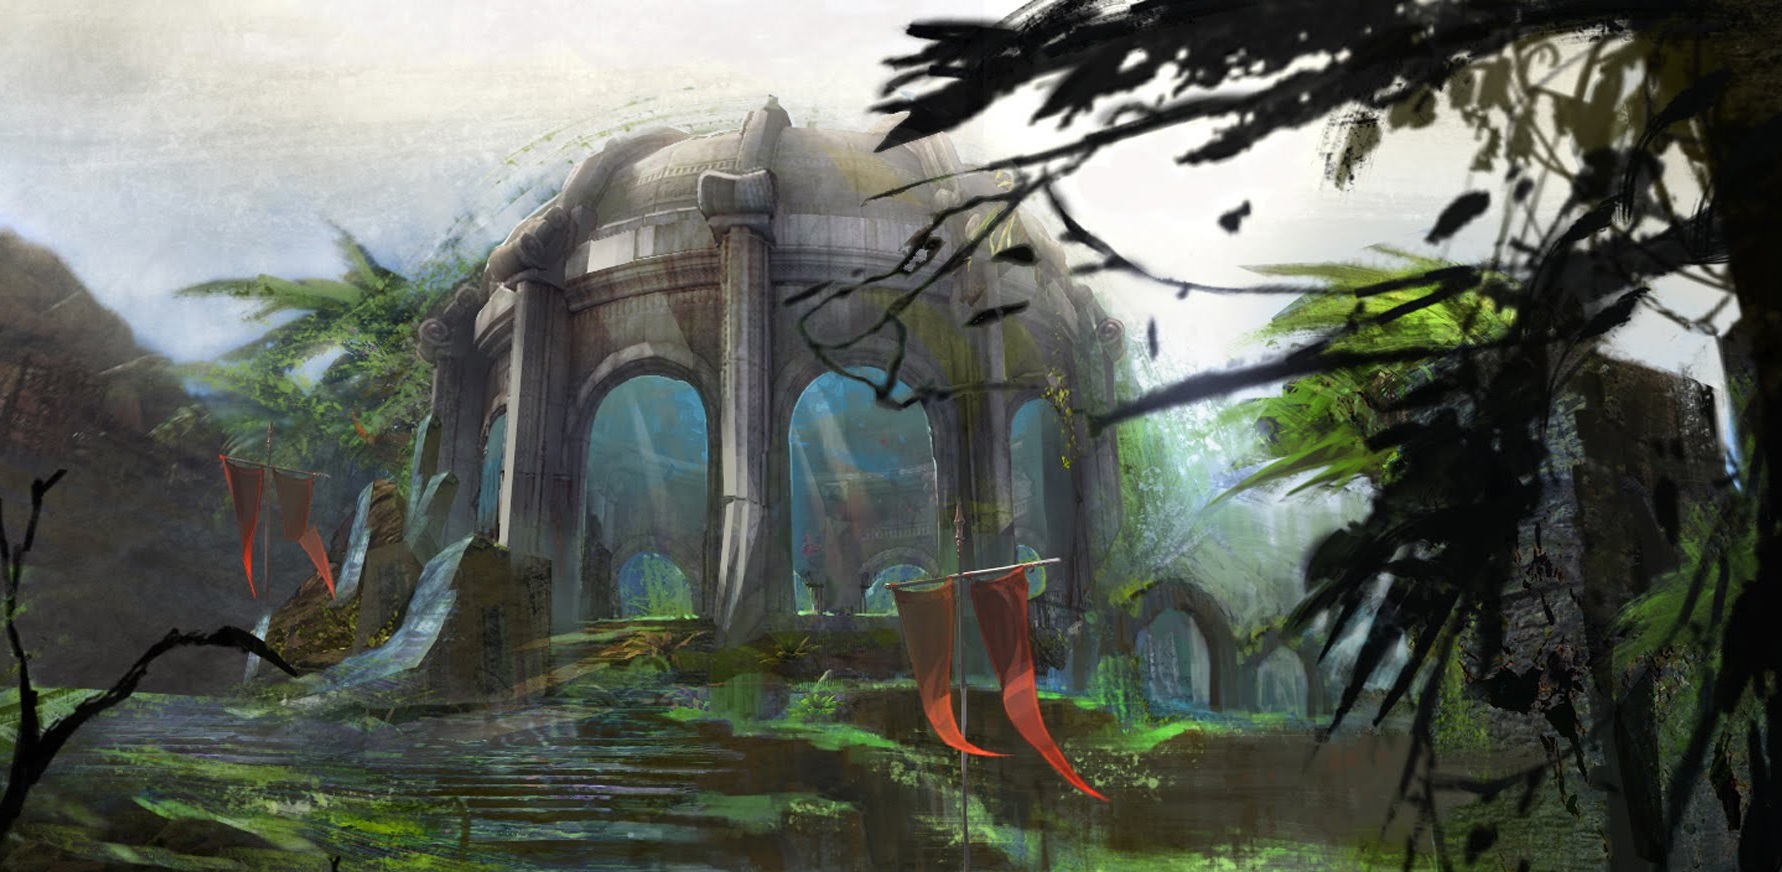
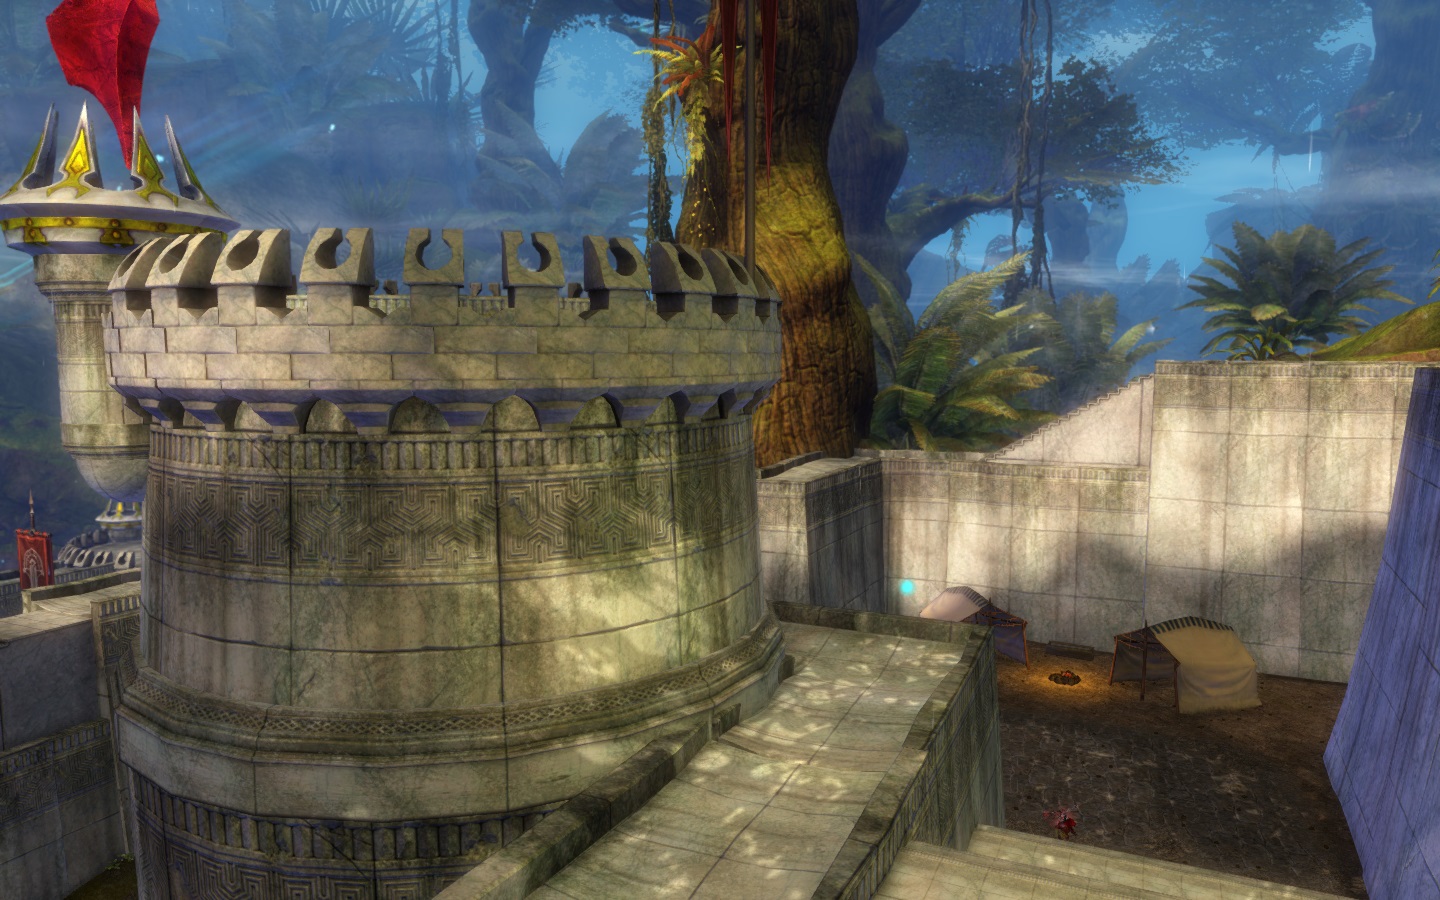
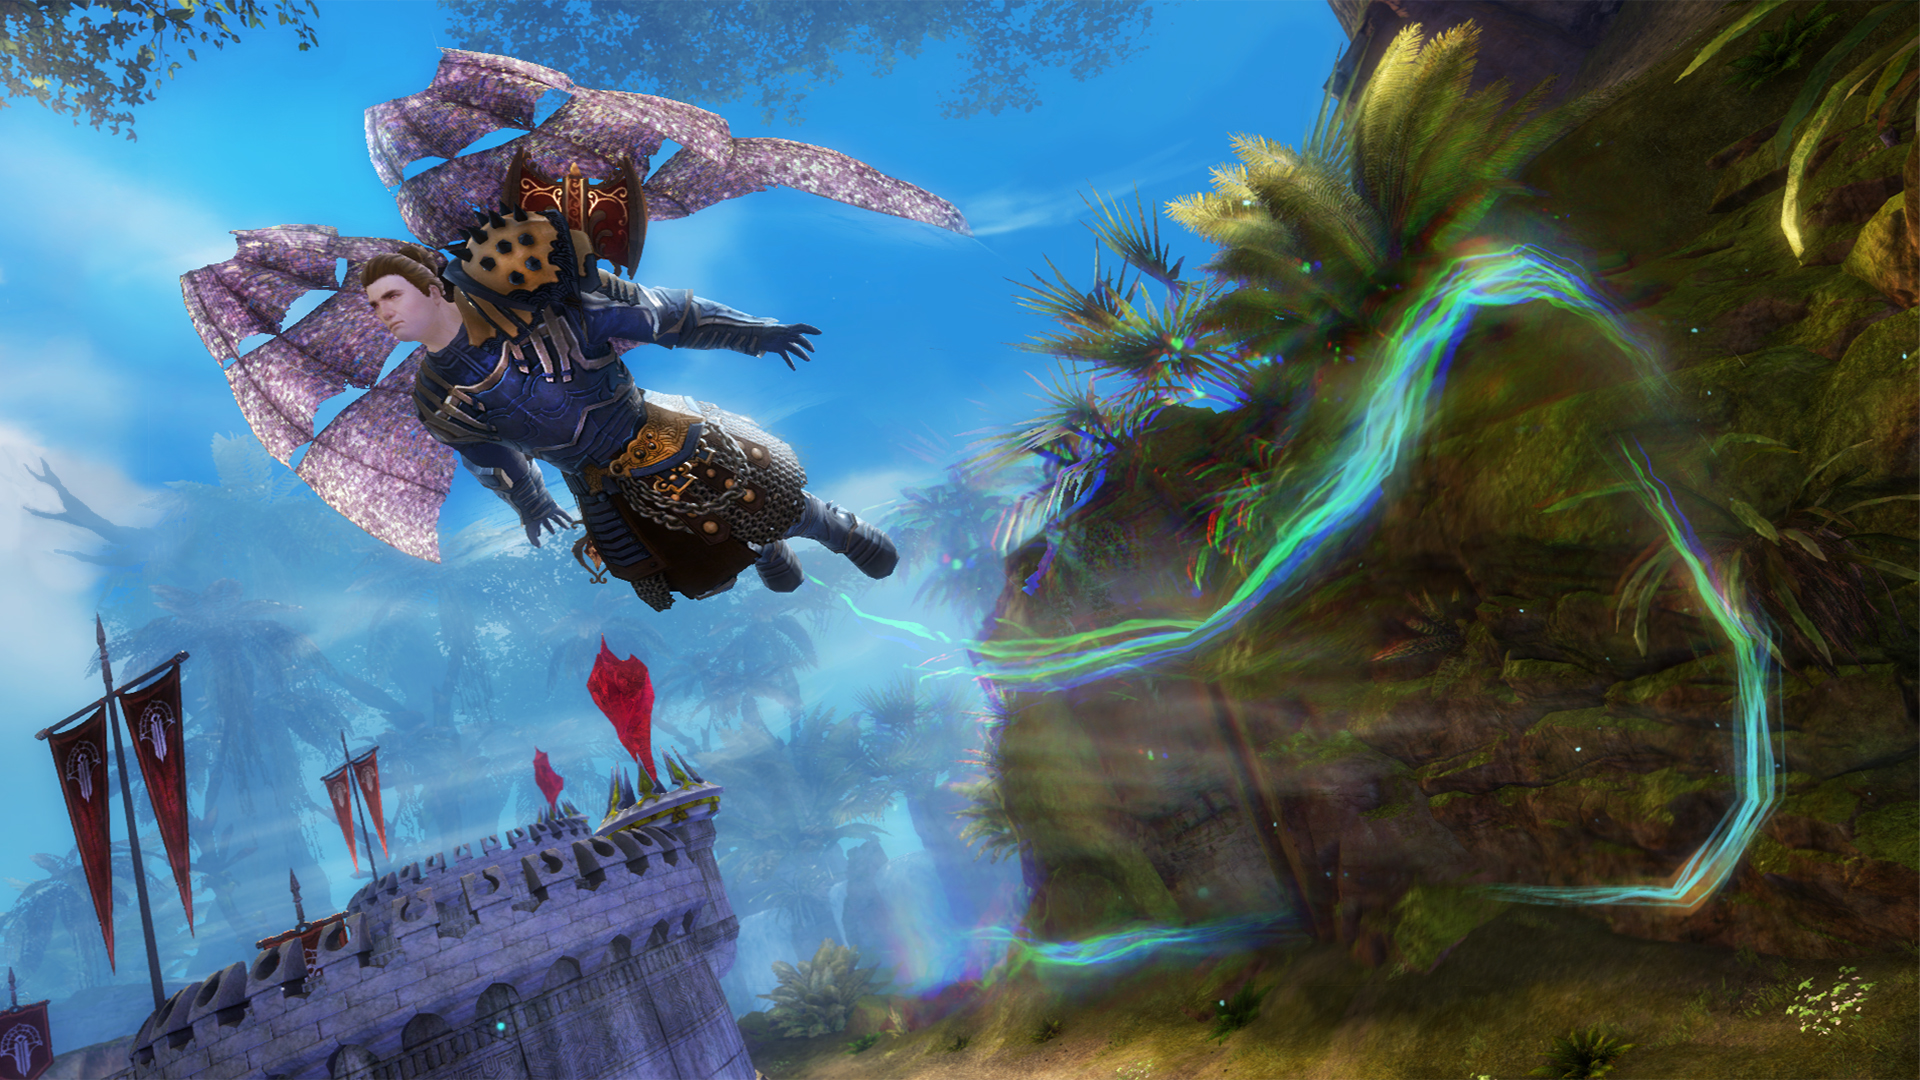
 Getting into the Stronghold of the Faithful
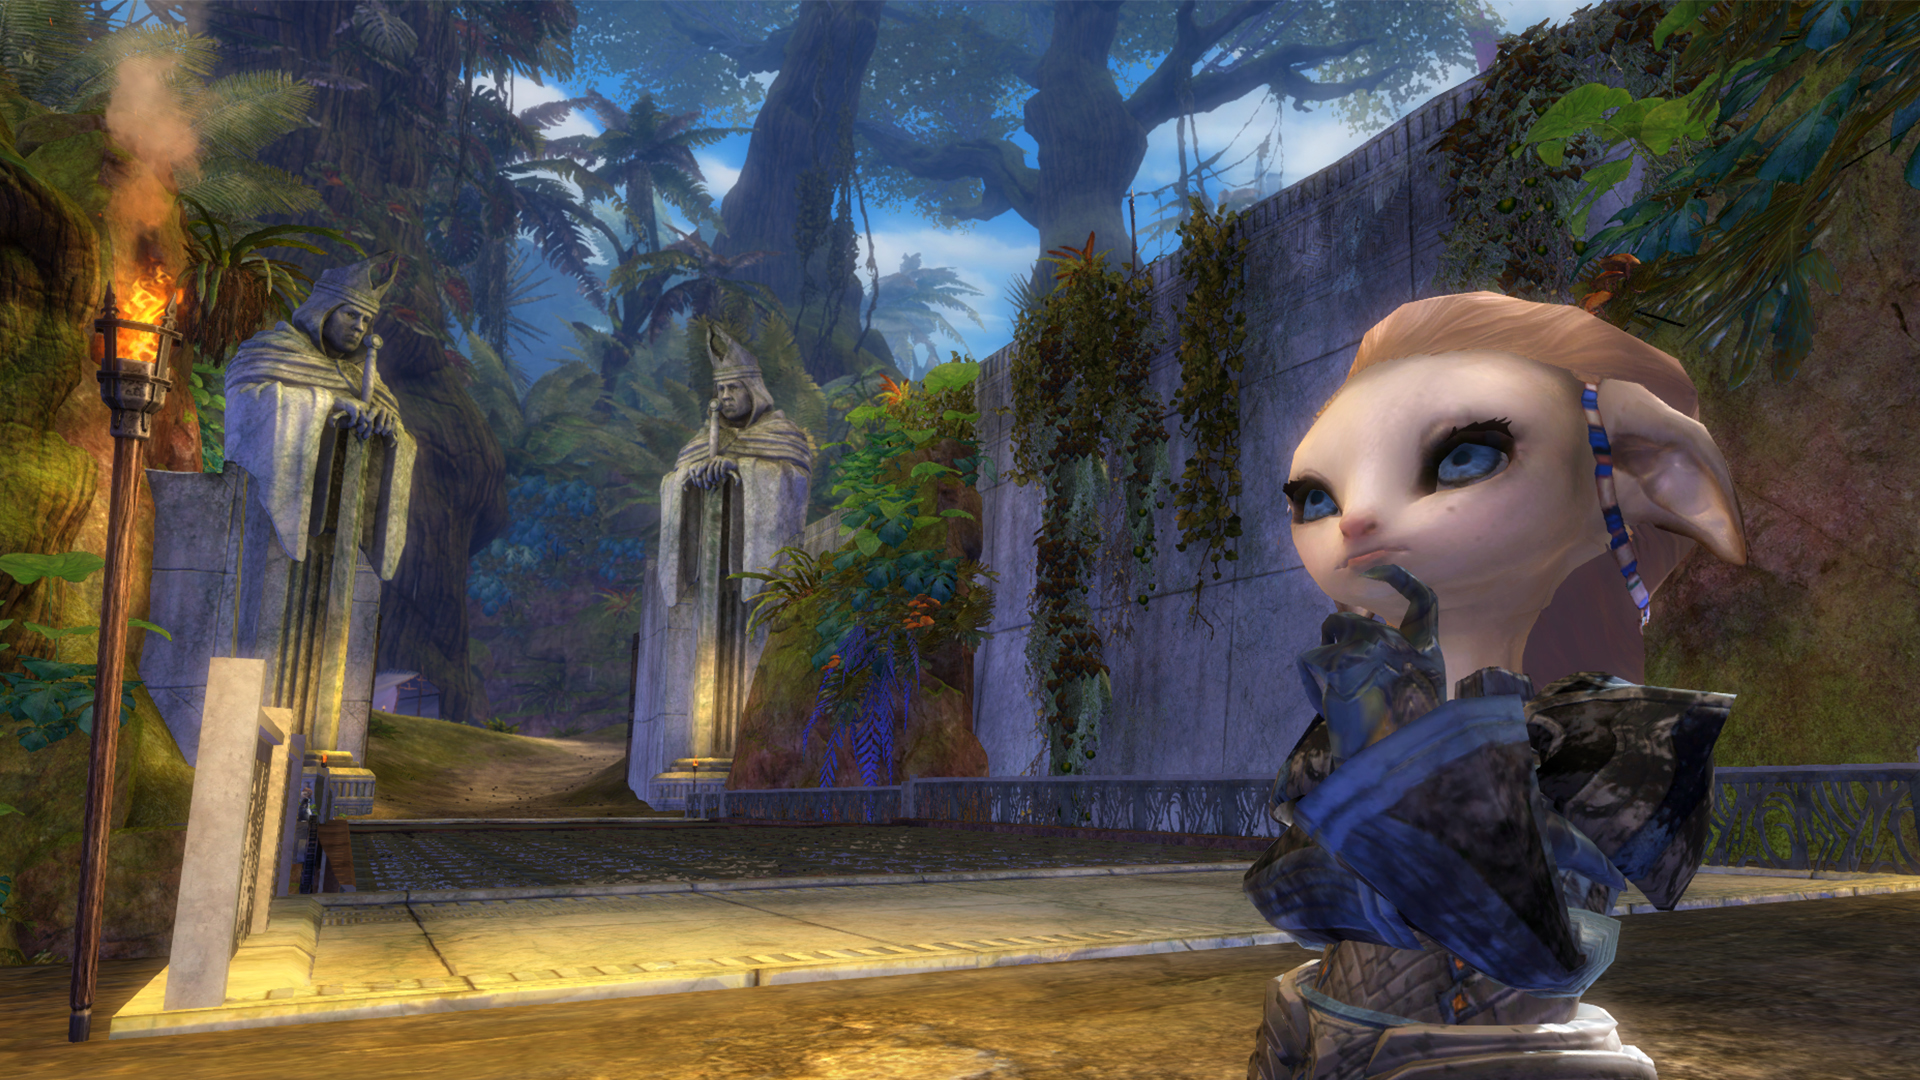
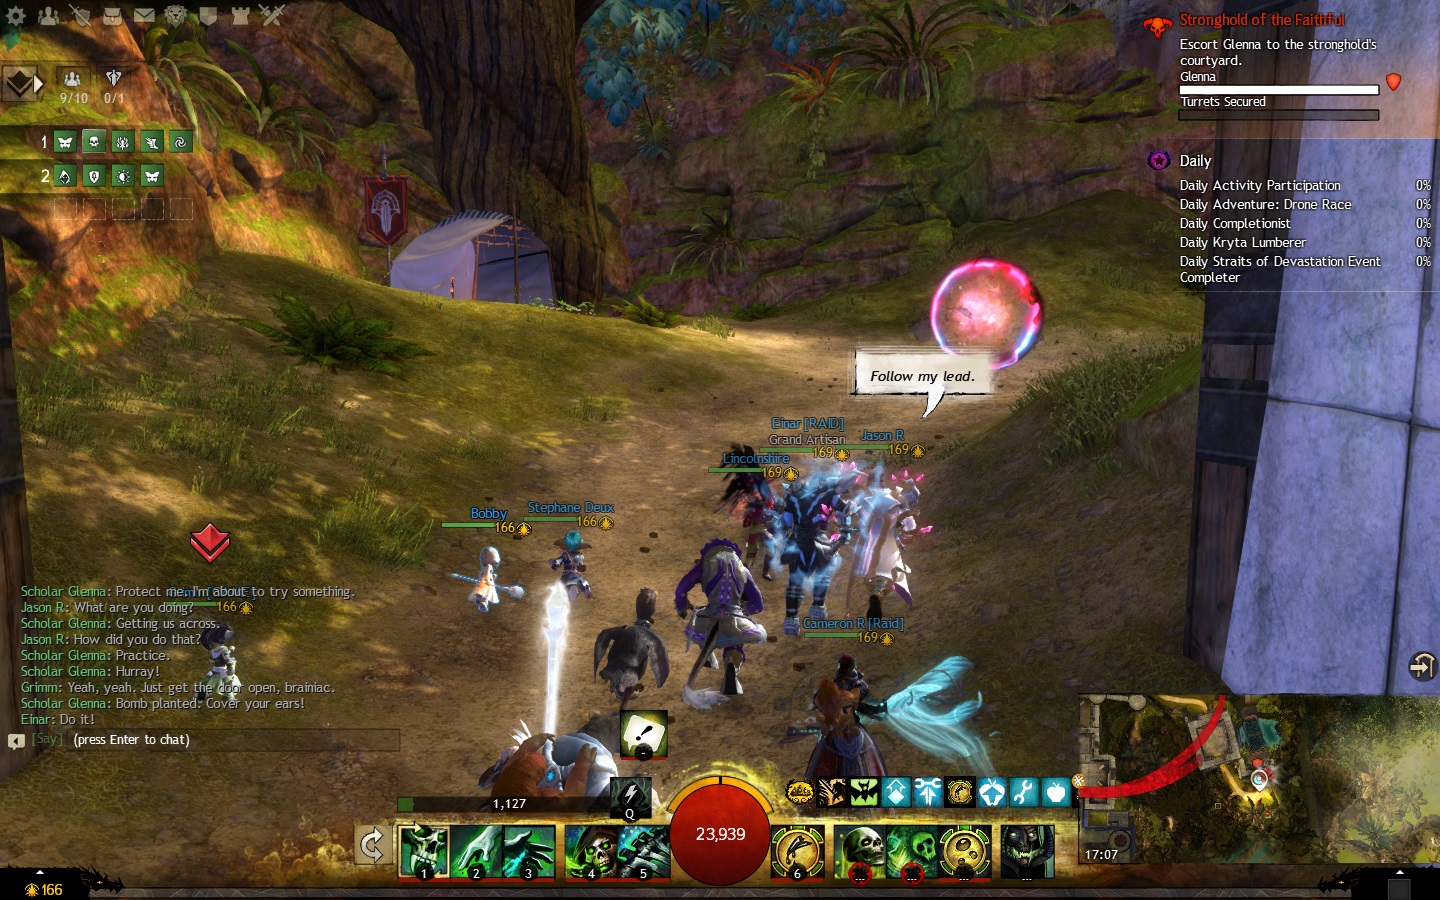
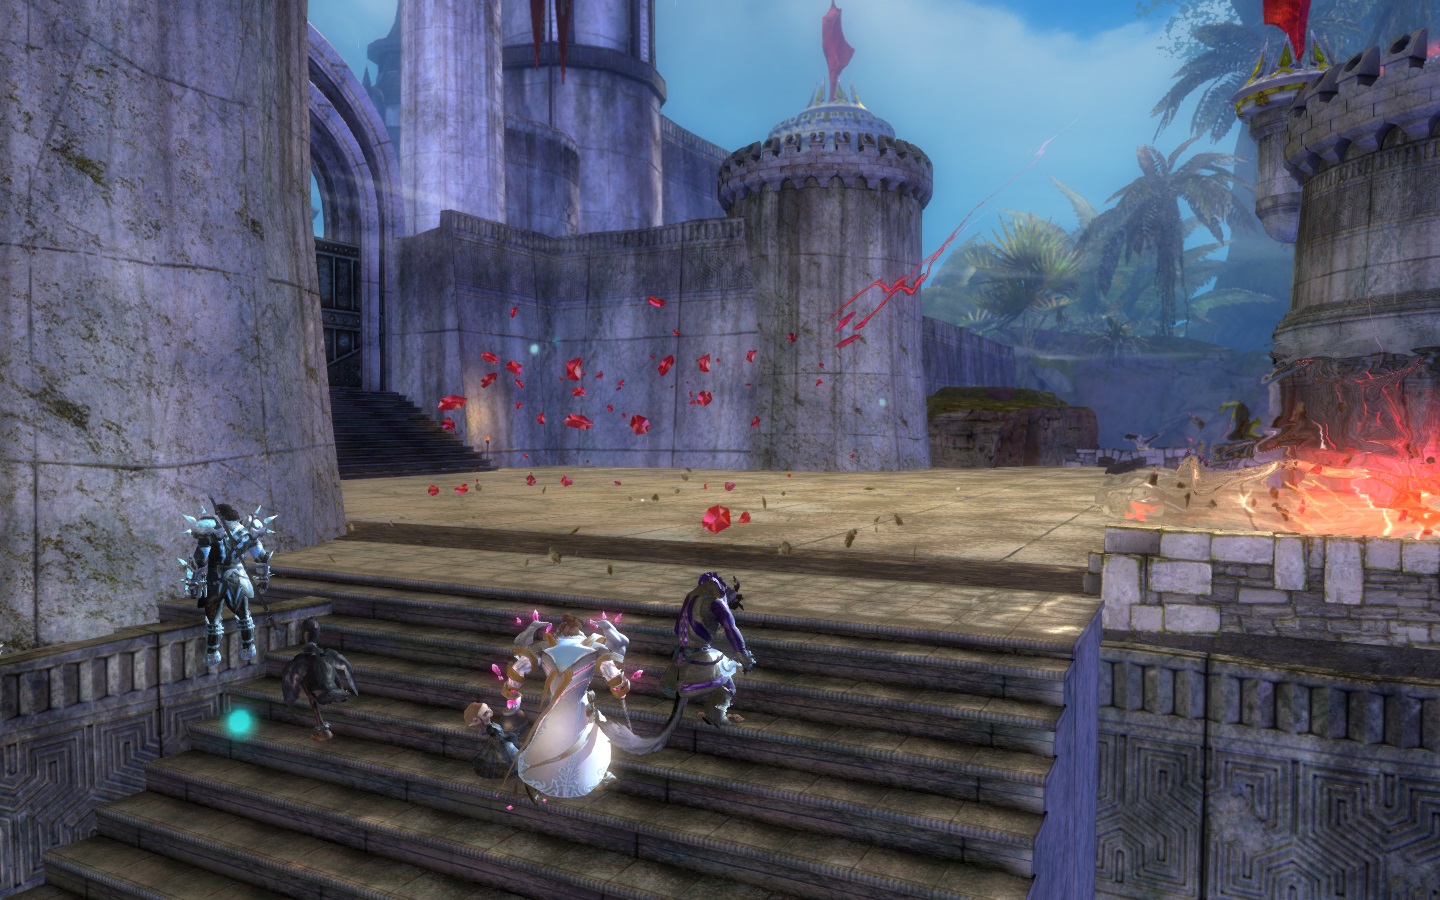
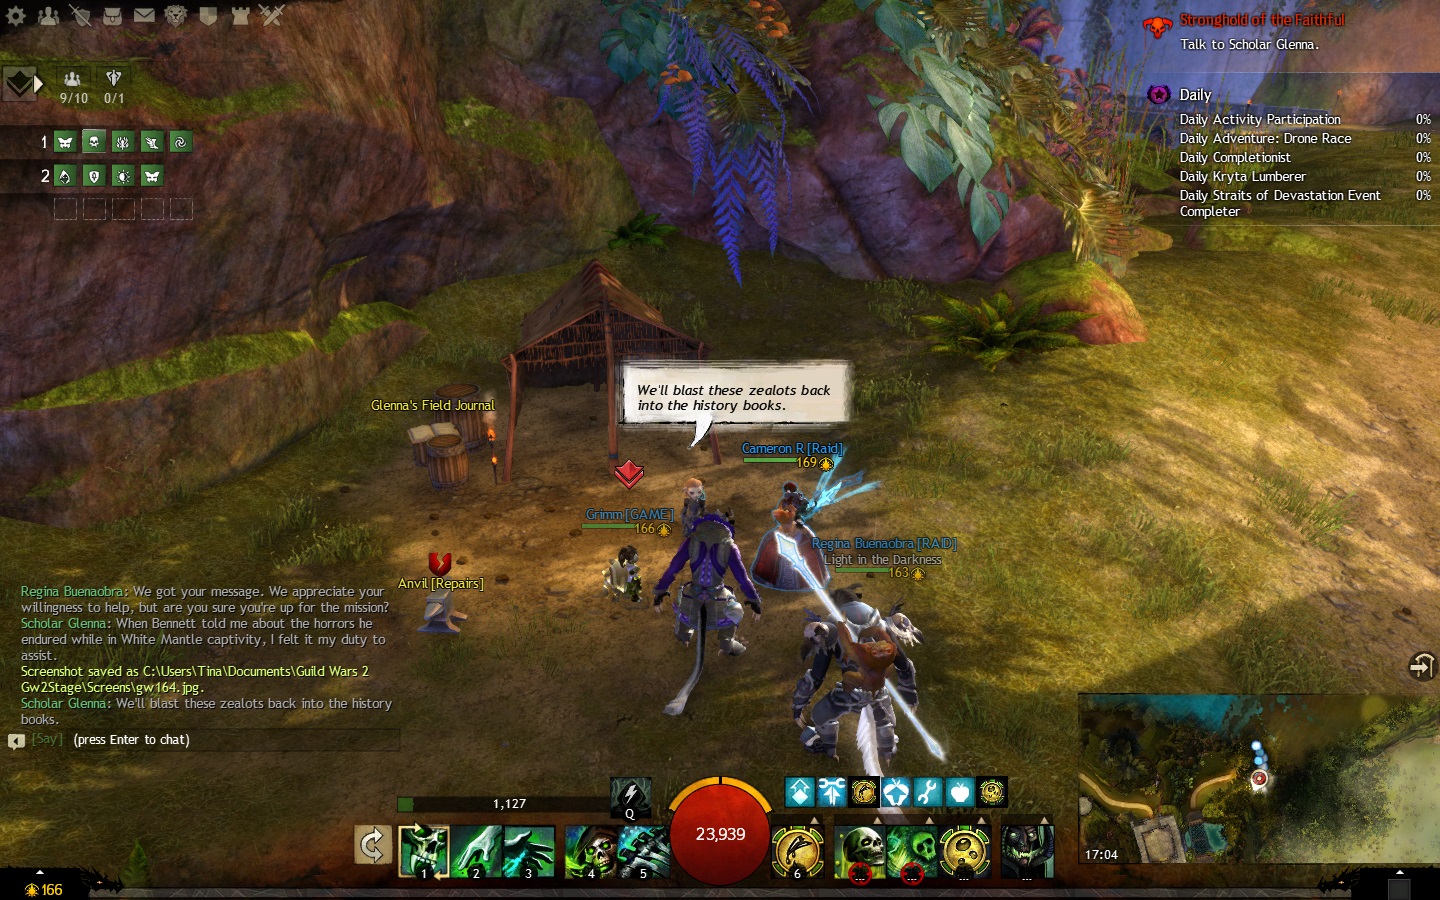
Now that I’ve set the scene, let me drop you into the commencement scenes of the final raid wing. You know what needs to be done: You’ve regrouped after your previous discoveries and your squad bands together with Scholar Glenna, who should already be a known face to your party at this stage, to form an action plan for storming the keep’s imposing facade and finding out the true intentions of the White Mantle. The first step is, of course, to attempt entry, for which Glenna decides it’s best for her to tag along with her handy bag of Asura tricks. She gets the squad across the bridge and past the point of backing out but ends up becoming somewhat of a liability when the action commences.
Glenna is a valuable asset when it comes to quick thinking and a wide spell repertoire, but since she’s carrying a “heavy payload,” she cannot defend herself when the going gets tough. A heavy, continuous flow of Mantle minions of various sorts attack the party right from the beginning, so she needs the squad’s protection if she’s going to survive long enough to learn something. We must get to the inner keep while keeping Glenna alive if we’re to stand a chance against the magical might of the White Mantle, meaning that we have no choice but to defend her along the way anyway to prevent raid failure.
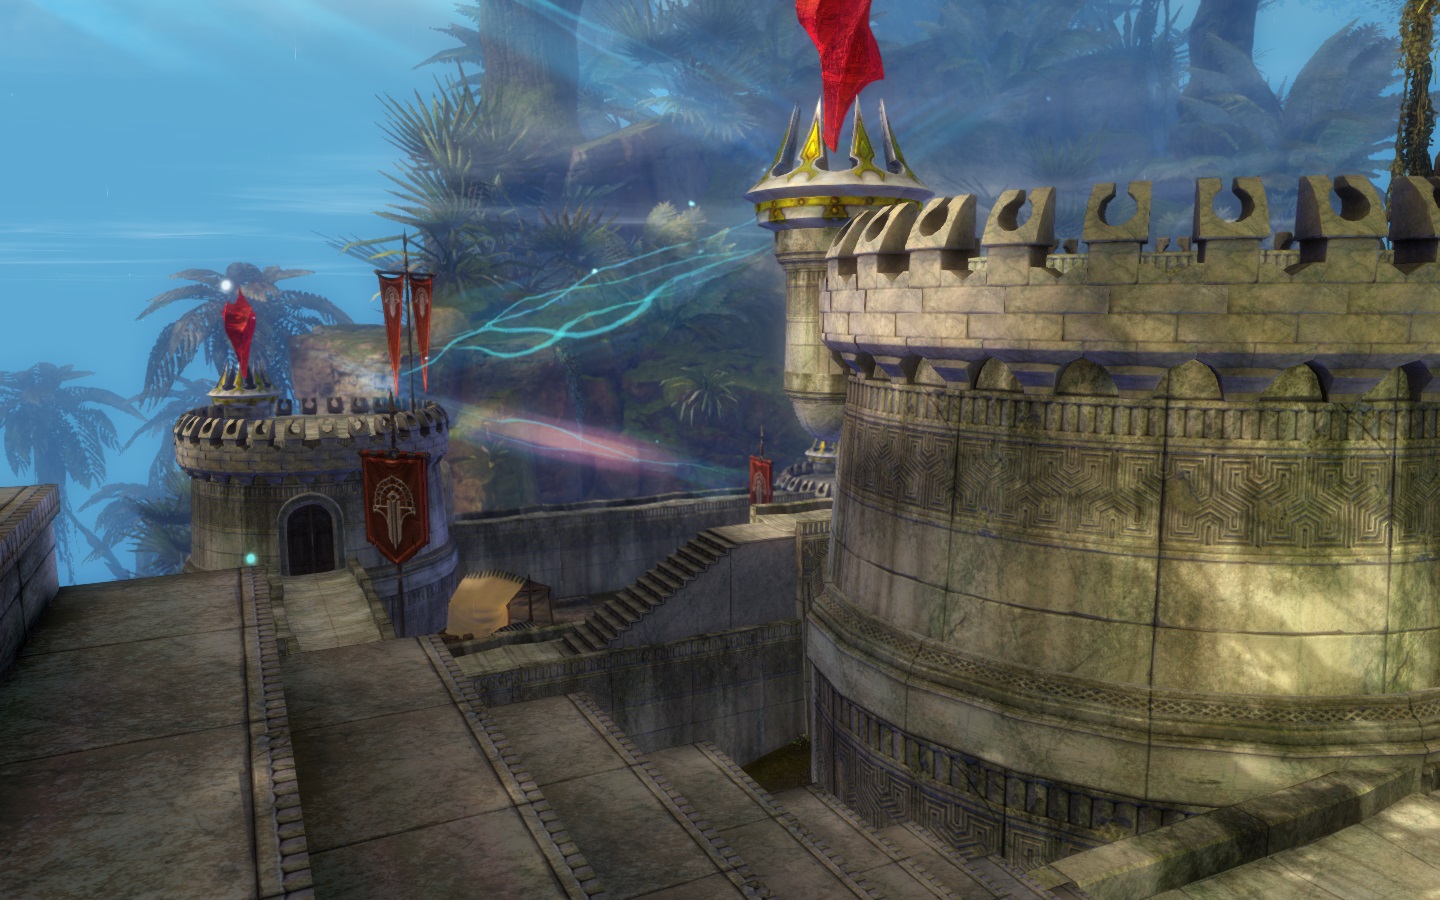
 The approach’s setup
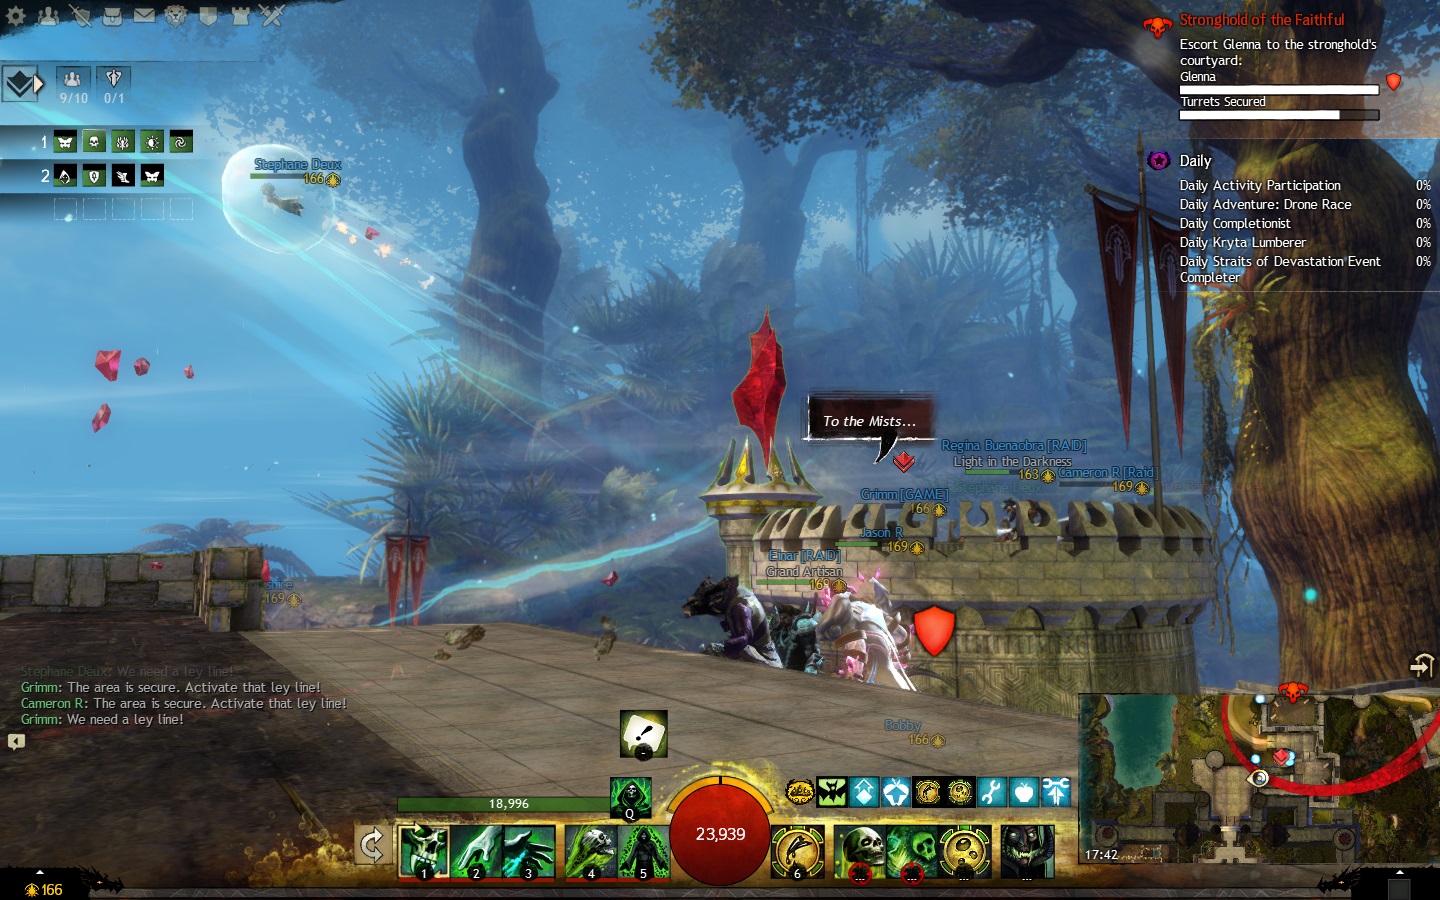
Squads are forced to split between two lanes in order to reach the keep: One set of players, who I’ll refer to as the ground crew, must look after Glenna while coping with a steady tide of rather bothersome enemies, while the aerial crew take leylines opened by Glenna in order to clear a path on the ground. Walls of deadly turret fire block the ground crew’s progress and likewise a distinct lack of powered leylines slows the aerial crew. As you can guess from that description, the key to eliminating each obstacle lies with the alternate team, so solid coordination in a timely fashion is crucial here.
I was part of the ground crew for the entire duration of my playtest, so forgive me for dedicating more words to that particular lane. On top of the waves of minions that serve to slow down the half-squad that comprises the ground crew, wargs that specifically target poor Glenna appear periodically. Since ArenaNet asked press not to get into tactics before launch, I won’t spoil how those wargs are thrown at the party or how best to deal with them, but suffice it to say that they’re a priority when they do spawn and should be kept off the back of our defenceless scholar friend. I think the relative size of the monster and the presence of telling map markers makes that one a no-brainer, so it’s not giving much away!
To help the ground crew keep Glenna safe, players have a call button that summons the little scholar to their characters. She tends to hang back when the squad is bogged down in battle, which can be a blessing and a curse. Remember those Asura-honing wargs I mentioned earlier? They don’t approach your crew from the front and form an orderly queue with the other Mantle minions; rather, they largely ignore the squad and can come from the lane portion that has already been cleared, so keep an eye on that minimap to prevent them from having Glenna for breakfast while your backs are turned.
There’s a clear priority order for taking down the tangle of minions that comes in each wave too, but I think that veers too far into the strategic planning category for me to divulge that order here. Watch each type of minion and see how they affect each other to help you determine who to crush first. These adds are relentless, so your aerial crew must be quick at unlocking the next portion of your lane for you by securing the turrets the Mantle use to protect it before you start to feel overworked down on the ground. Likewise, quickly rushing Glenna to the next point indicated in the lane will free the aerial team by opening leylines and will give them more time to unlock the next area, reducing the total number of creeps you’ll have to roll over.
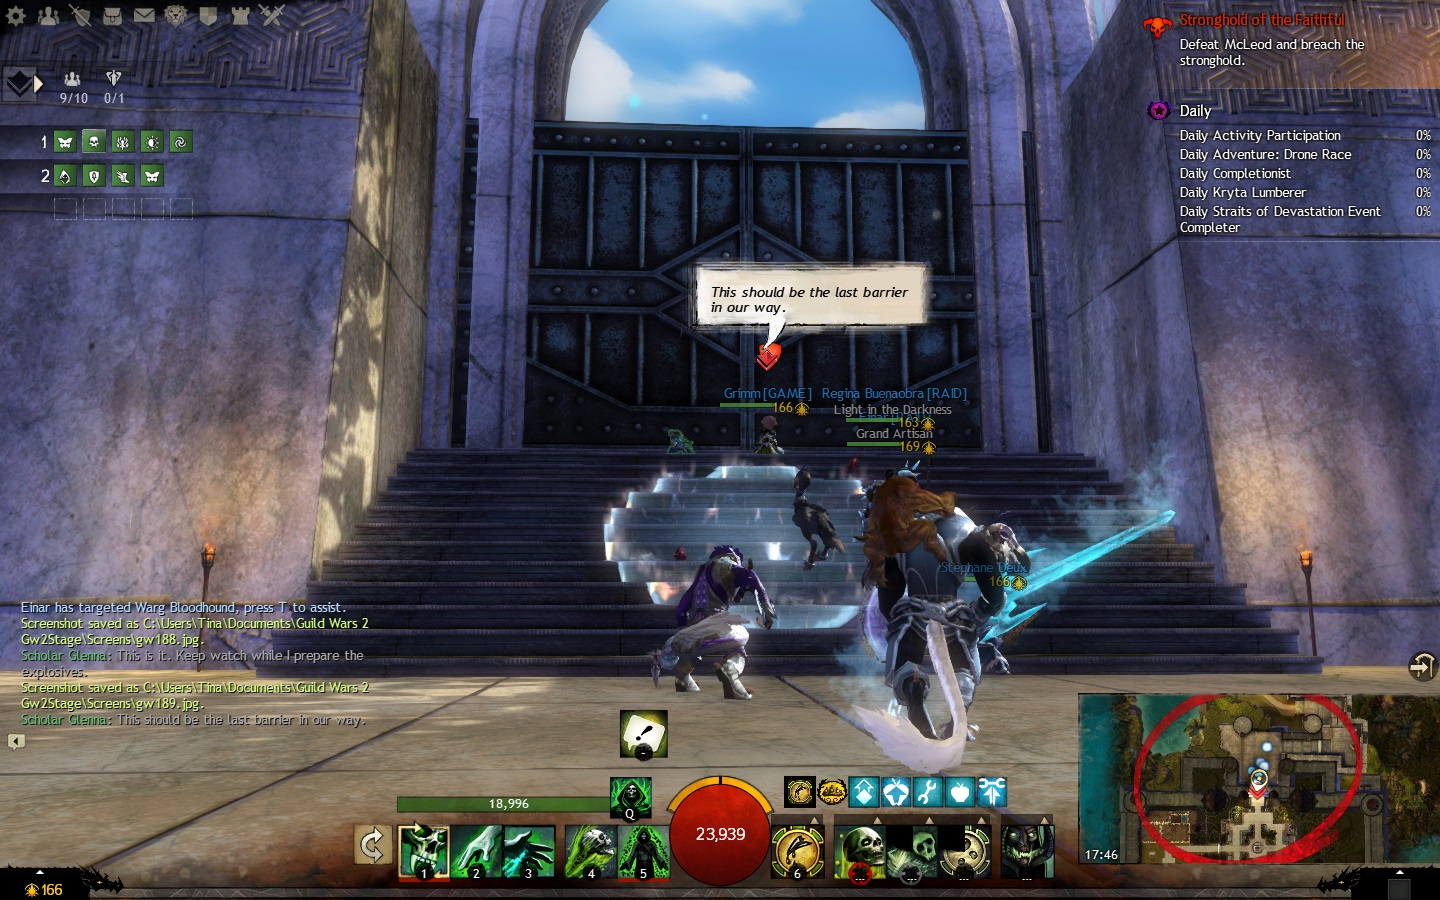
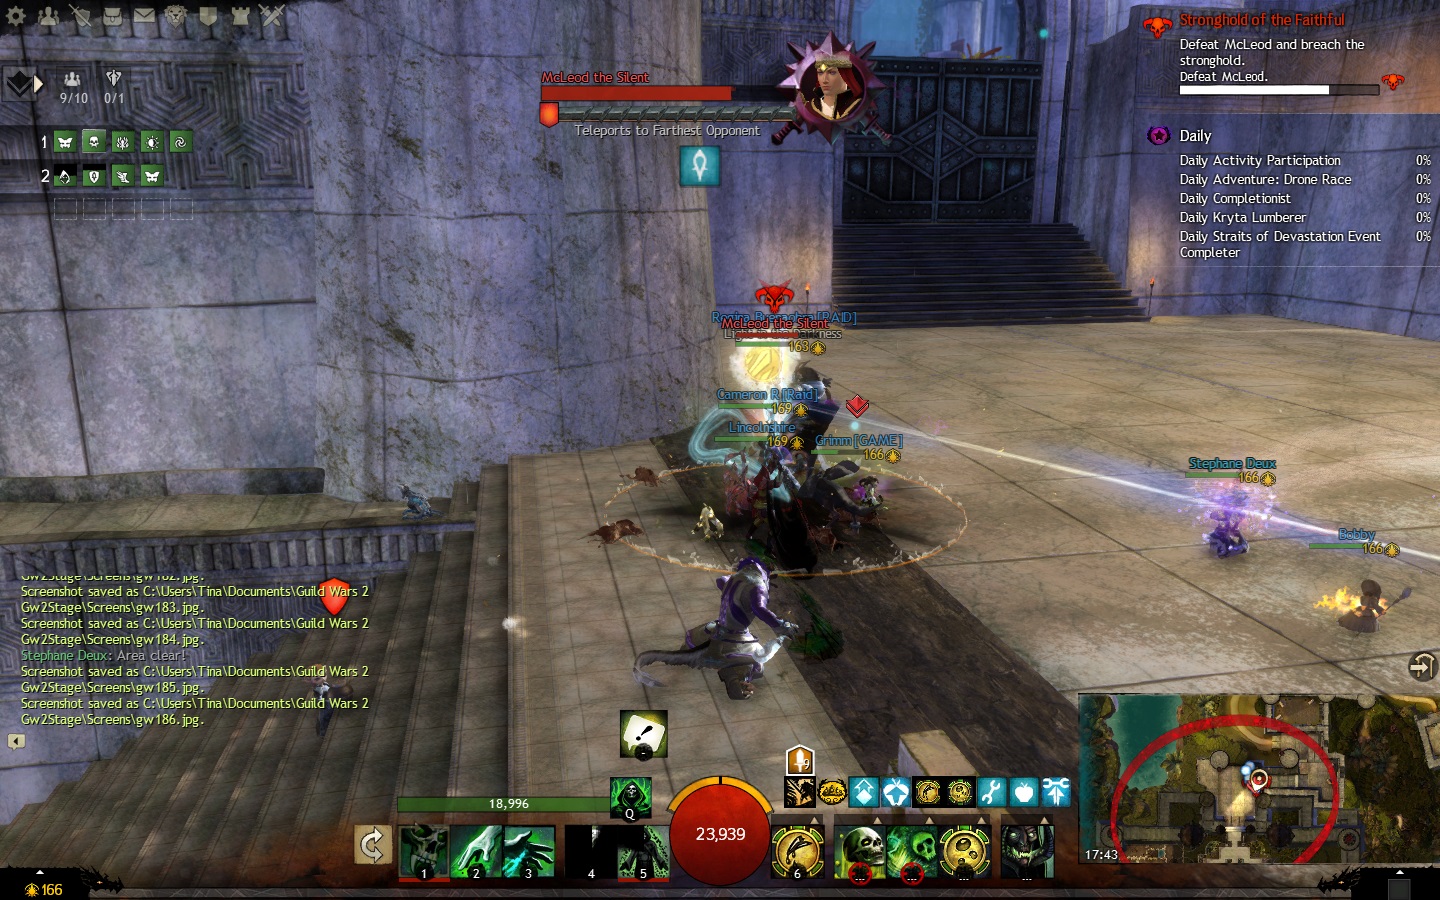 McLeod the Silent
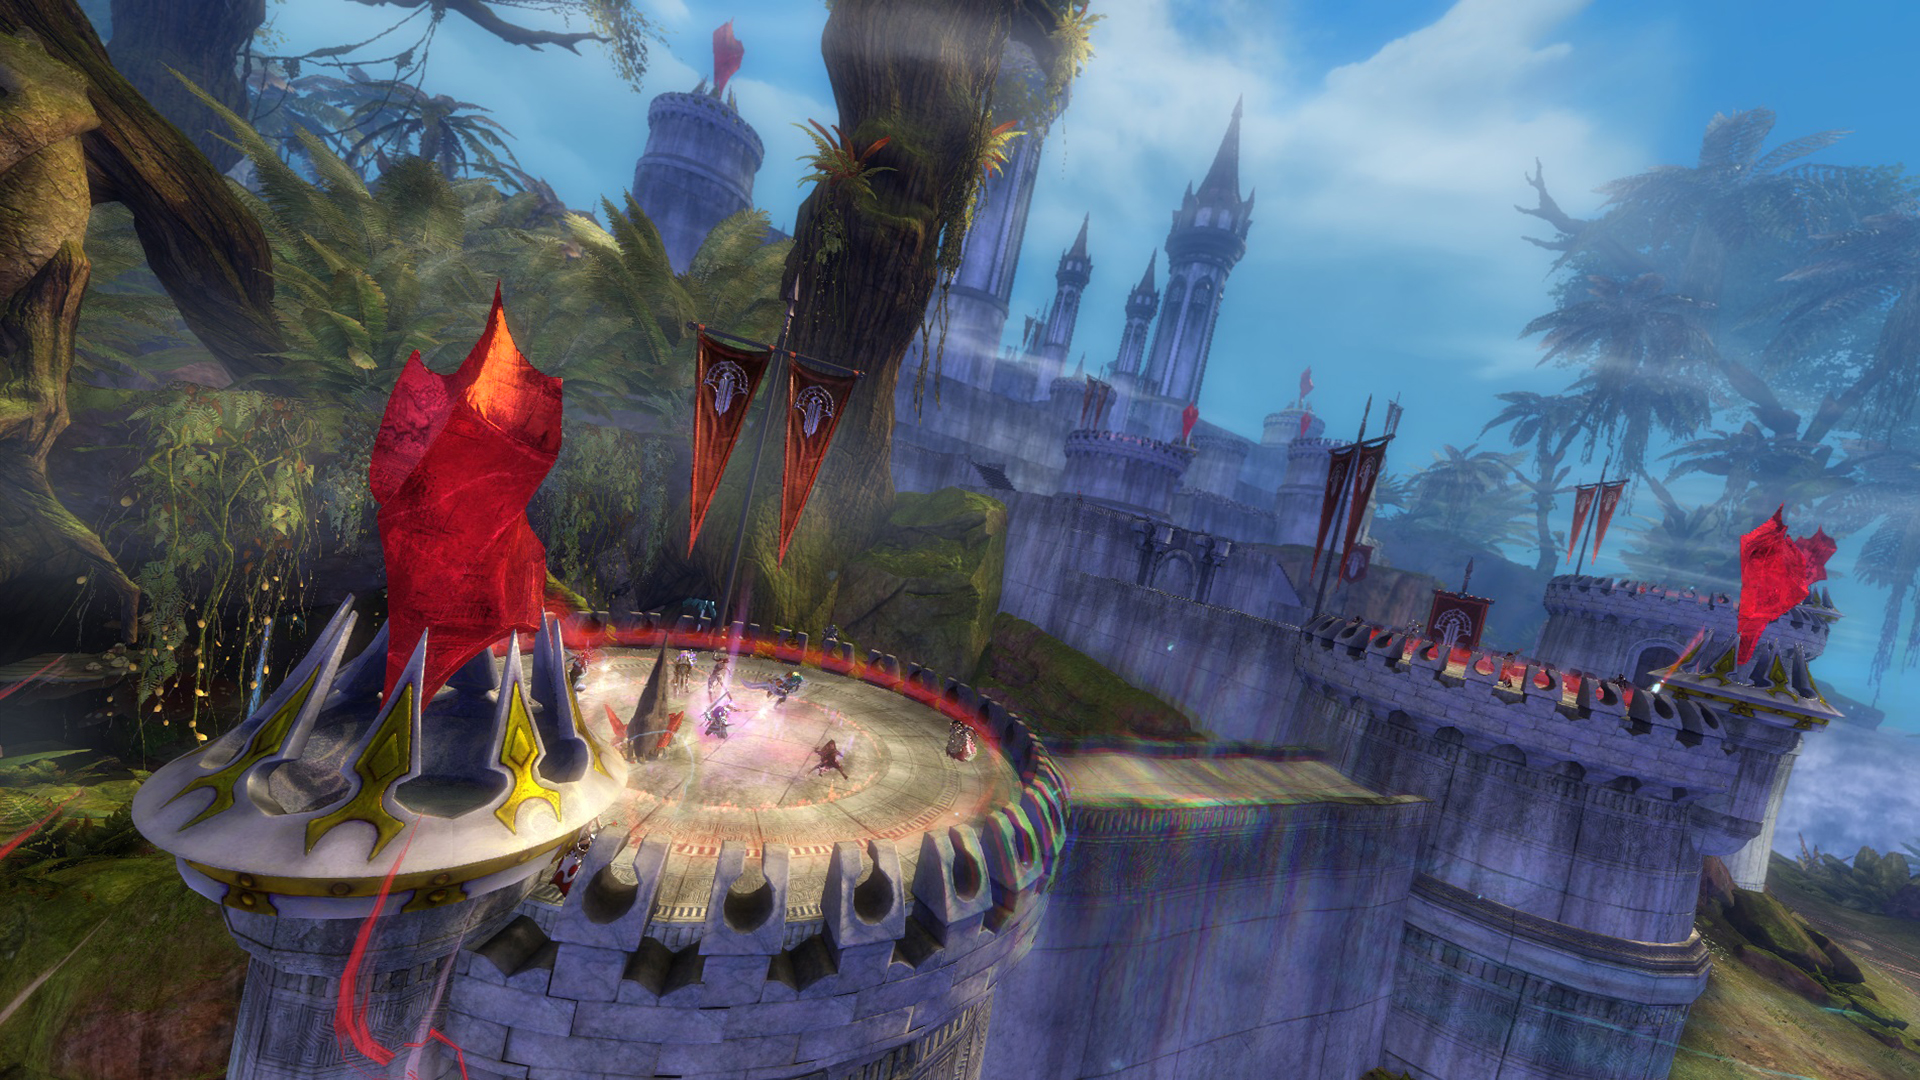
You’ve dealt with the lanes and your party once again comes together at the top of a great staircase only to face off against a teleporting gatekeeper with a seriously bad attitude. I don’t want to spoil the particular quirks of the McLeod, but splitting up is once again the order of the day in this two-phase fight since a quick division of labour is required mechanically in order to succeed here. There are not-so-subtle neon signs above your head clues once the encounter begins, so don’t worry about how to split until the need becomes apparent. Although McLeod isn’t particularly challenging in his own right, do bear in mind that those pesky wargs can still crop up during the battle and remain a high priority due to their Asura-killing ways. This presented a little bit of a challenge during my playthrough, which is why I’m warning you in advance. We still managed to get McLeod down fairly swiftly on the first go, but it was a much closer call than it would have been if we hadn’t forgotten about the wargs and needed to divert all firepower to one.
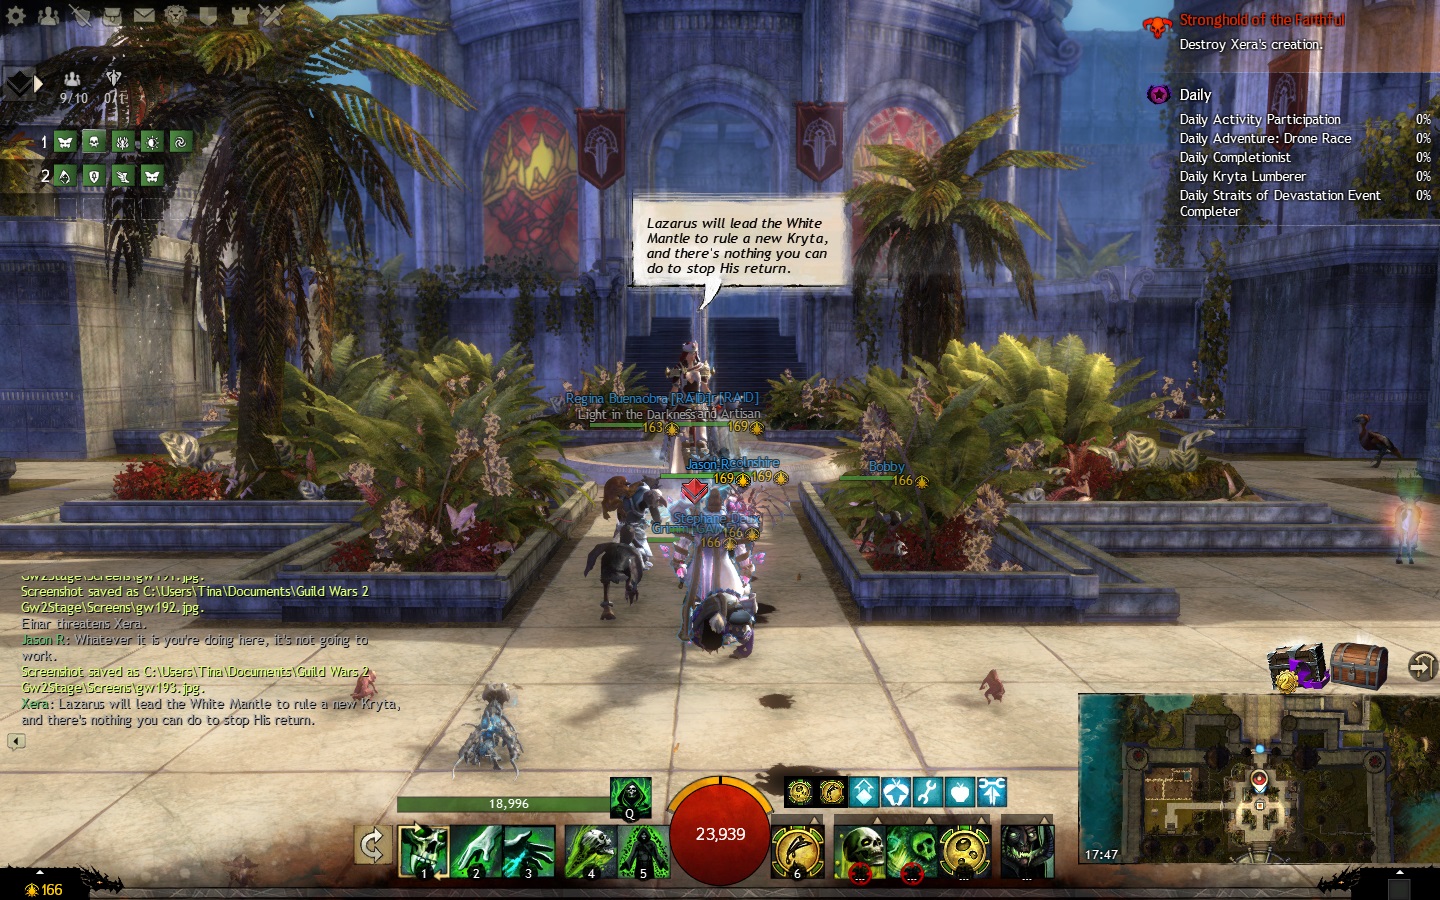
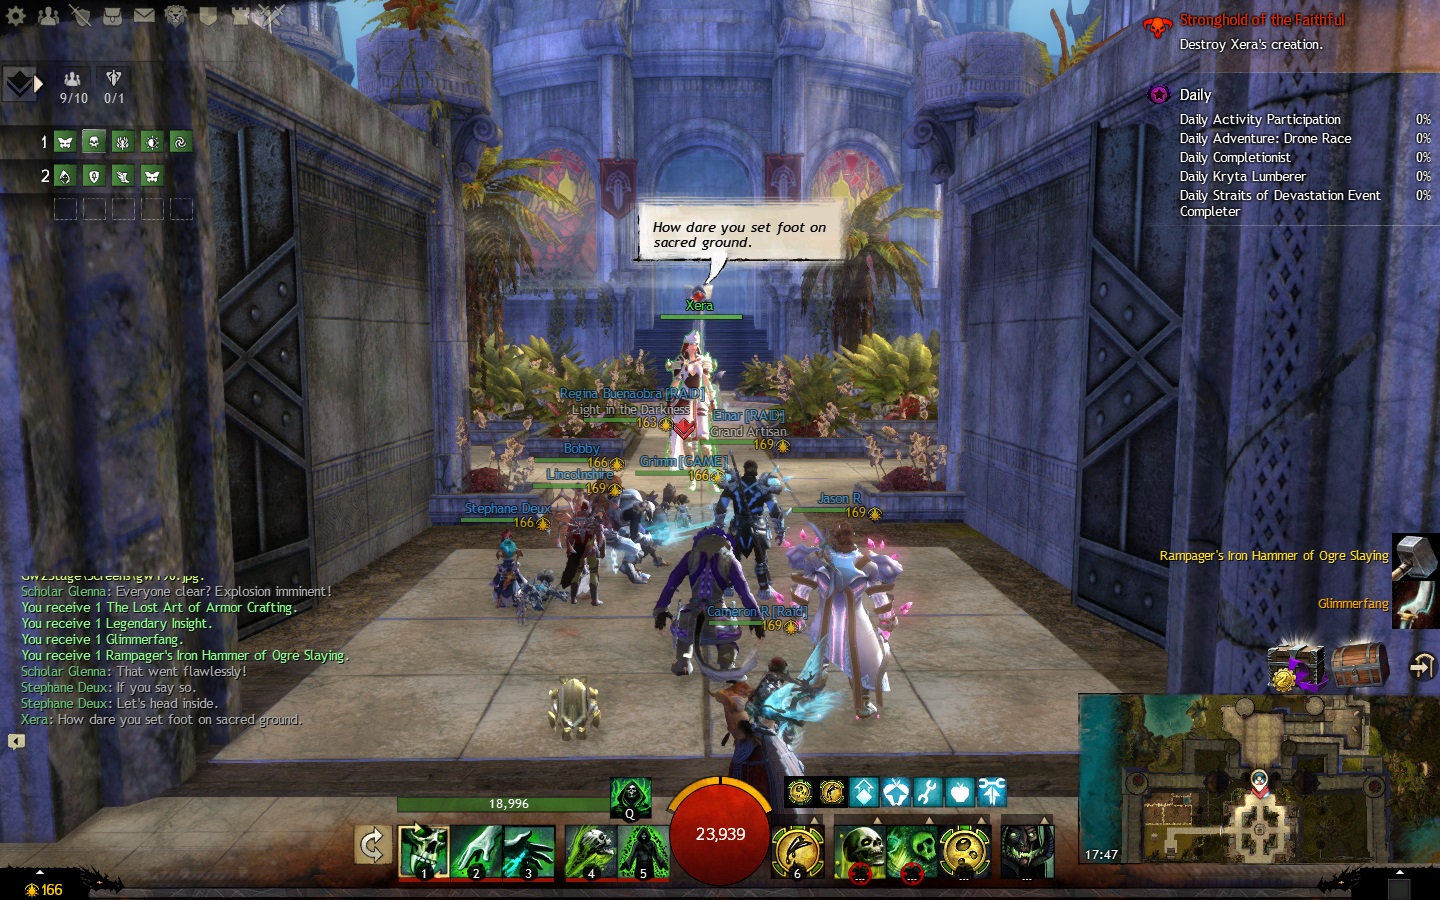
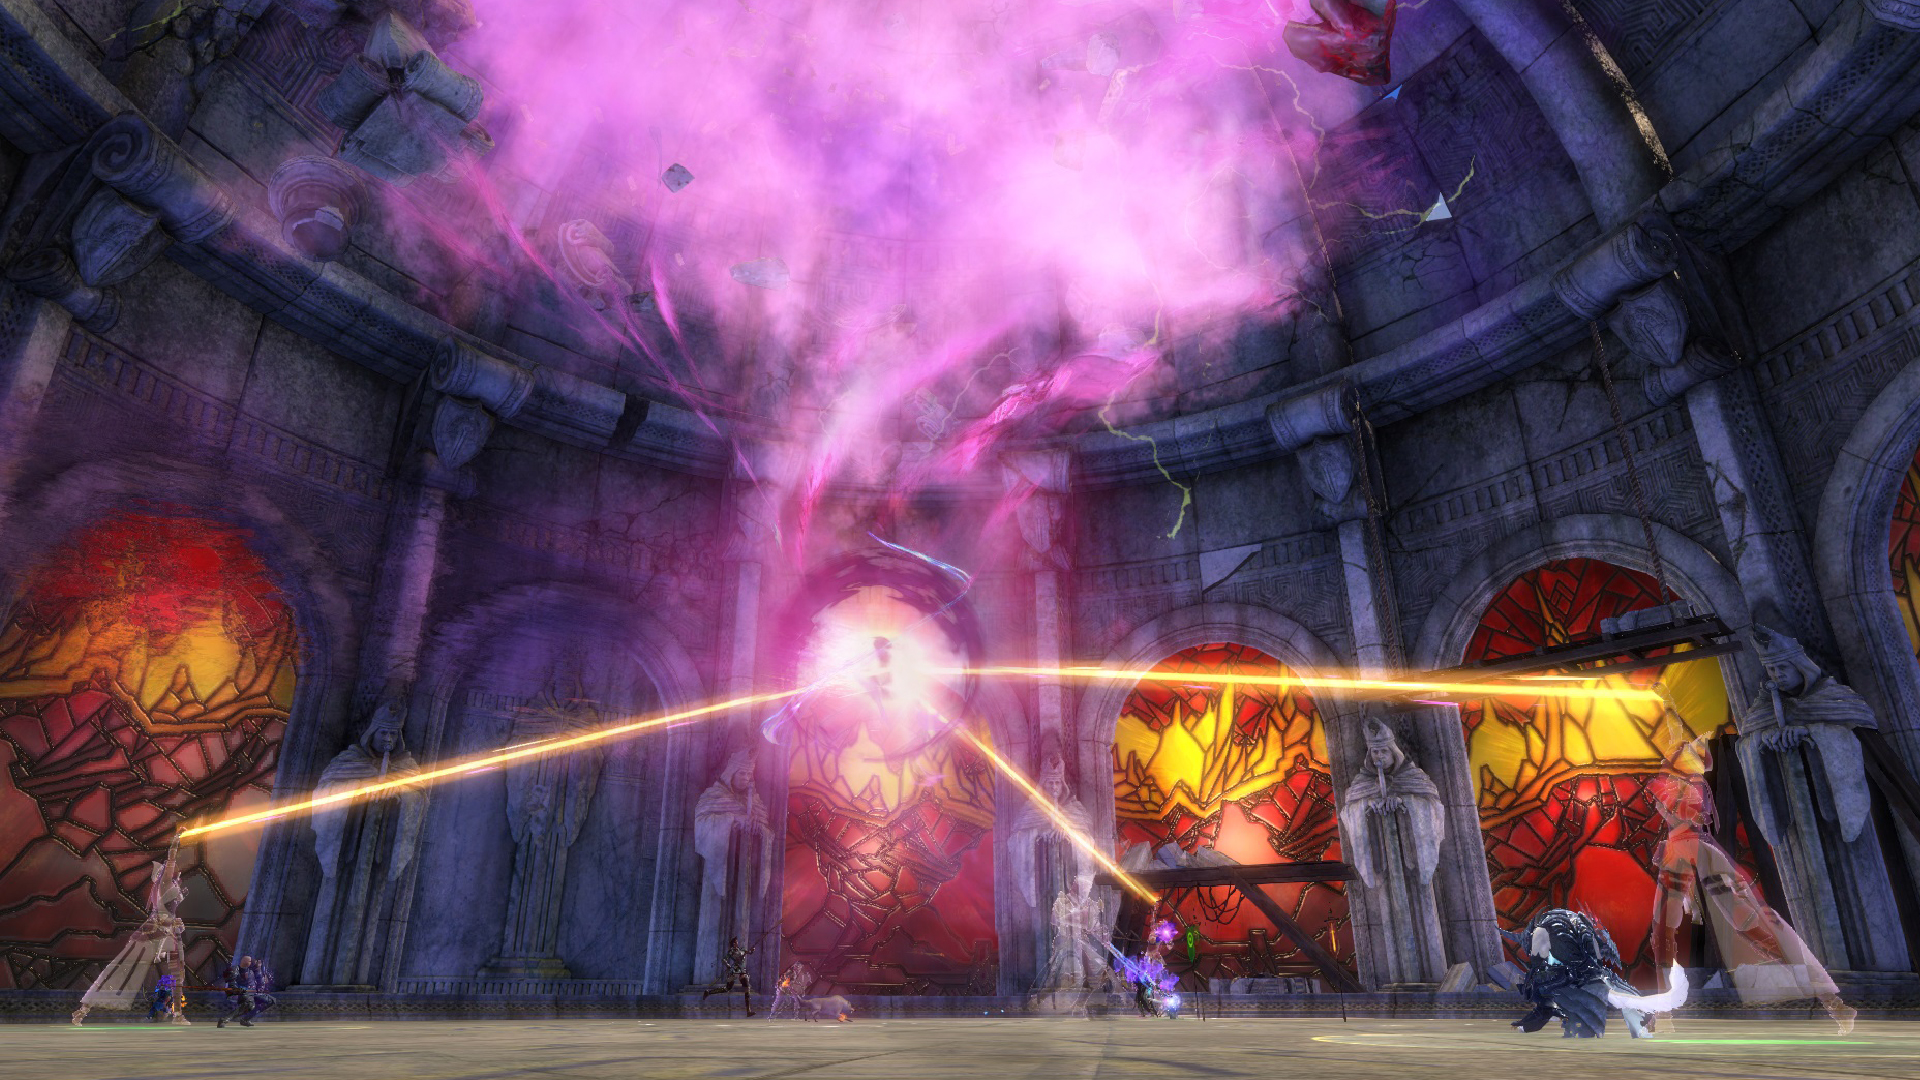
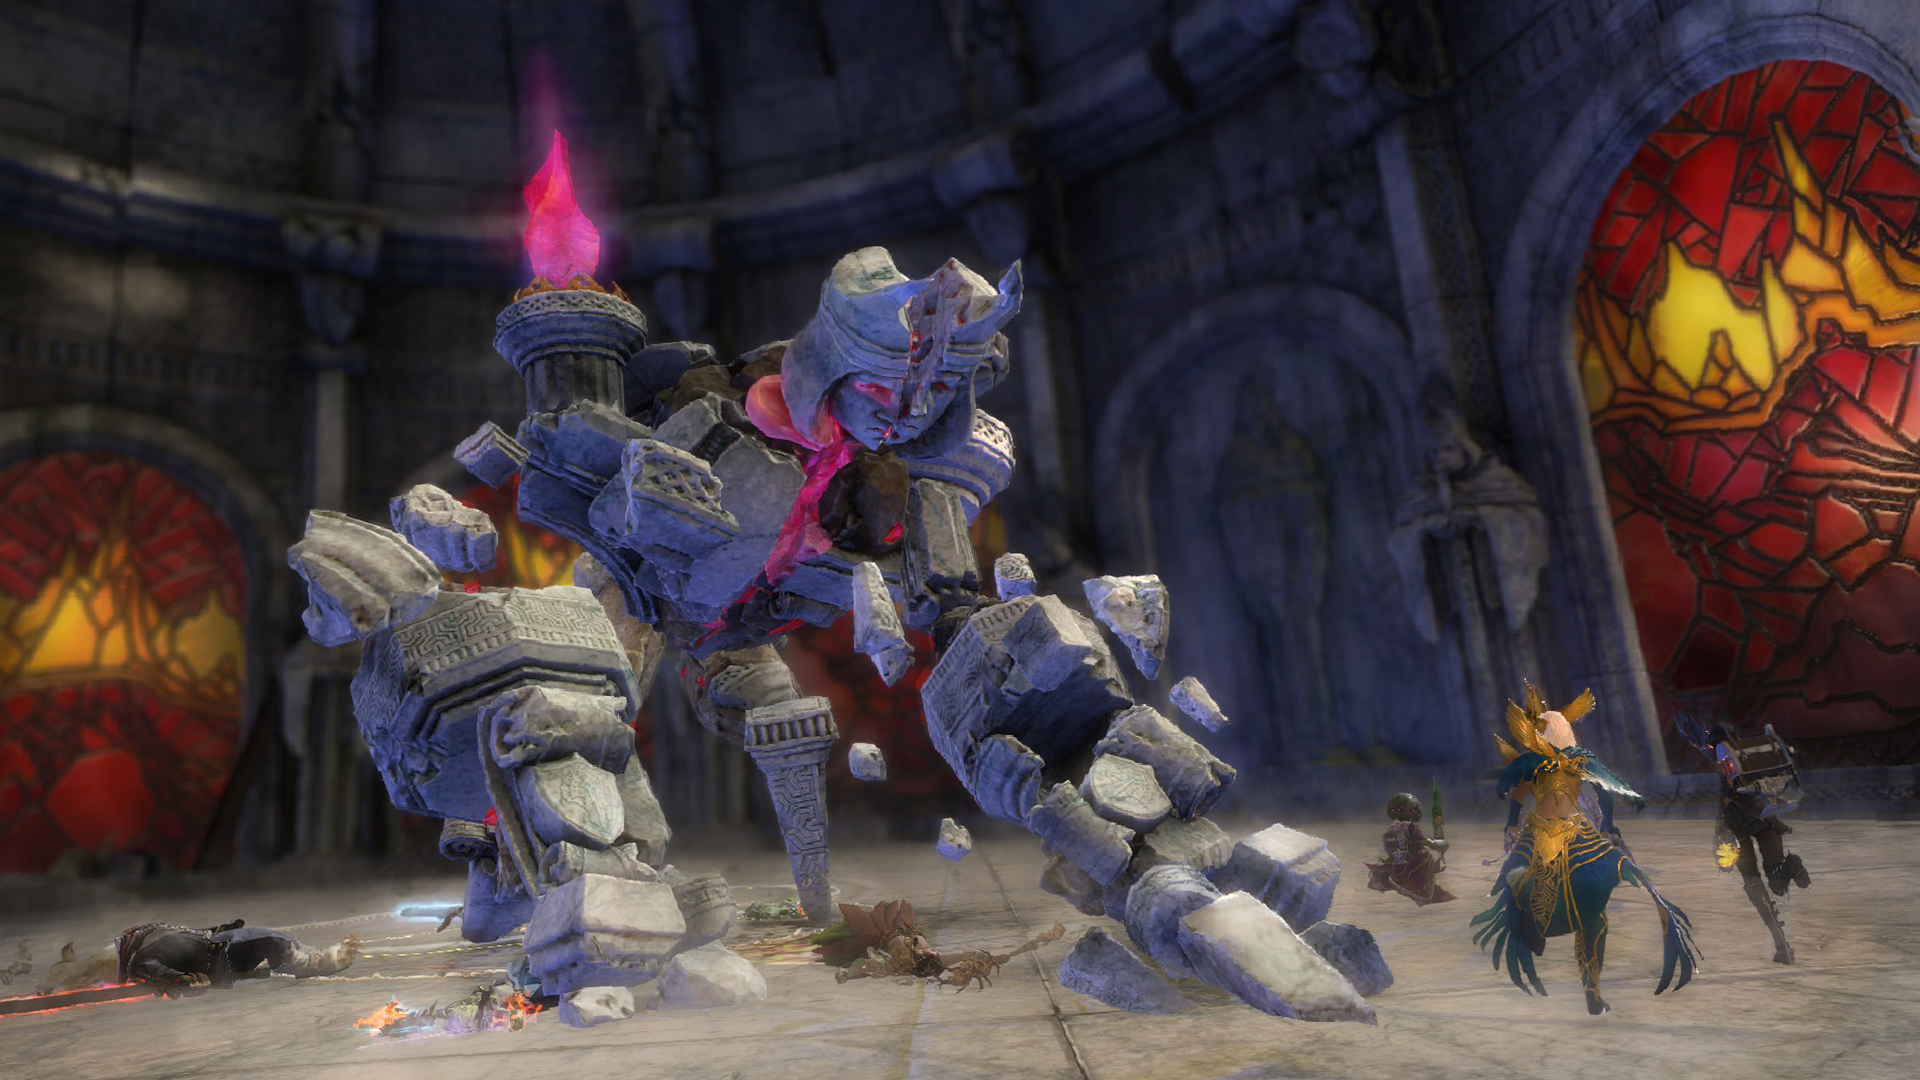
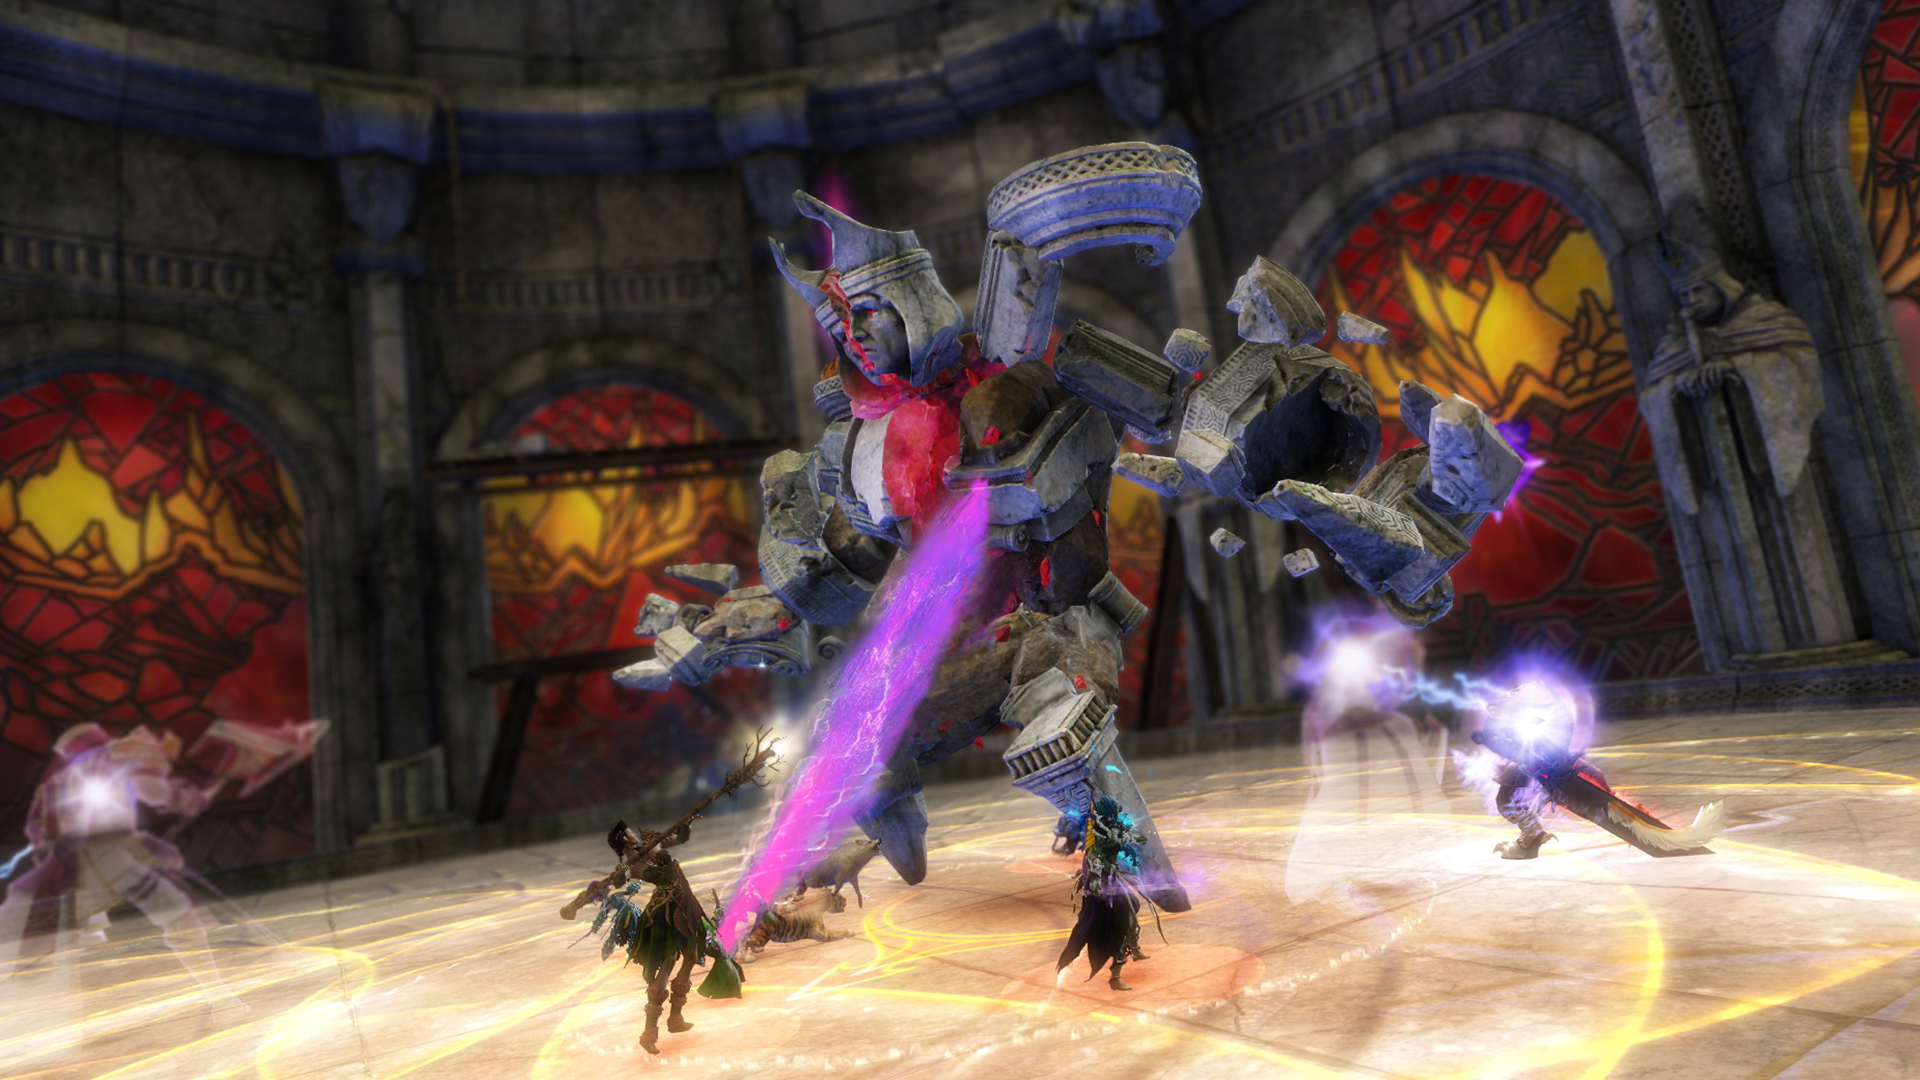
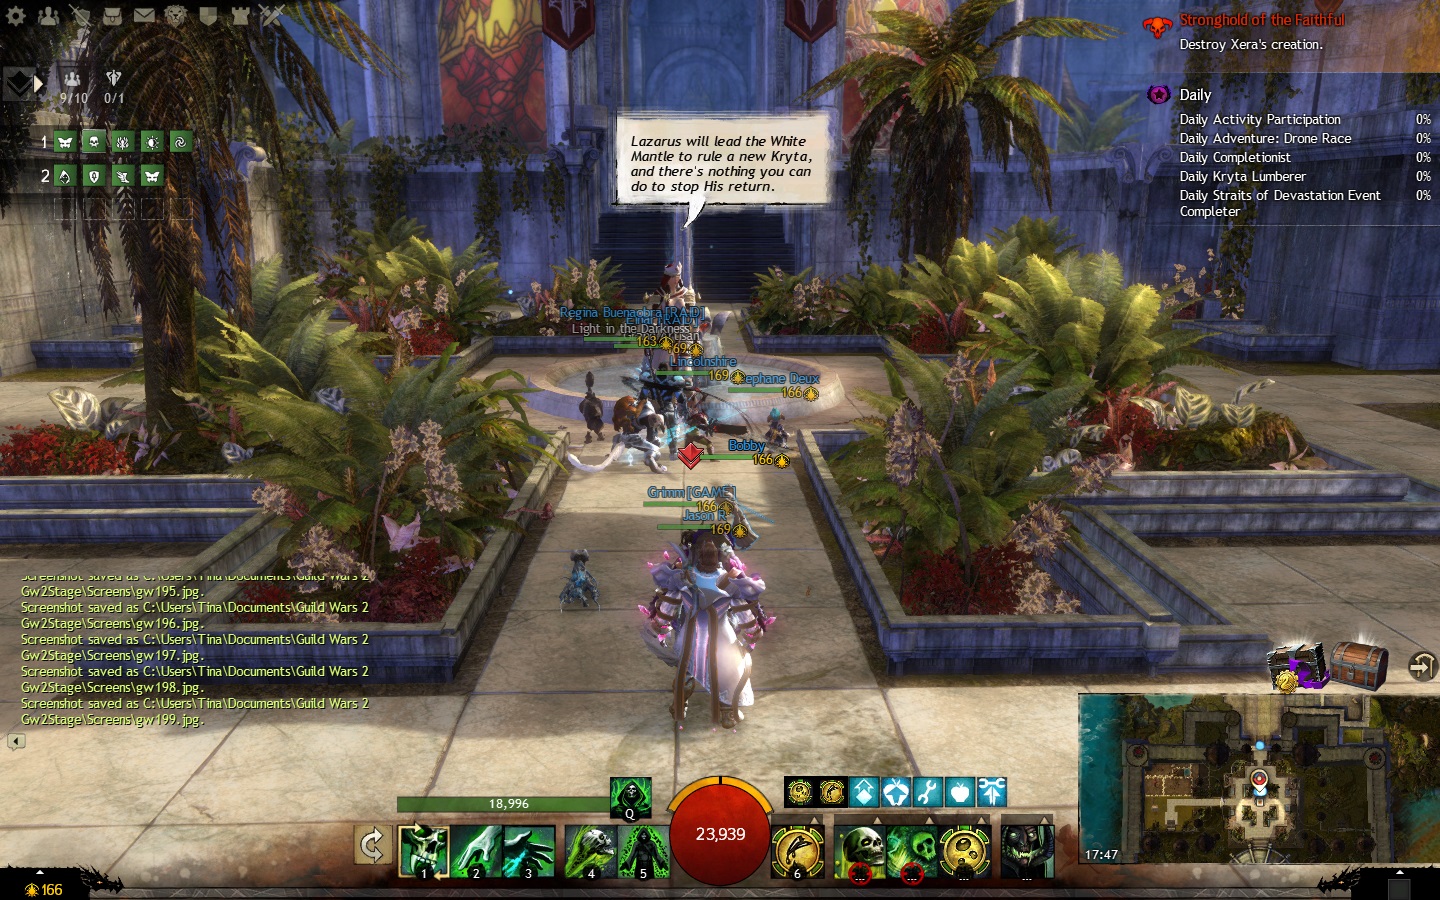 Xera
Xera
My playthrough ended when we reached the courtyard garden of the keep after Glenna blew off its broad oak doors as if they were chip wood. I was left with Xera’s teasing taunts and felt as though I wanted to pounce on her before leaving the raid, which I am taking as a good sign that the raid’s plot has me gripped and I’m enjoying the encounters so far. Xera is a rather imposing figure and I can’t wait to see what she throws at raiders. The courtyard is really densely packed, so I’m hoping that movement is critical and the tight space becomes relevant as the encounter unfolds. I’m hoping for more minion use in this encounter before we face Xera herself because awesome magical bad guys shouldn’t have to get their own hands dirty without good cause in my opinion. Judging by the raid tracker and screenshots sent to me by ANet, I’m presuming I’m right on that one and that she is responsible for the oversized tin can man I spotted.
My impressions
In my playtest, we weren’t great at coordination: As always, the devs were busy explaining the raid design, mechanics, and strategic elements, and I was busy screenshotting the prettiness and taking in the information. I felt that we didn’t treat the add waves quite as seriously as we should have, which most definitely slowed our progress. I totally admit that we wiped several times pre-McLeod due to some pretty hilarious fails from all sections of the raiding party. I was far from immune and caused a major wipe myself right at the end of the section by running to stop a warg that spawned behind us and walking into a newly spawned mine. Like a noob. In front of devs. D’oh!
What I’m trying to highlight by speaking candidly about our wipefest is that a disciplined team that has worked together on the other wings will not find the lanes to be much of a challenge if they pay attention. Solid teams can treat it as more of an interesting way to lead into the action than a truly grueling raid experience, much like the notorious lootship battle in World of Warcraft‘s Icecrown Citadel raid. Just remember that you do need to keep your raid heads on and pay attention to the environment: It changes often and respawning dangers can catch you off-guard, so just don’t risk it if you value your time over hilarious but frustrating wipes. As easy as lootship was, I still saw many groups wipe unnecessarily there, and this encounter seems to be cut from the same cloth.
Over to you!
All in all, I found the breathtaking views and nuggets of raid lore much more appealing than the actual mechanics and action portion of what I’ve played so far. ANet has lanes on the brain recently, and while I feel it works well in PvP settings I didn’t find it as compelling when it was thrown into my raiding mix. I really wish the playthrough had started at Xera instead of ending at her… that seems more like the sort of encounter I enjoy. What do you think of the final raid wing? What would you like ArenaNet to refine for the next raid? Let me know your thoughts in the comments. Before you find your way to the comments section, however, check out the small gallery of teaser screenshots below.


 Tina Lauro has been playing Guild Wars 2 since it launched and now pens the long-running Flameseeker Chronicles column, which runs every other Wednesday and covers everything from GW2 guides and news to opinion pieces and dev diary breakdowns. If there’s a GW2 topic you’d love to see covered, drop a comment Tina’s way or mail her at tina@massivelyop.com.


