

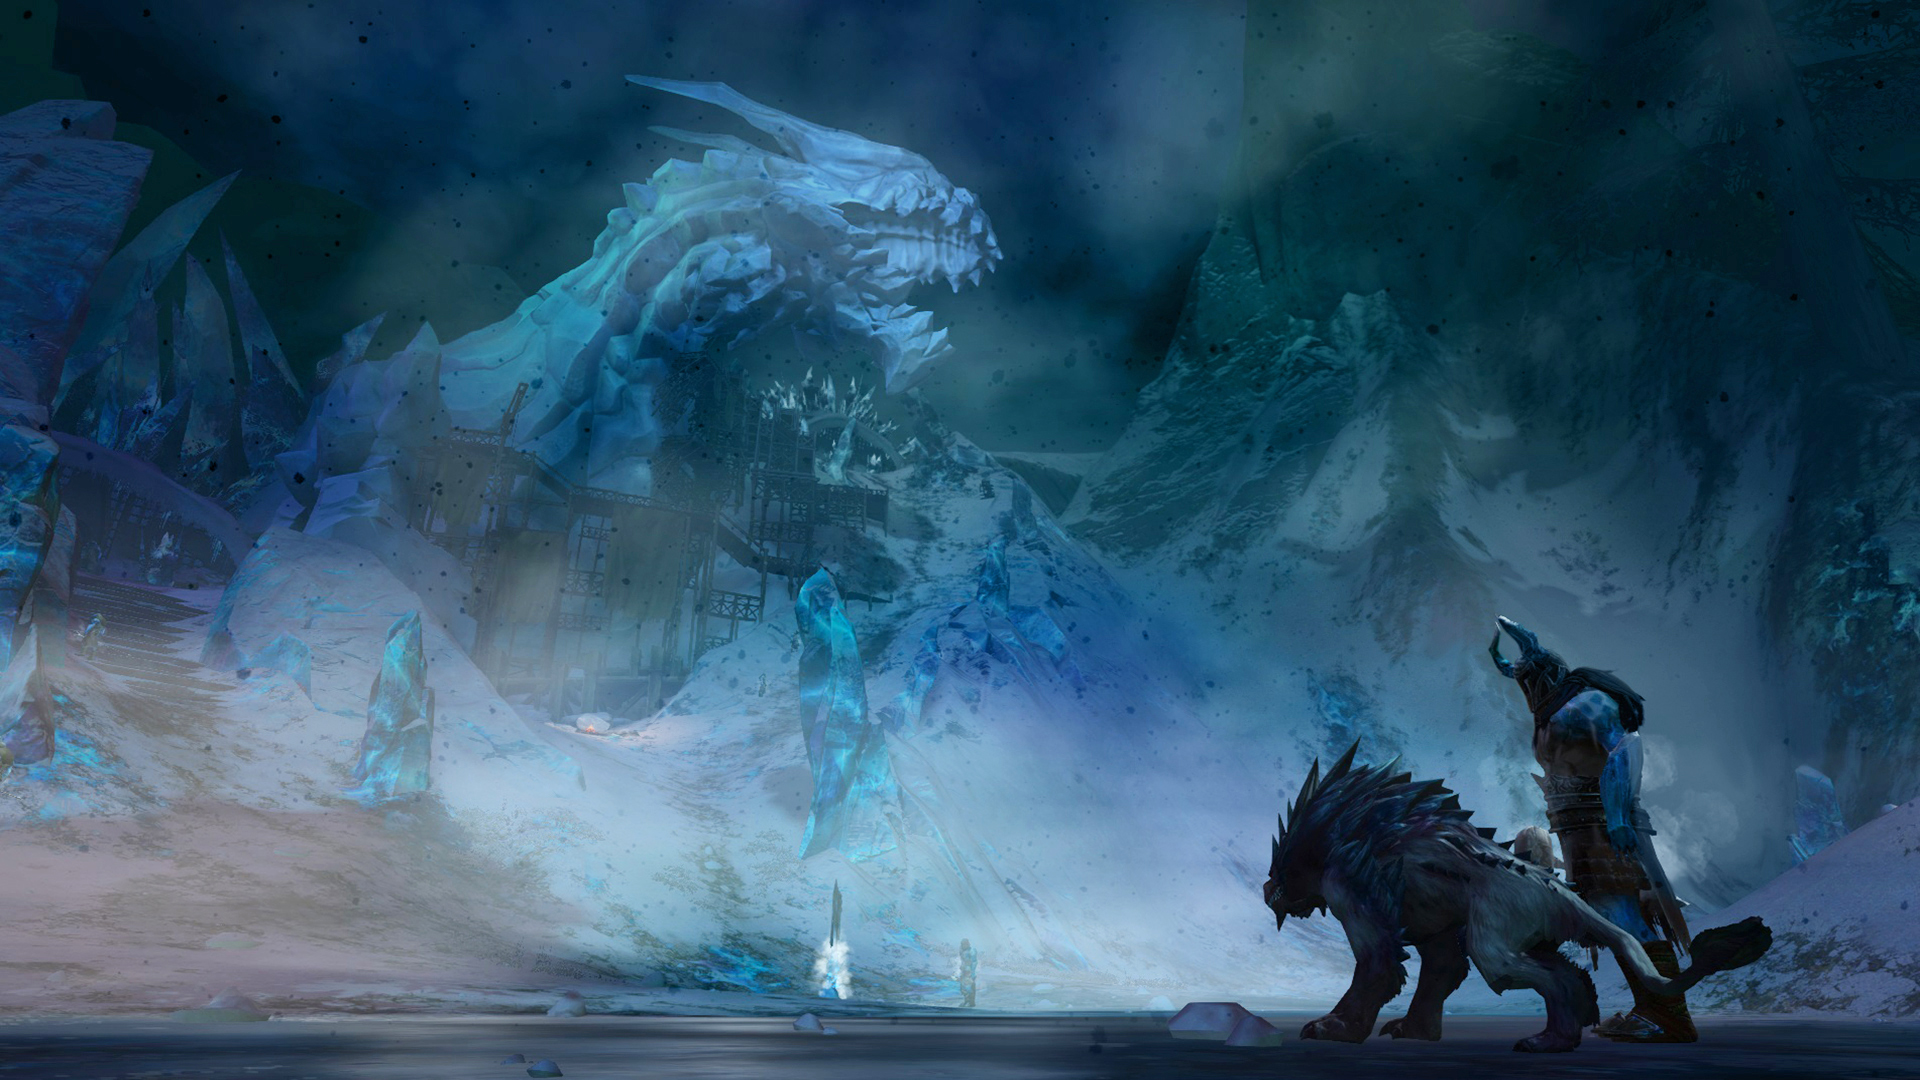
ArenaNet gave us all word of a seasonably frosty addition to the Guild Wars 2 Living World story last week: The third instalment of season 3 is upon us right now just in time for Thanksgiving and is unlockable for anyone who logs in over the next few weeks. A Crack in the Ice will take players on a journey into the Far Shiverpeaks as we track the activity of Jormag after Taimi’s bombshell about his recent activity levels. I was left expecting plenty of references to old Guild Wars: Eye of the North content and also noticed the trailer’s music called back to Living World season 1, which has had the desired effect of piling me onto the Season 3 hype train once more.
I managed to fit in a guided tour of both the new (but distinctly familiar!) fractal and the new zone in the short window between the episode’s announcement and its launch today, and while it’s difficult to follow the impressiveness of episode 2, I’m no less excited to bring you my early thoughts on A Crack in the Ice. I played through one chapter and had a good toddle around in the new zone over the weekend, but as ever with these launch day impression pieces, I deliberately tried not to spoil too much of the story for myself and will be keeping the write-up fairly spoiler free as well. Anything at all questionable has been placed behind spoiler tags for your reading convenience.
 Living World Season 3
The story so far
Just in case you’re not quite up to speed with recent Living World developments, here’s a quick recap on where the story has led us to so far. If you’d like more information on what came before, check out my full thoughts on episode two. In the last episode, the player character and company were left reeling at the news that two dragons were currently on the move and showing as active in the wake of Mordremoth’s death. Taimi, with plenty of help from Moto, has redeveloped some ancient Rata Novan technology to aid in our pursuit of Primordus and has also concluded that dragon magic is prismatic in nature and that dragons can harness untapped domains cleared by our heroes’ penchant for dragonslaying, creating some strange and supremely dangerous hybrid dragon spawn.
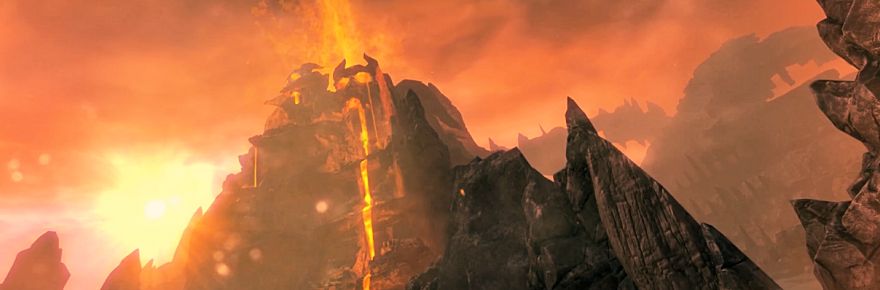
The player character is pushed on to the Fire Islands, and upon arrival it becomes clear that Taimi’s research is well founded as crossover monstrosities fill the area. The island chain needs to be restabilised as pressure is building rapidly below the volcanic surface since no one has been able to activate the ancient pressure release systems. An unexpected face (not a whole person, just a face!) helps in the reactivation process: A band of Skritt eventually lead the commander to a fragmented stone dwarf called Rhoban. We end up playing Mursaat dress-up to get past the impressive fortifications we find on the island, and once we deactivate the last artefact the island holds, a controlled eruption saves the day.
Back at Tarir, Glint’s egg begins to hatch: Your character blacks out and has a vision of the hatching and so the action goes back to the golden city. The hatching is detected by more than just your character, however, and fairly soon the defences fall and waves of destroyers invade the egg’s nest. Just when it looks as though all hope is lost, Lazarus of all people comes along and blows the destroyer hordes to smithereens before the new baby becomes bug food. Lazarus offers to join the heroes in vanquishing more dragons, but the Luminate urge the player not to trust him. Marjory offers to stick to him for the foreseeable future while Caithe is tasked with looking after Aurene, the most adorable thing to be created in GW2 since Taimi herself.
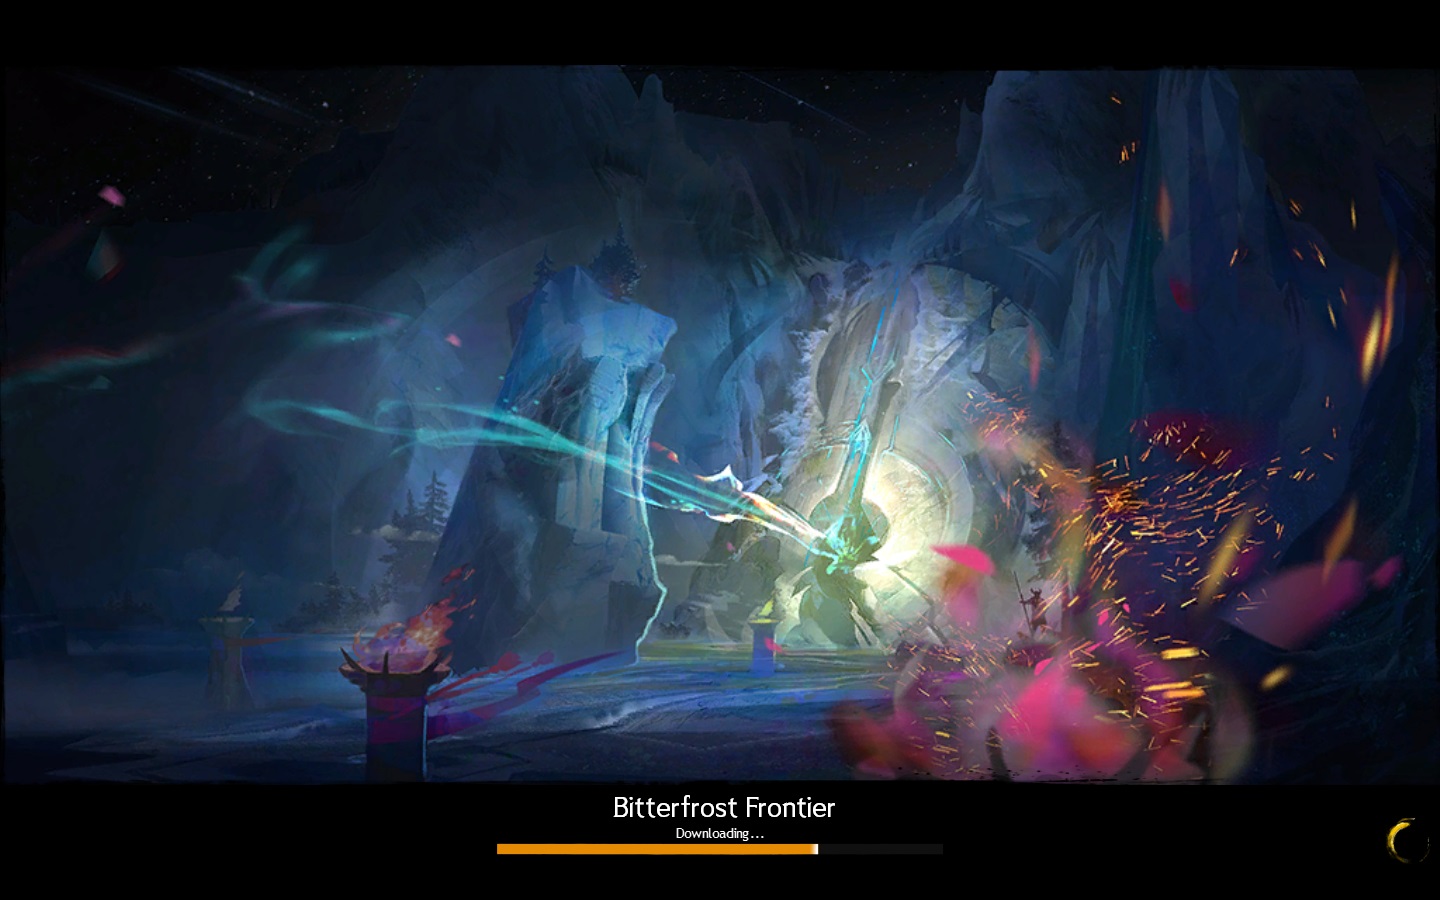 The journey to Bitterfrost
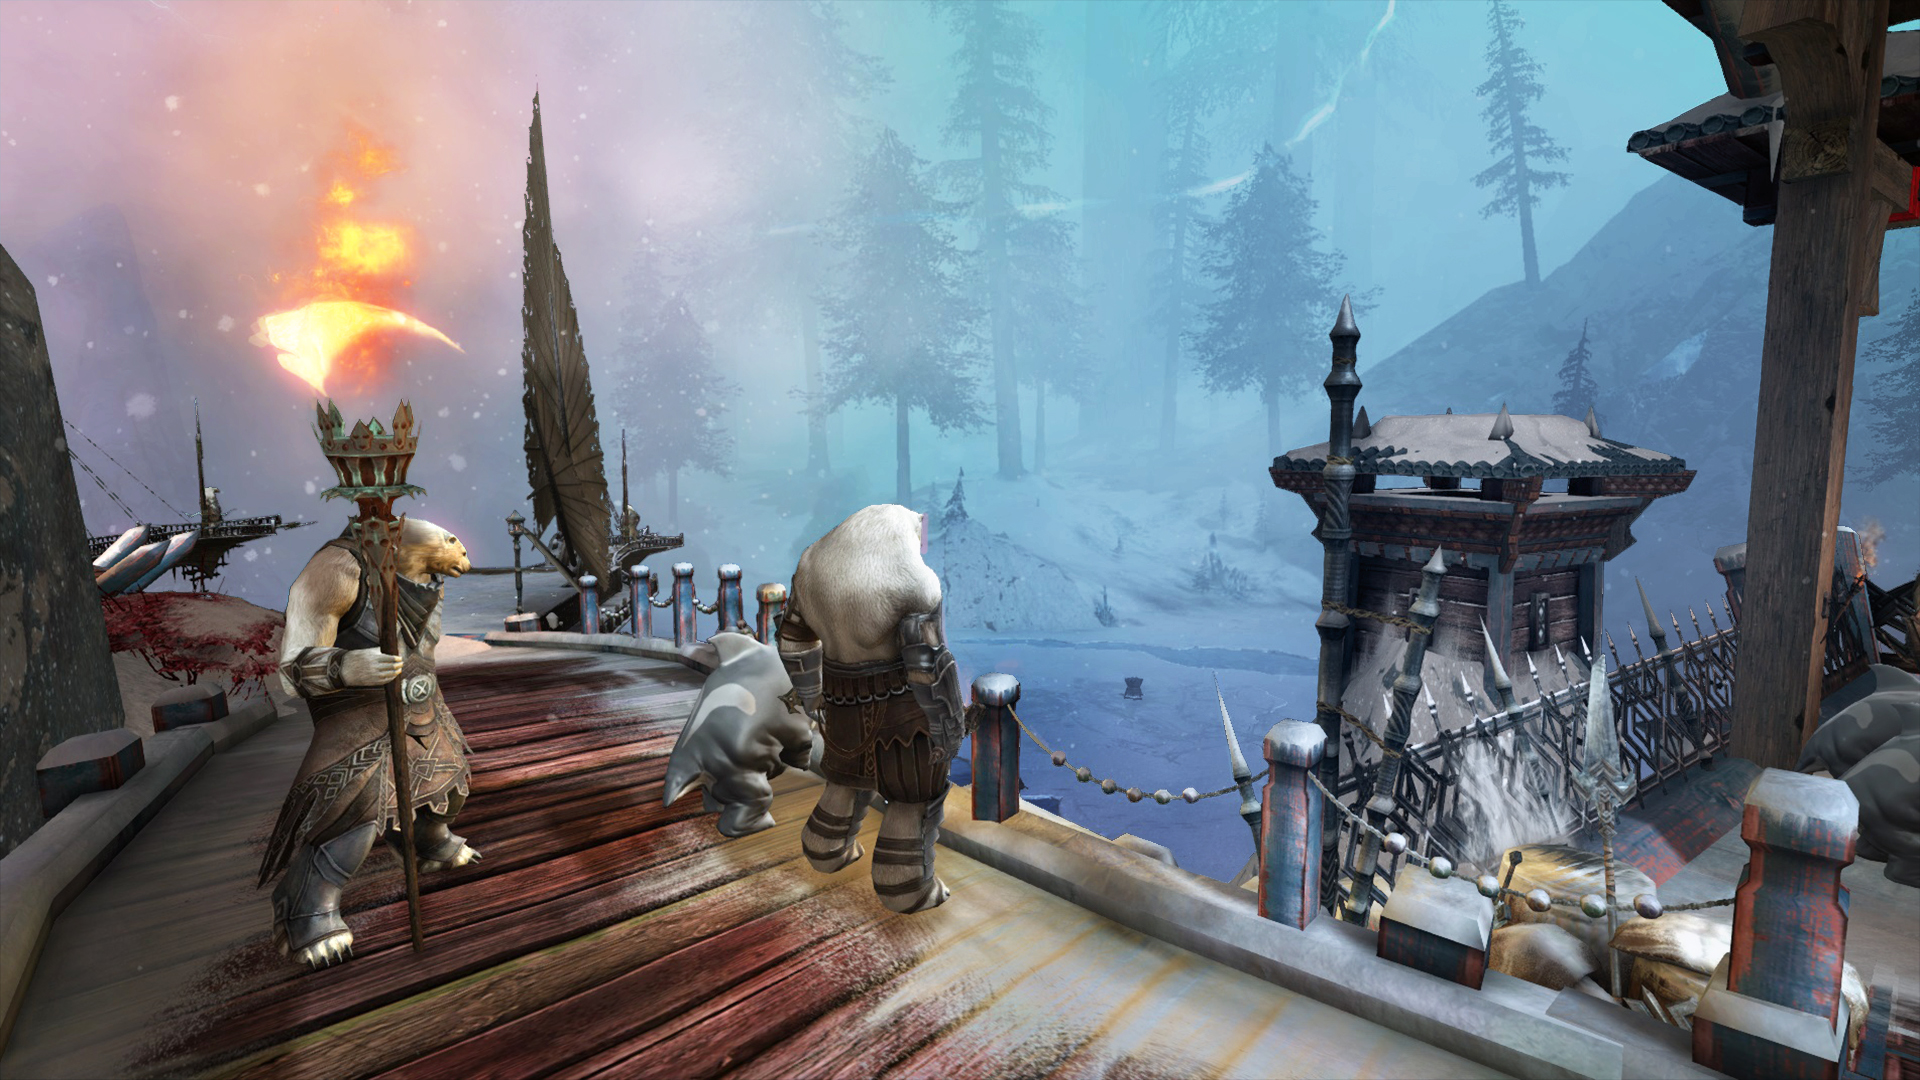
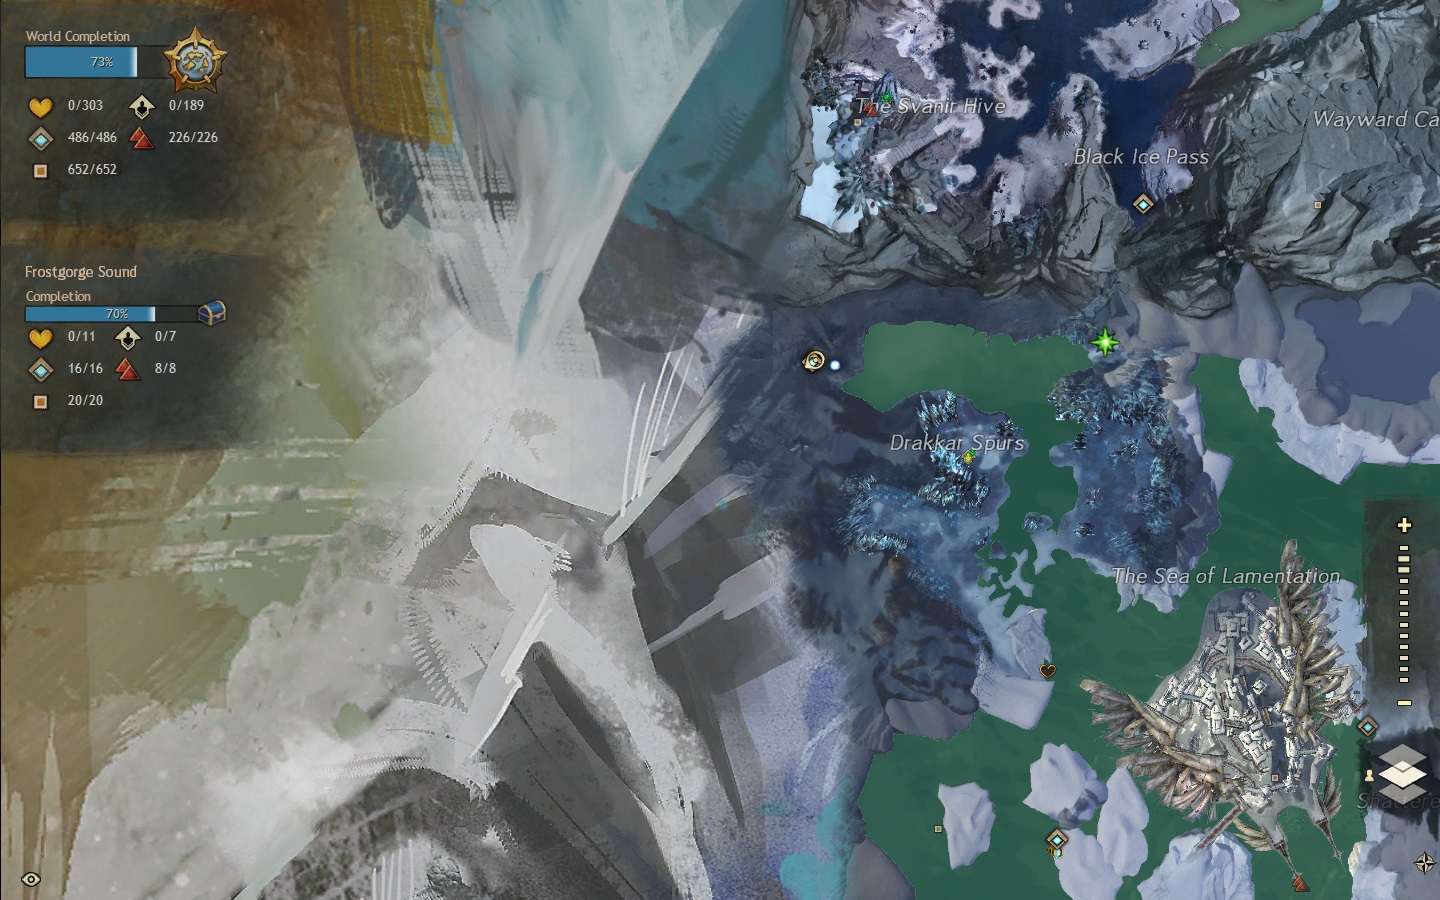
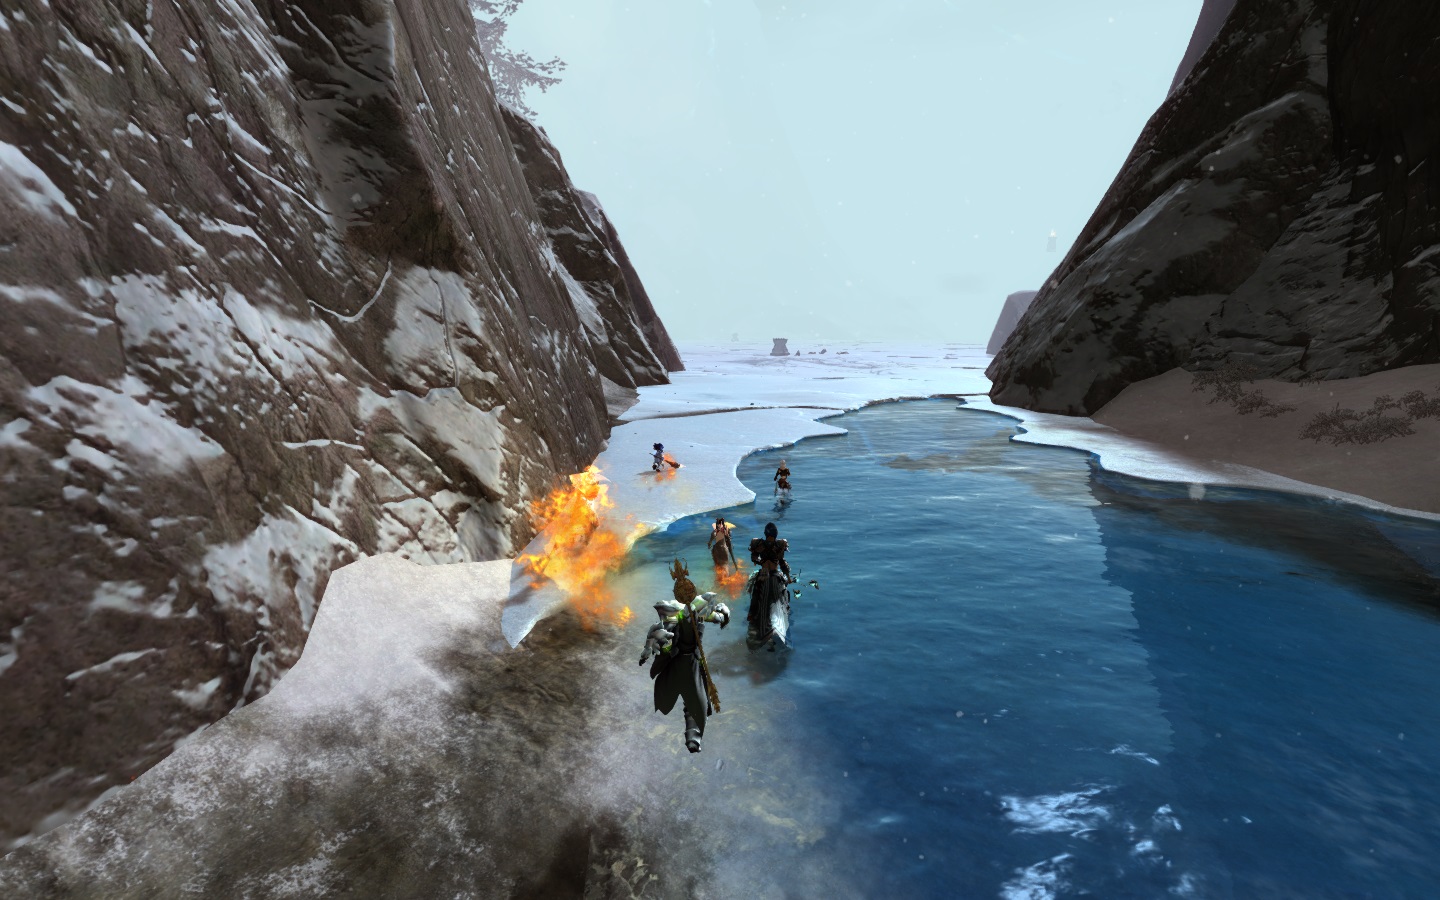
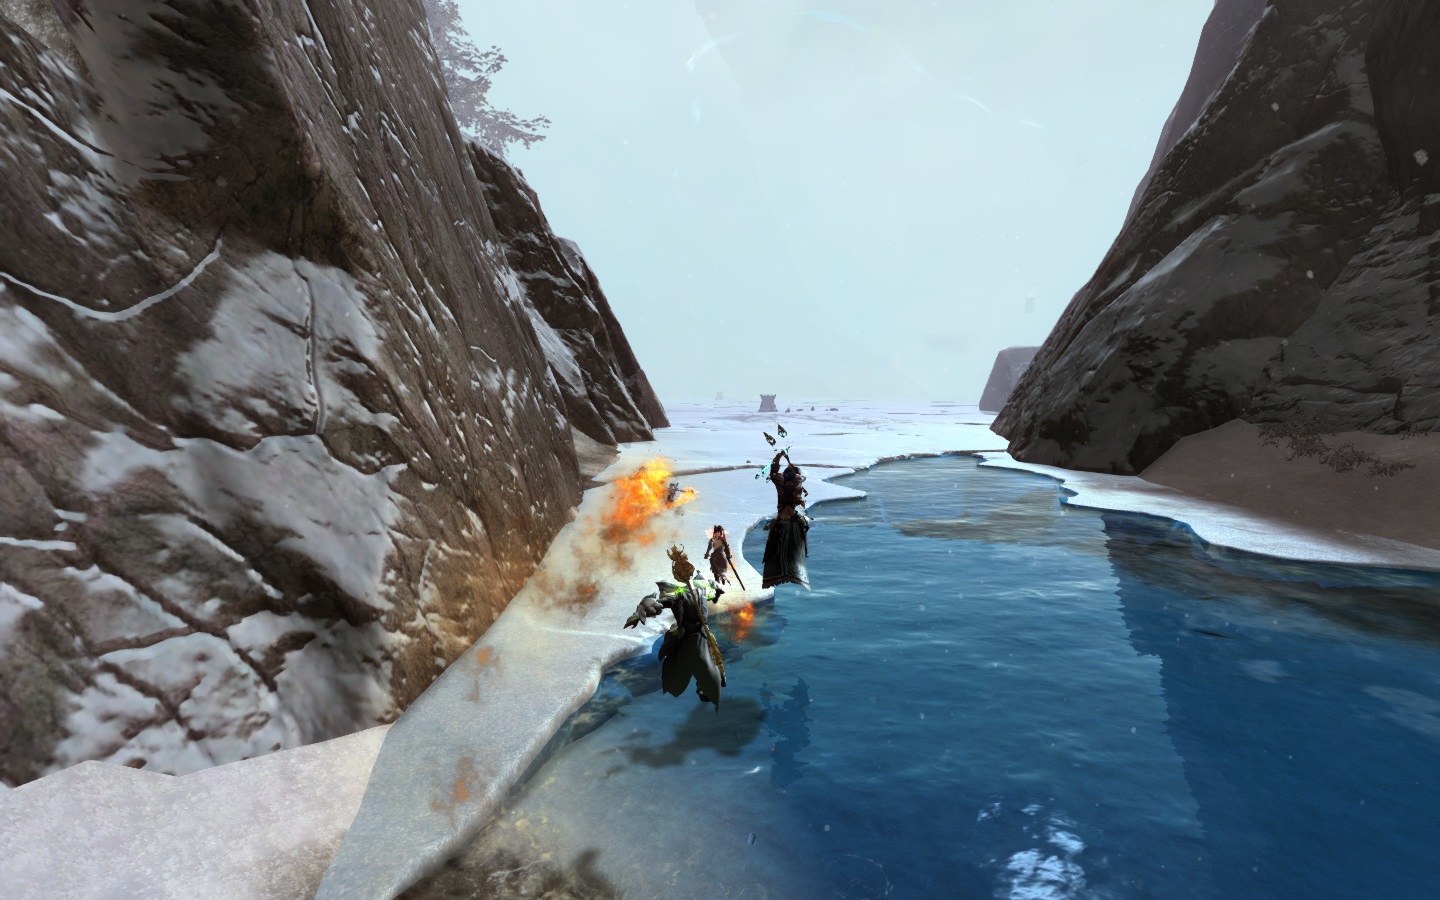
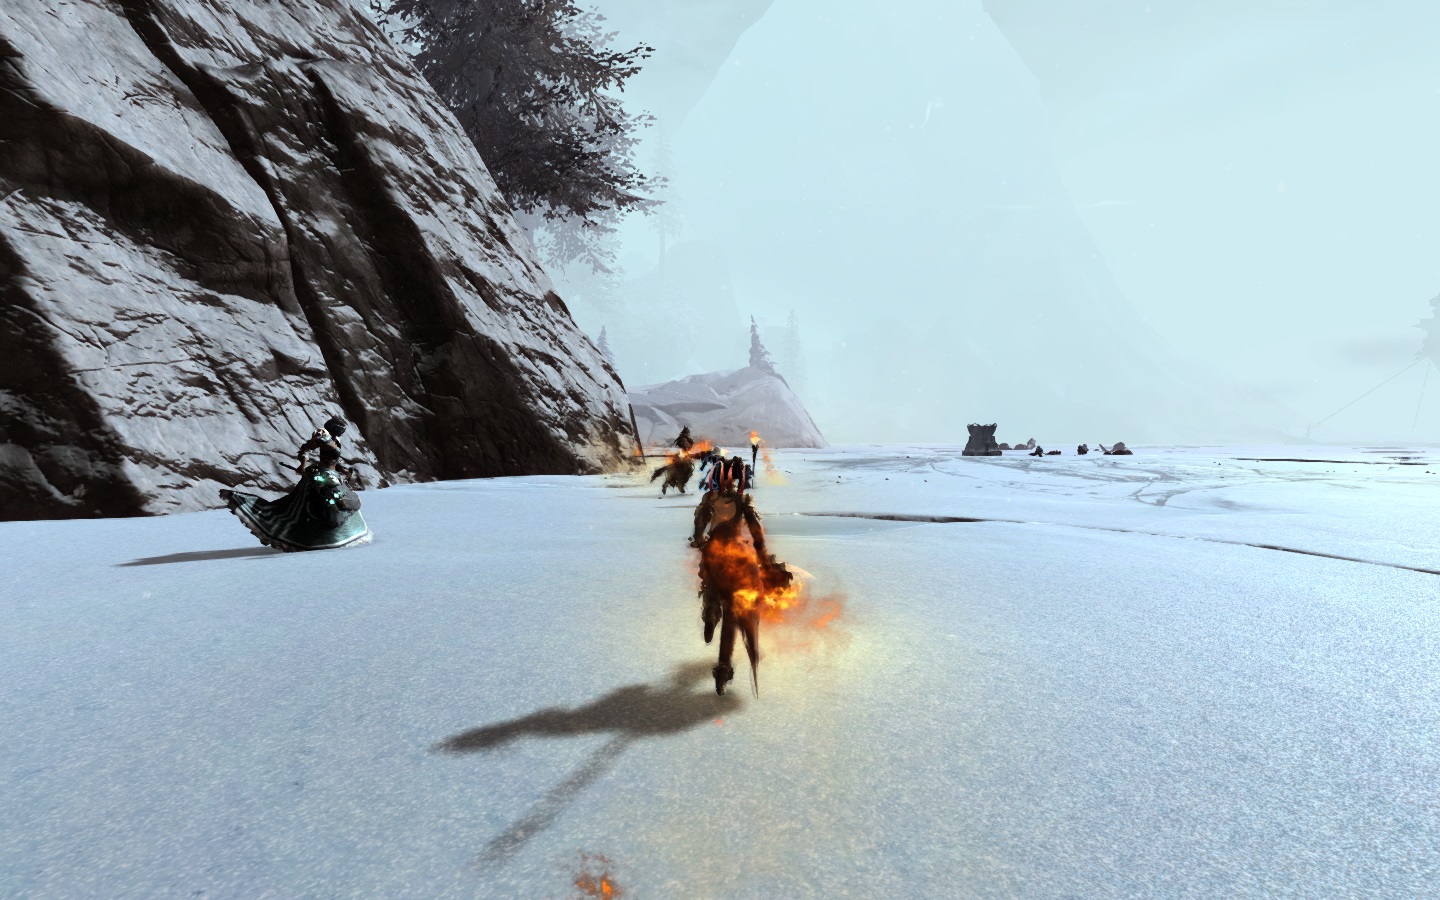
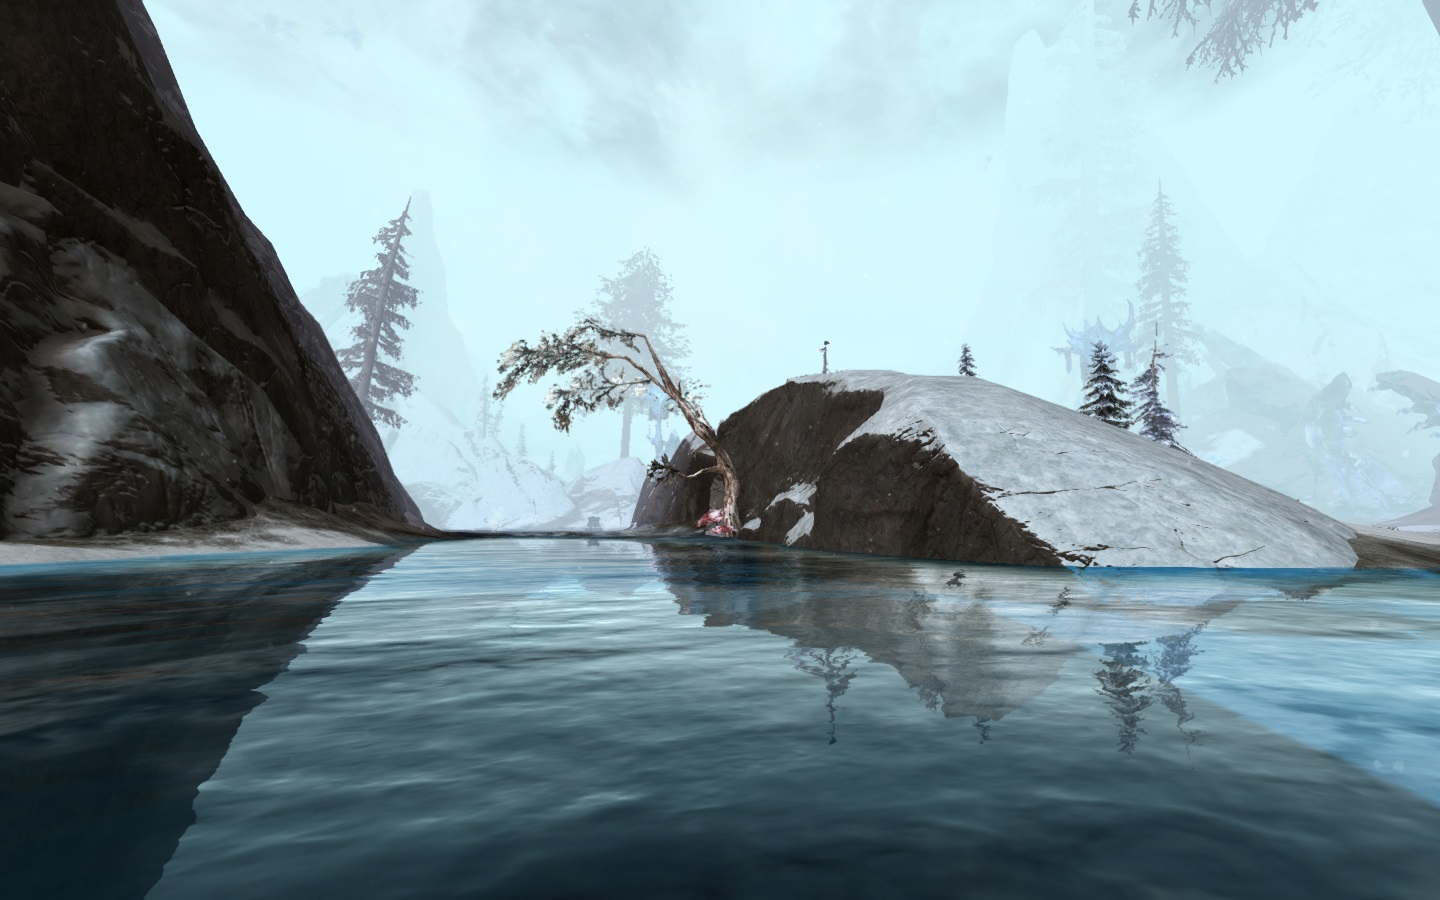
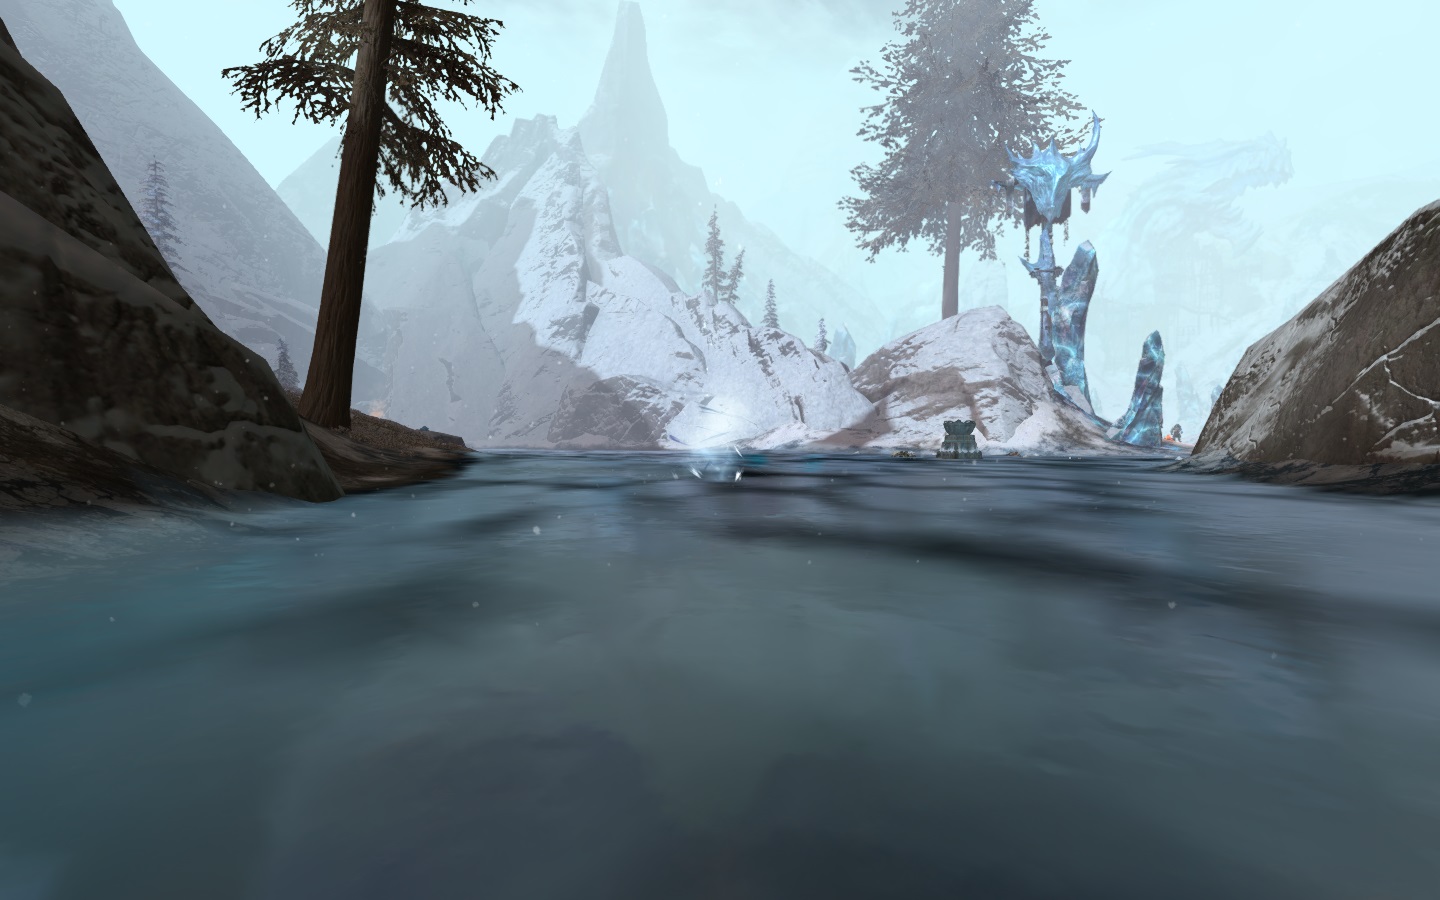
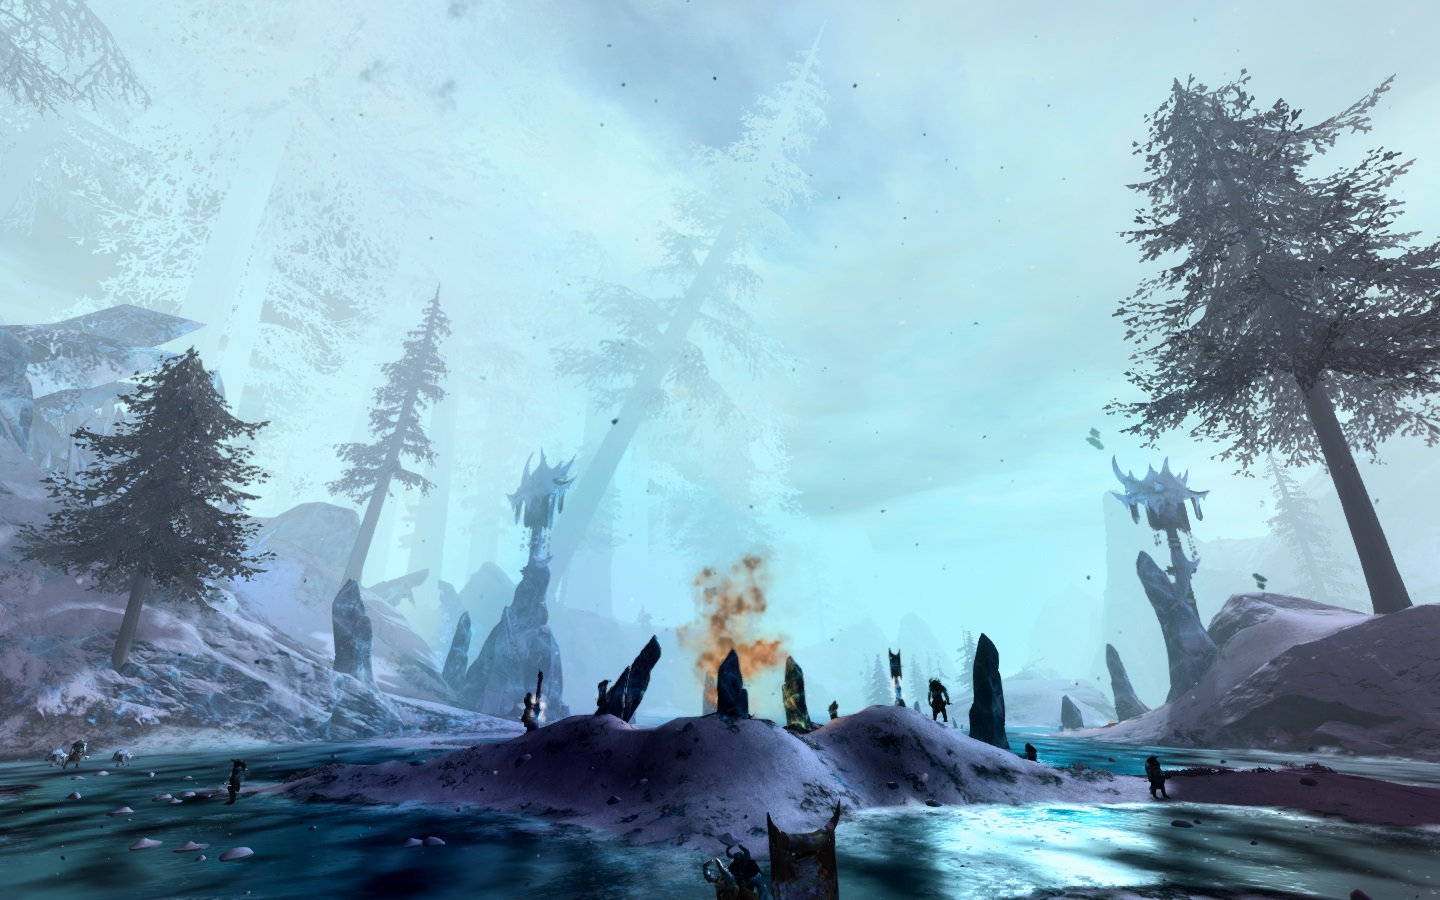
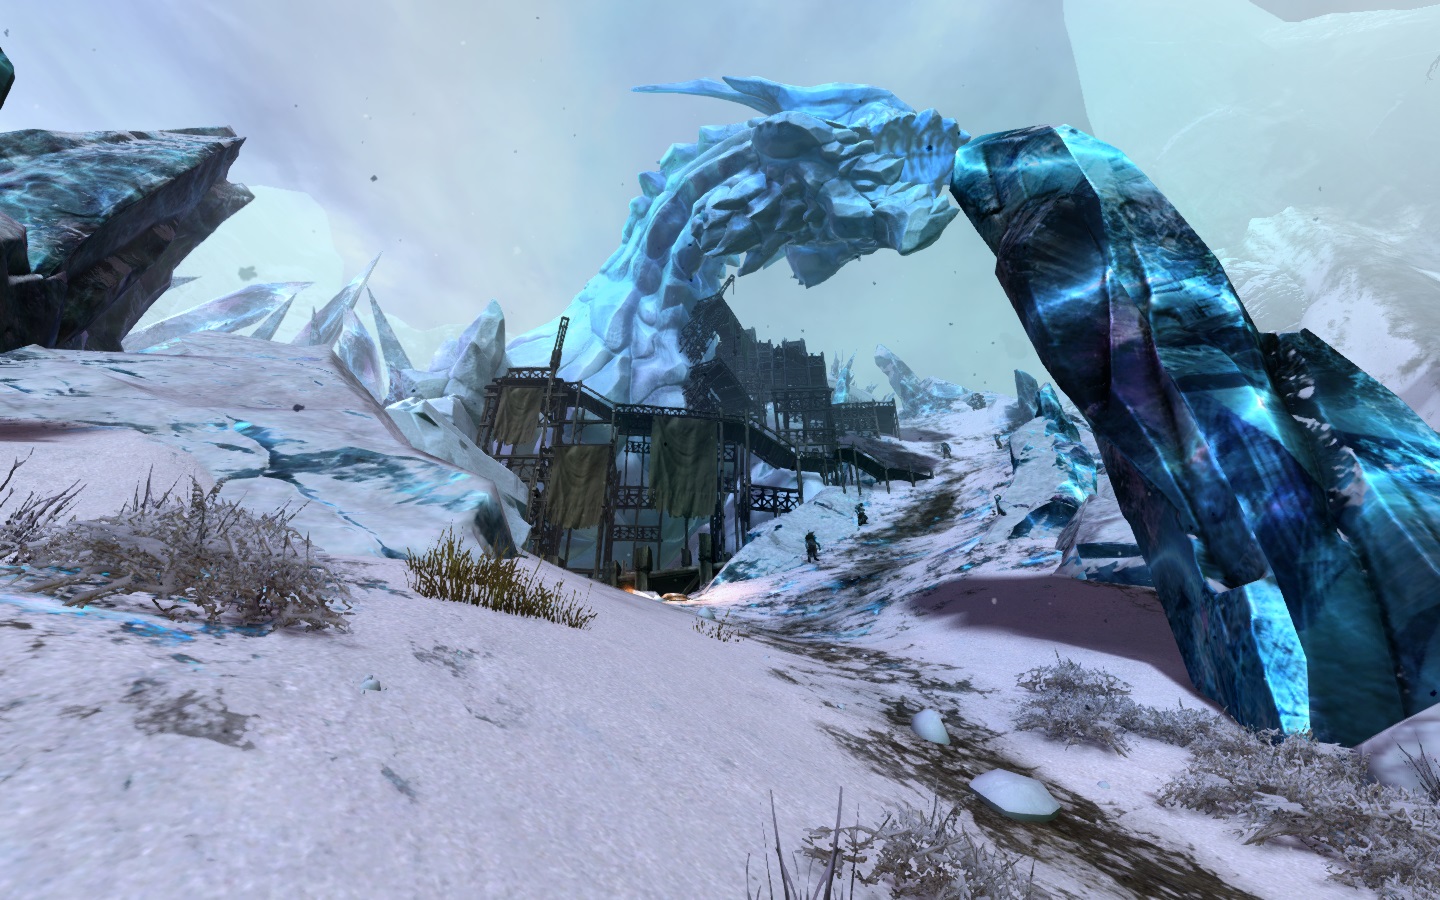
If you’ve been paying attention to some subtle map changes and various hints on the GW2 Reddit, you’ll know roughly where to look for the new zone. The playtest commenced with the not-insignificant task of finding safe passage through the Shiverpeaks to Bitterfrost Frontier, which we’re reliably informed by Elder Ulf is the first steps we must take into the most dangerous area in the mountain range. We’re also greeted by a Kodan Flamebearer who informs us that we must carry Koda’s flame on with us if we’re to venture further North. Taimi chips in to tell us that the flames are most certainly magical, so we agree and head on through the passage north.
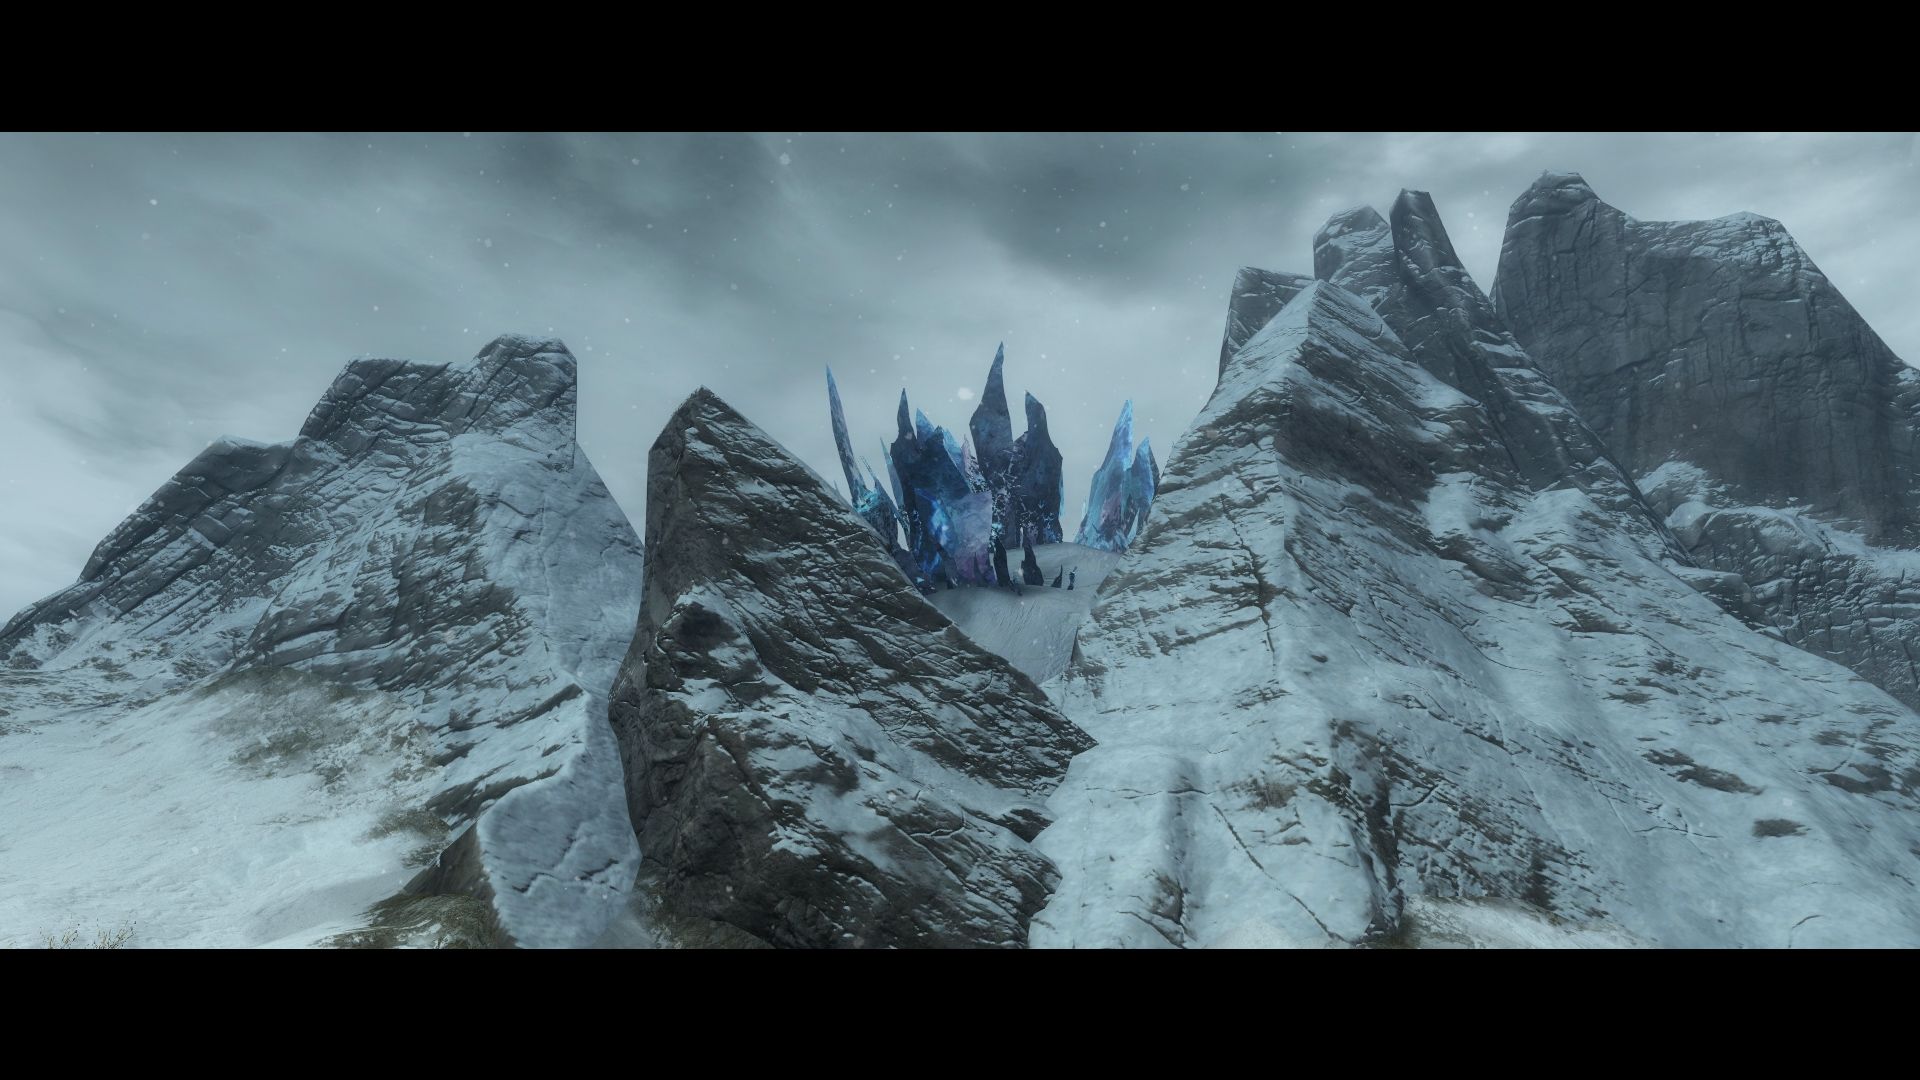
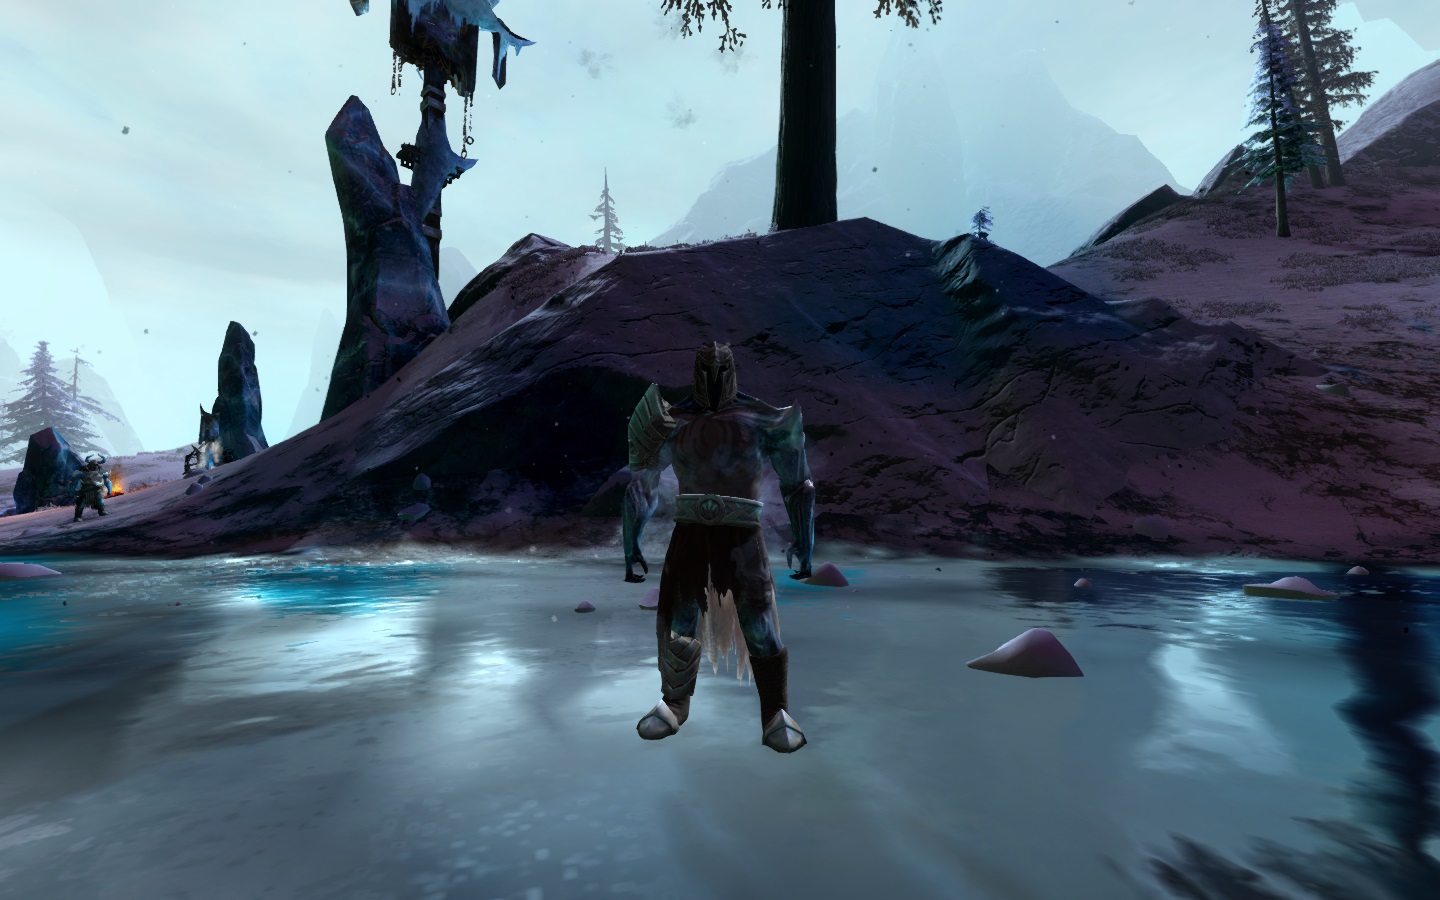
Once the flame of Koda is safely in our possession, we need to then find Sorrow’s Eclipse Sanctuary to progress the story, so the player character heads off into the frozen tundra in search of the Kodan settlement where more answers about Jormag’s activities in the area can be found.
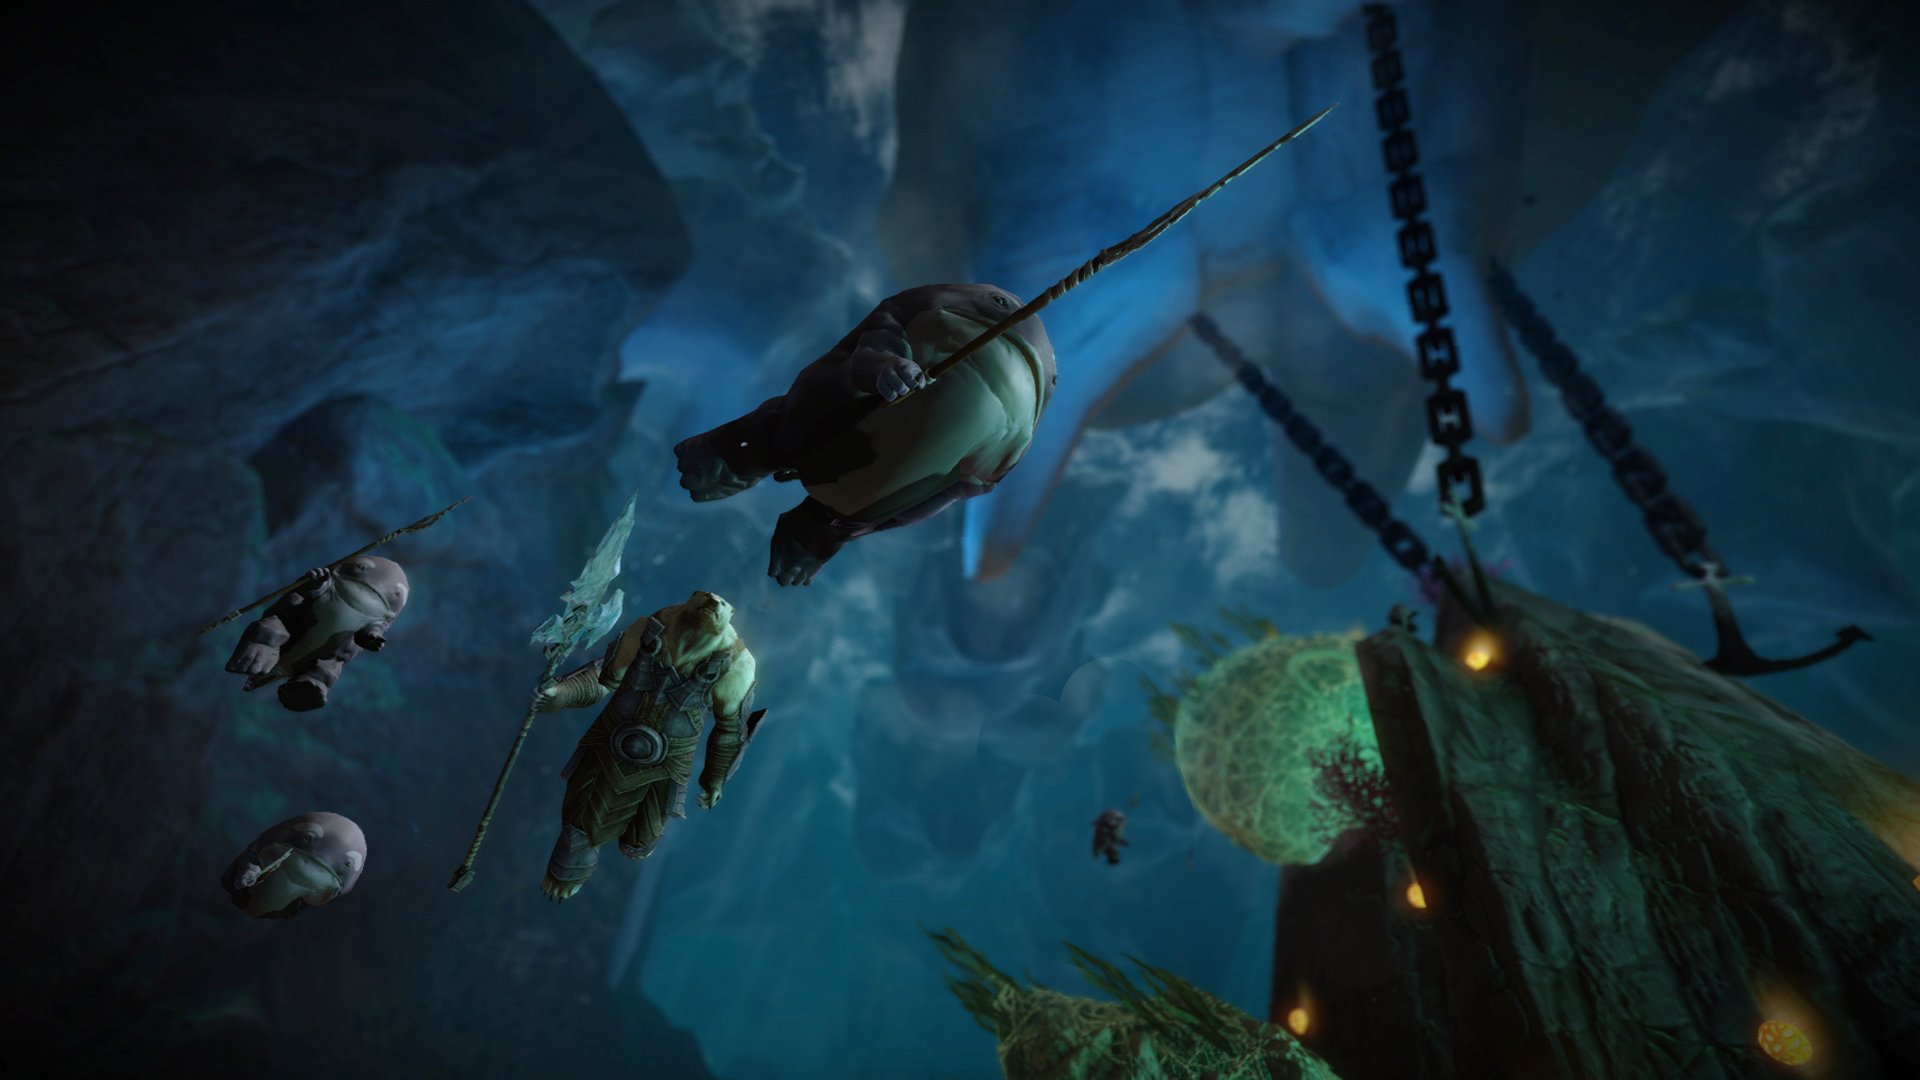
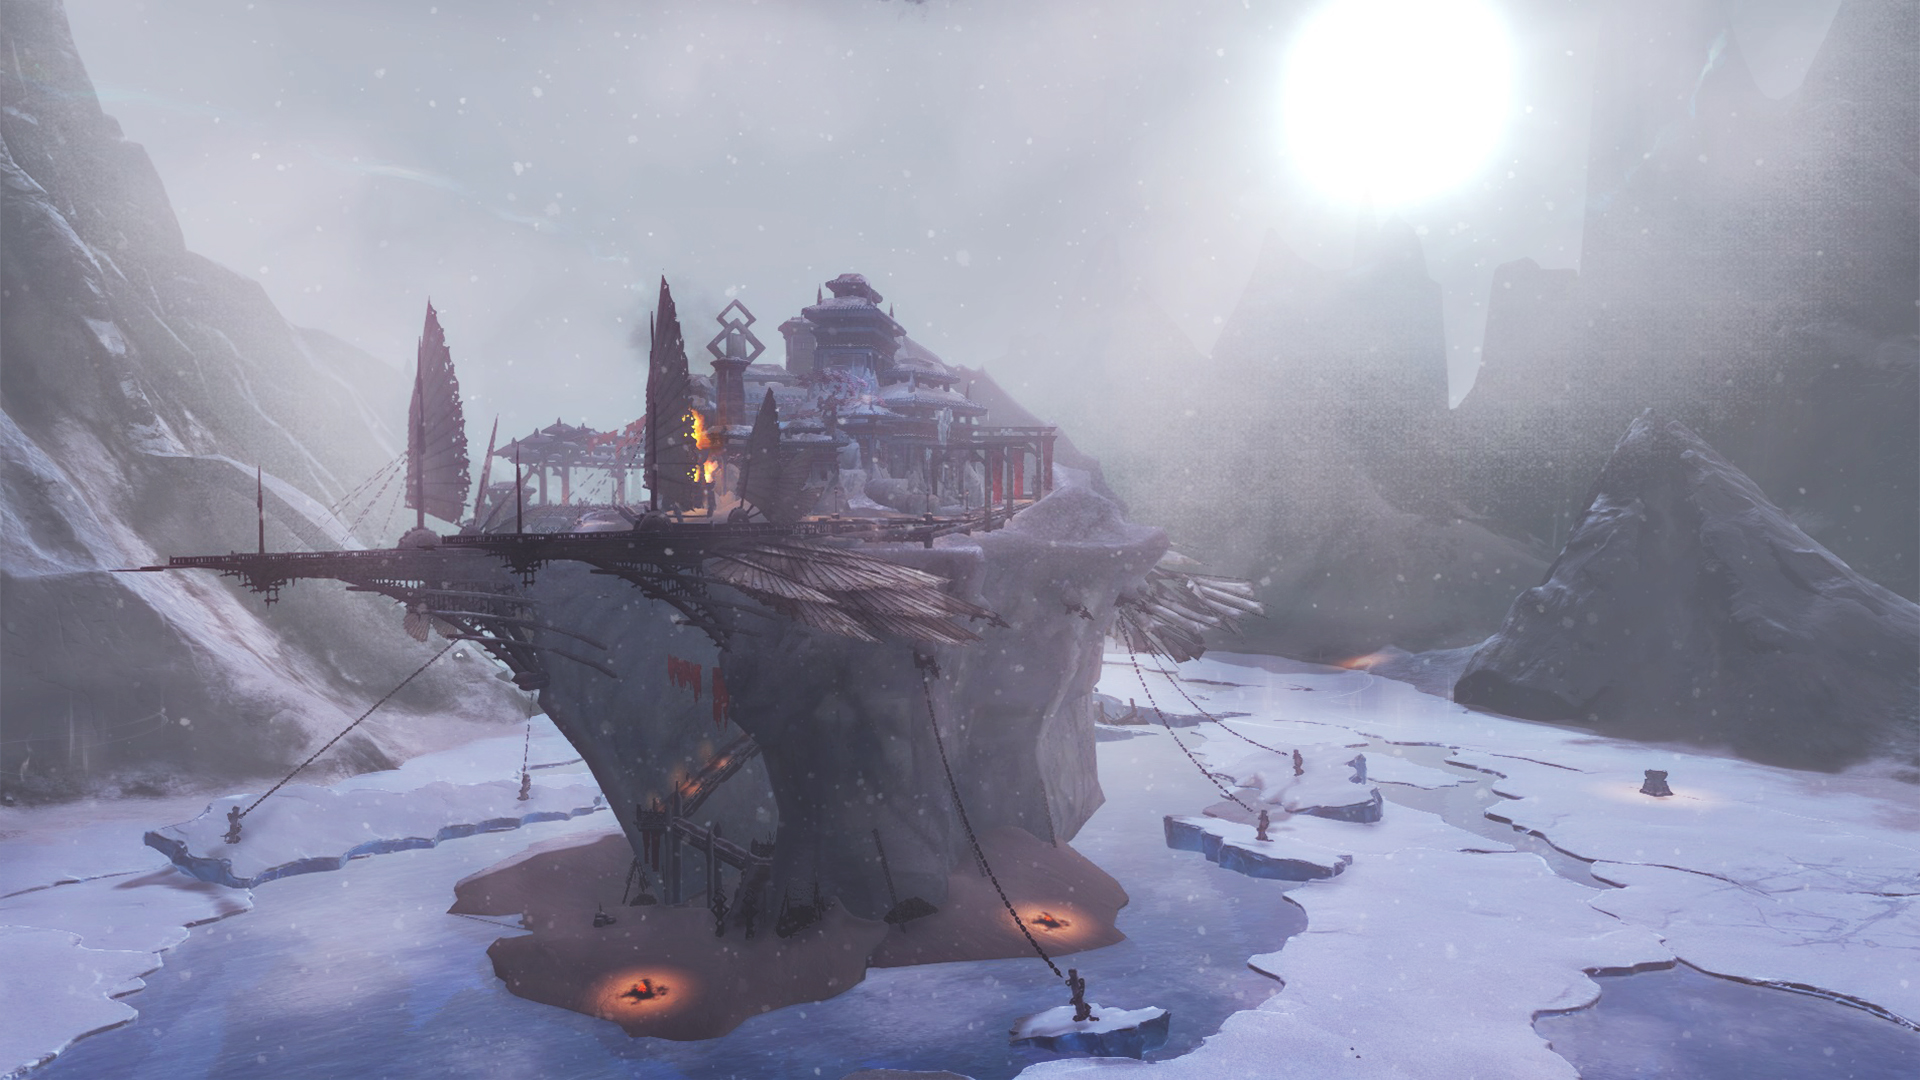
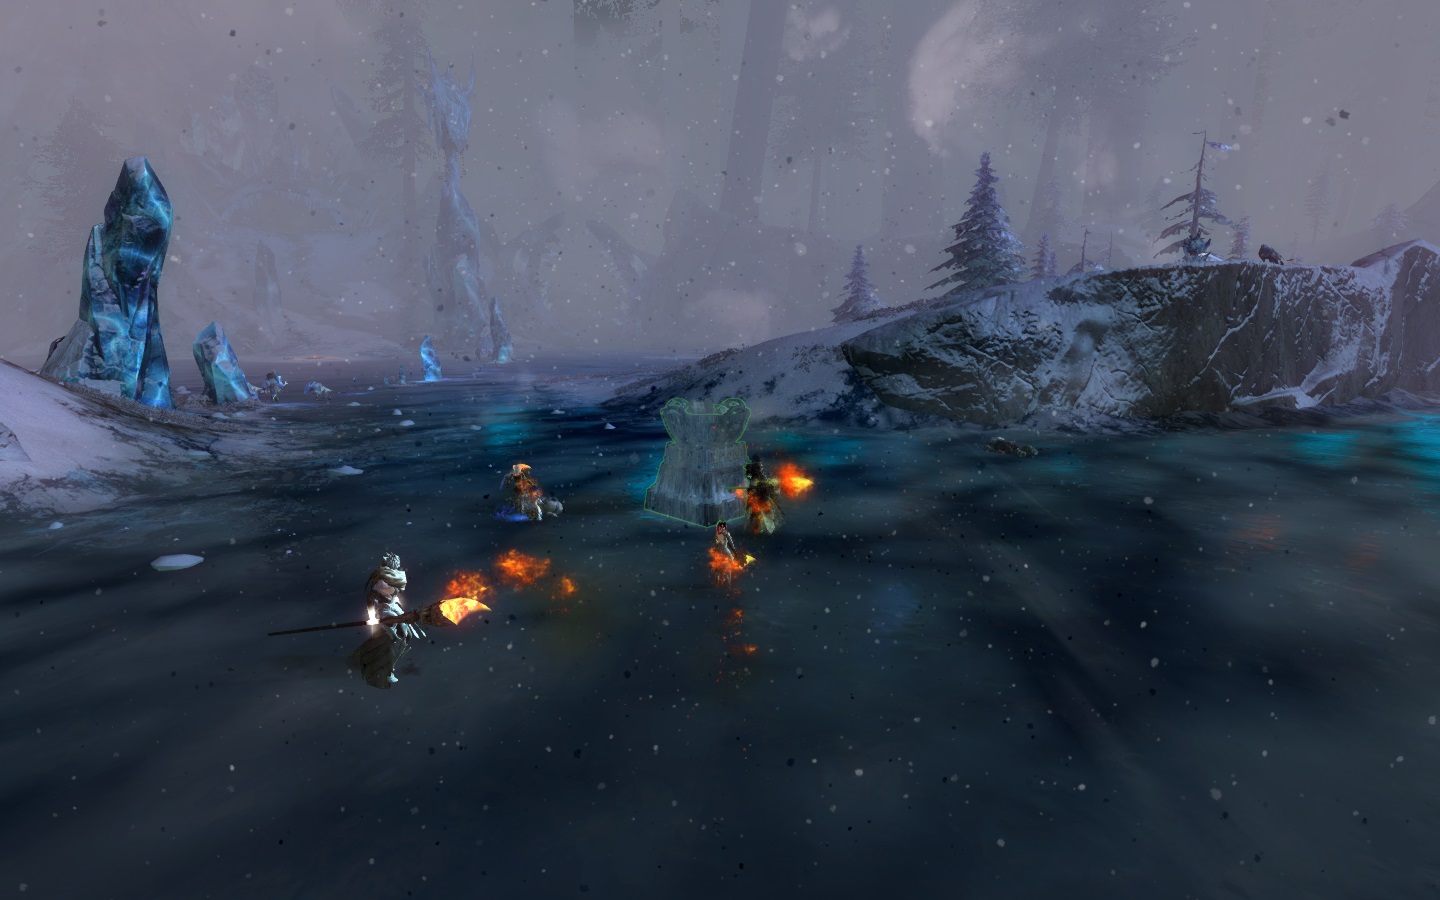
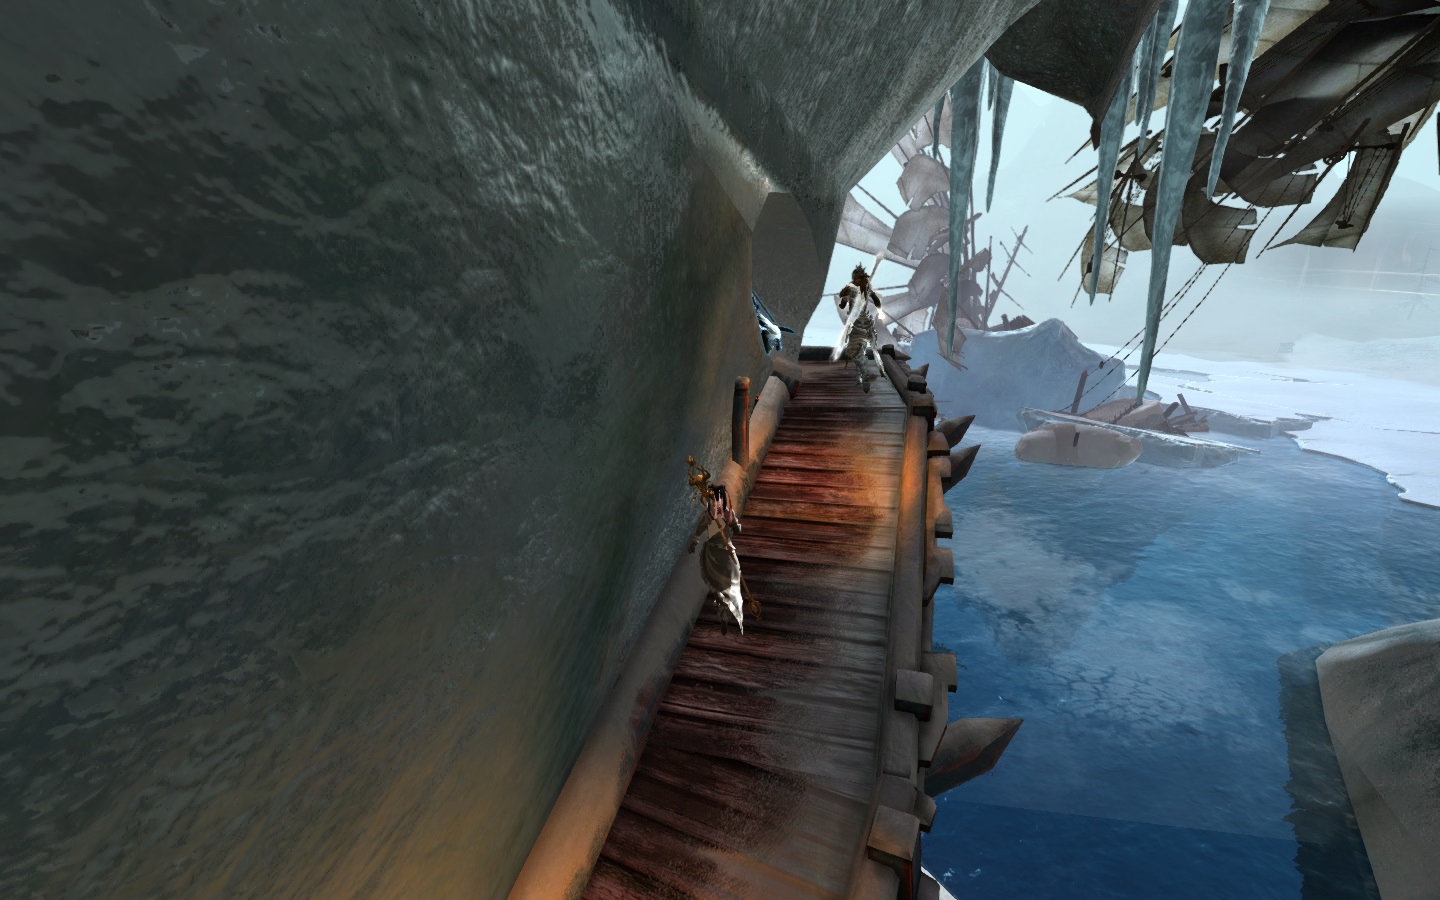
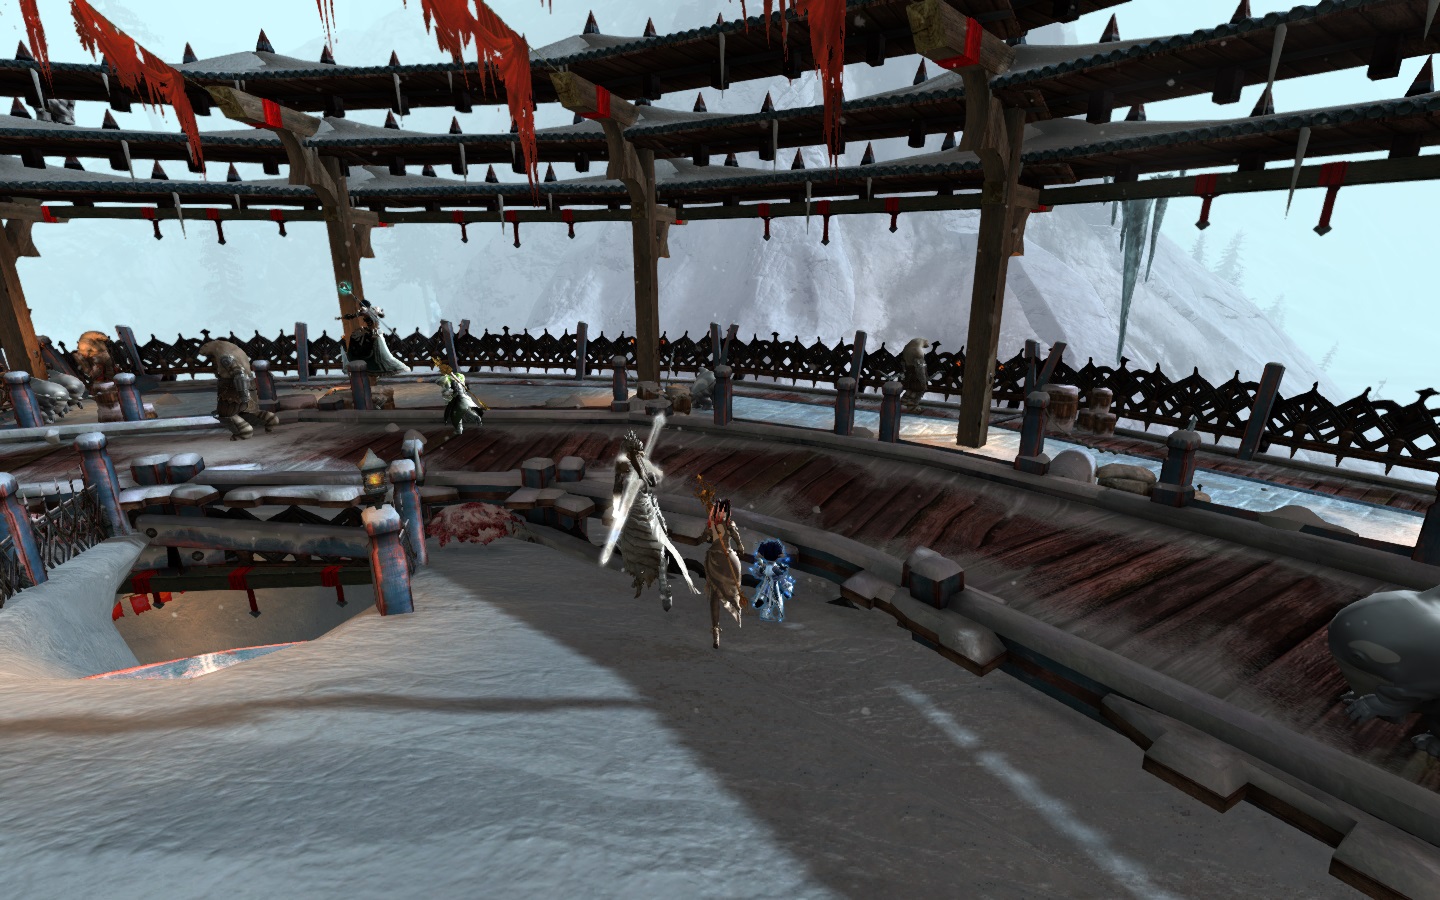
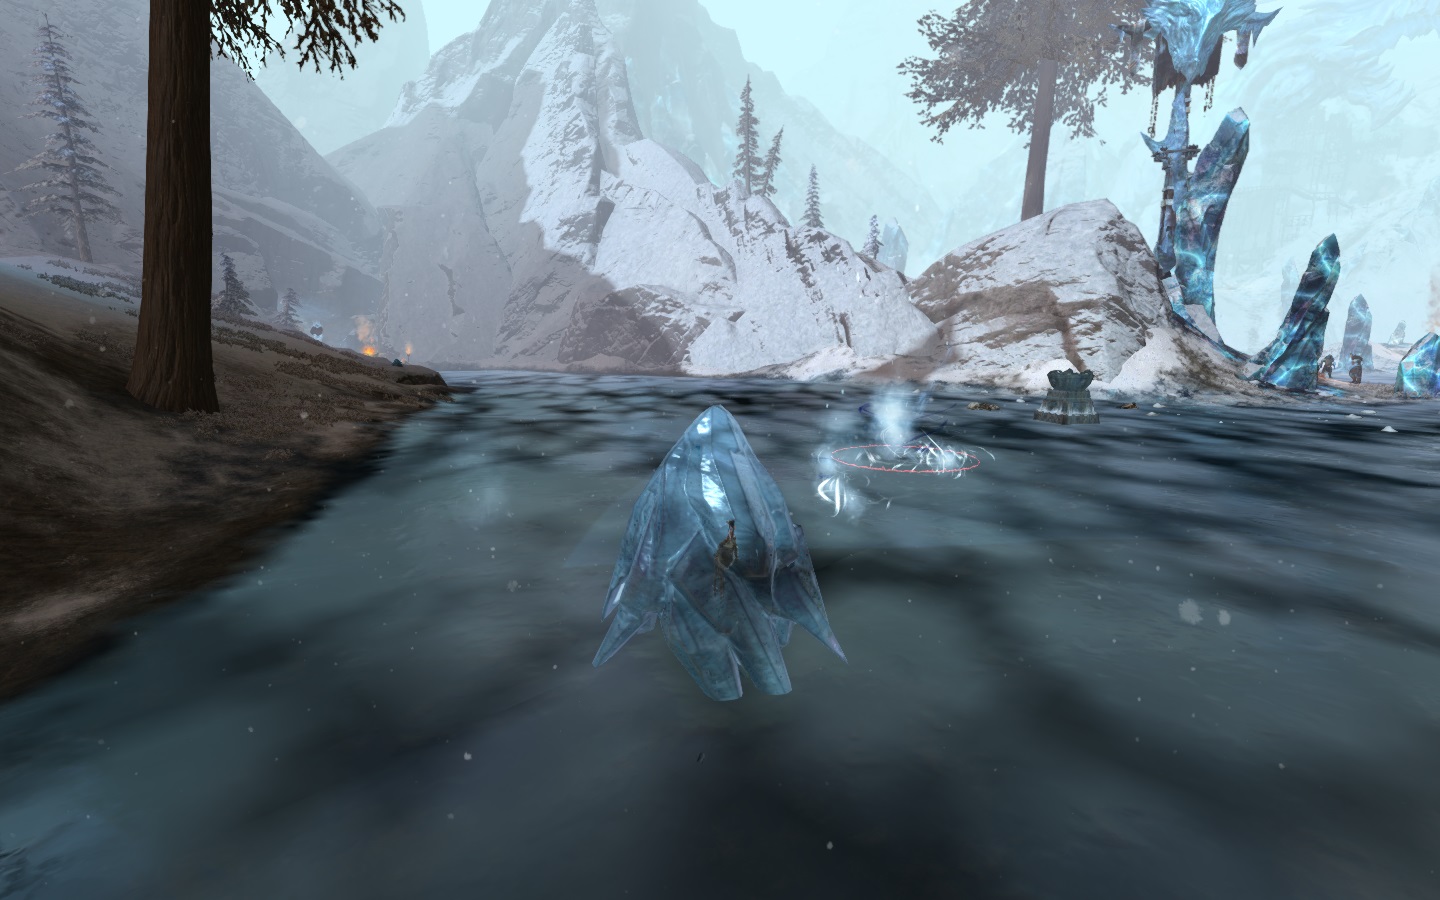
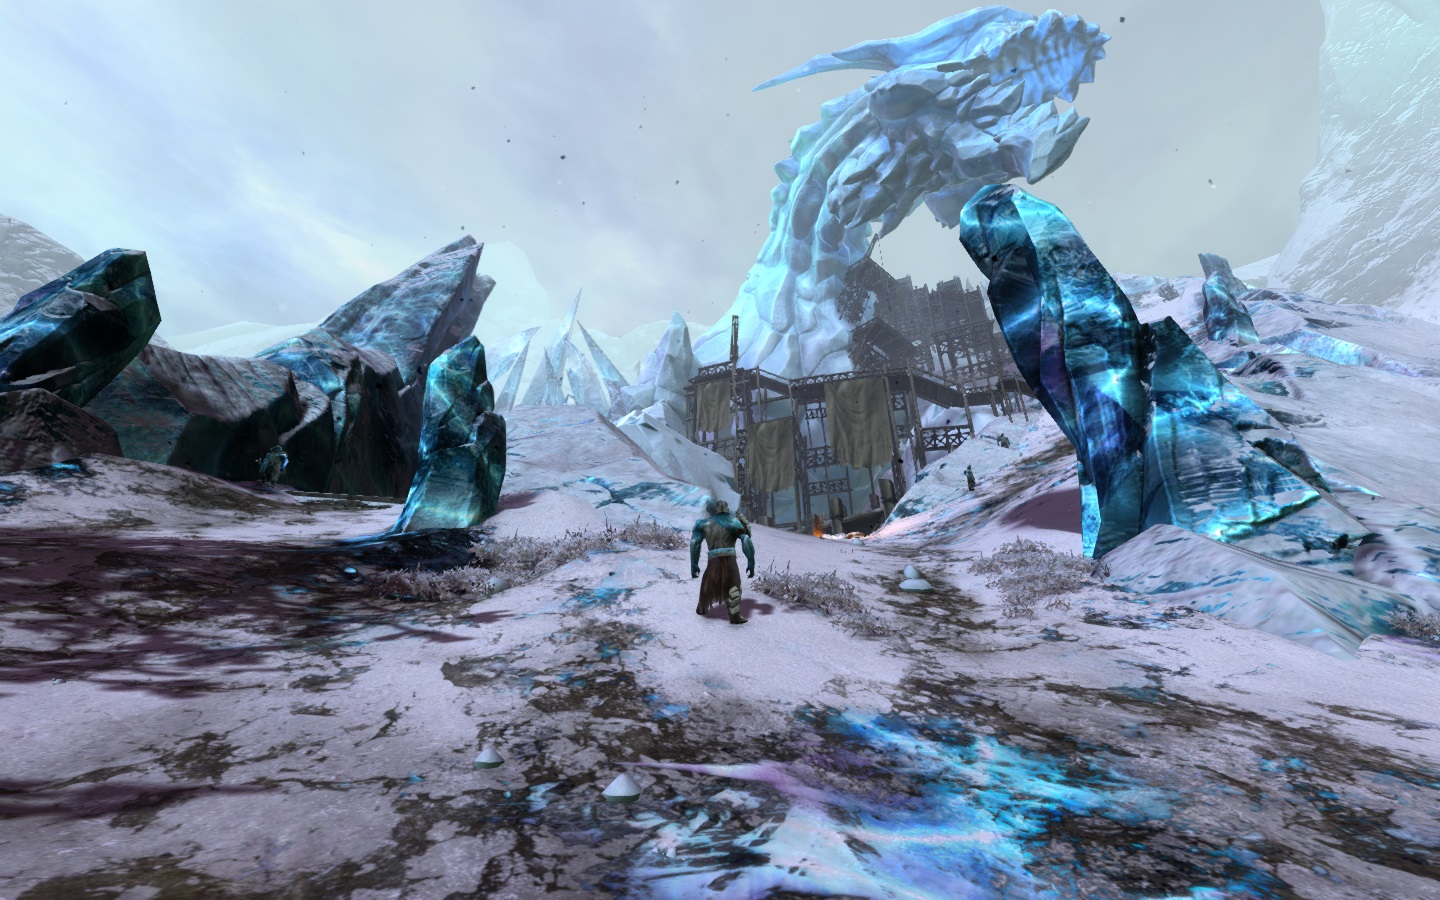
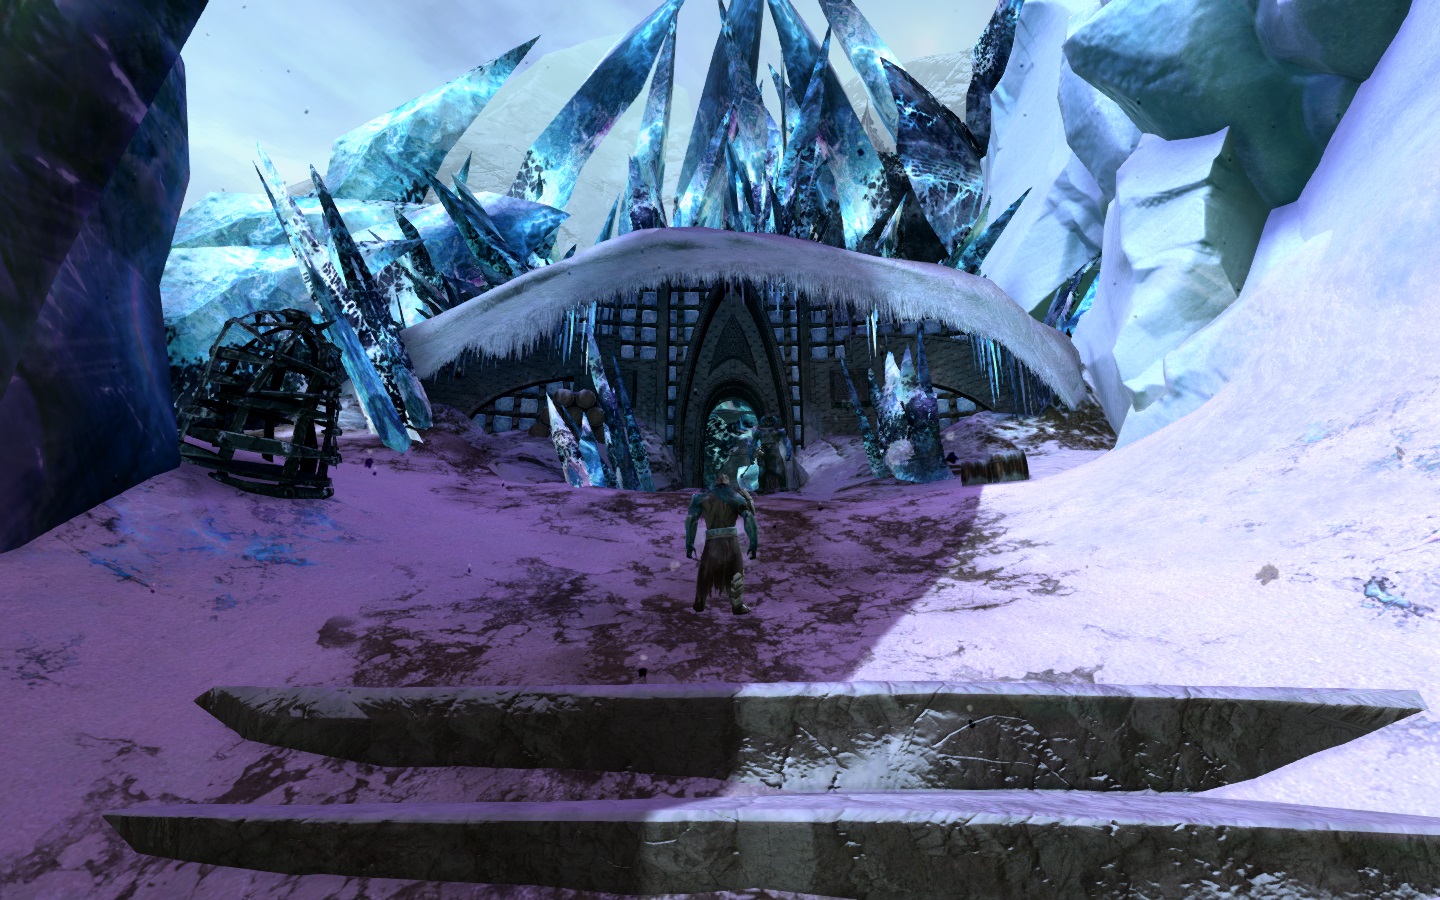
Click to reveal spoilers about the zone's mechanicsSorrow’s Eclipse turns out to be a beautiful Kodan vessel that adds much-appreciated verticality to the zone, especially since frozen tundra isn’t usually the most interesting landscape to navigate. The leader of the Sanctuary is Deep Water, and you’re at first greeted with harshness by the Kodan as he worries for your safety in such a place as this, but the Quaggan leader Varonos Flubburt steps in and speaks on your behalf. We soon learn that Icebrood abominations have recently flooded the area with no clear explanation that the Kodan or Quaggan can see. However, the bitter north is far too cold for exploration and Flubburt points you to Shaman Meemee to get some much-needed advice.
I did continue on a little bit and also completed Frozen in Ice, but I’d far rather you enjoy it for yourself without any giveaways.
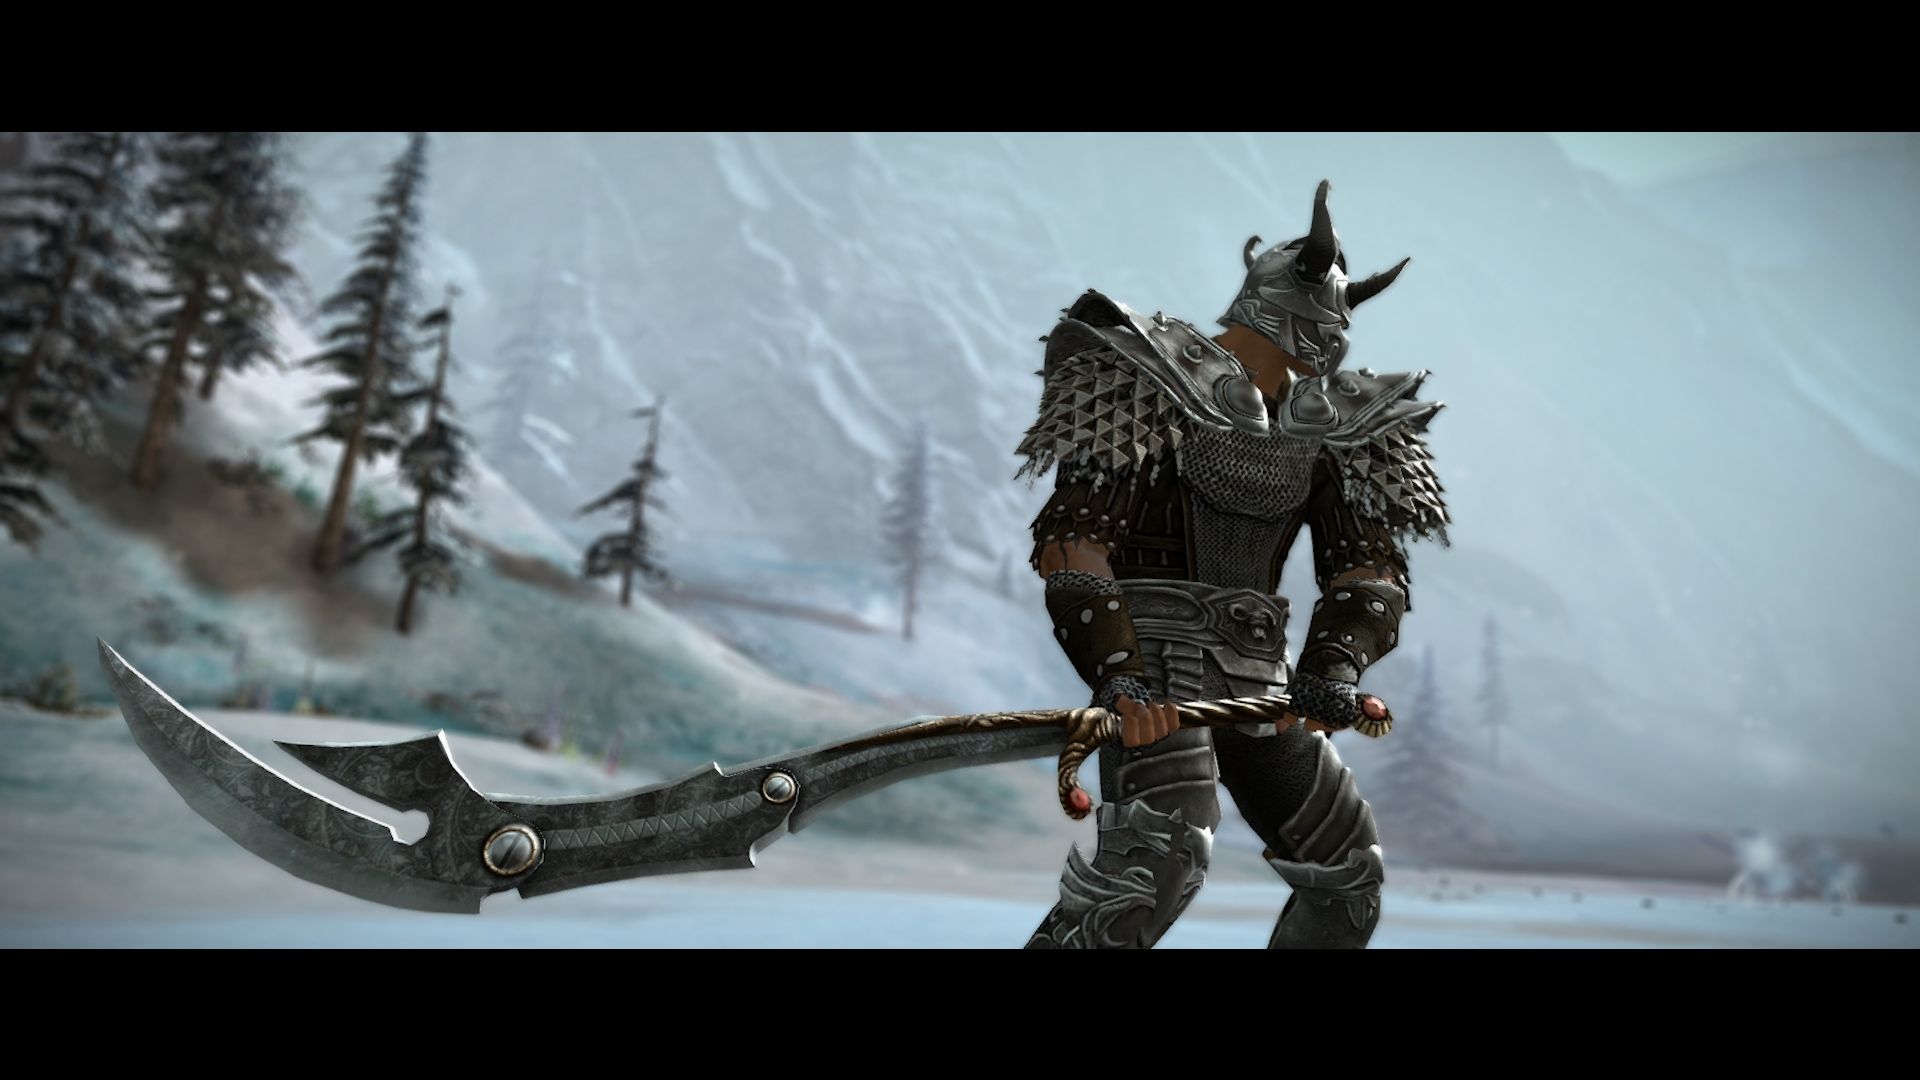
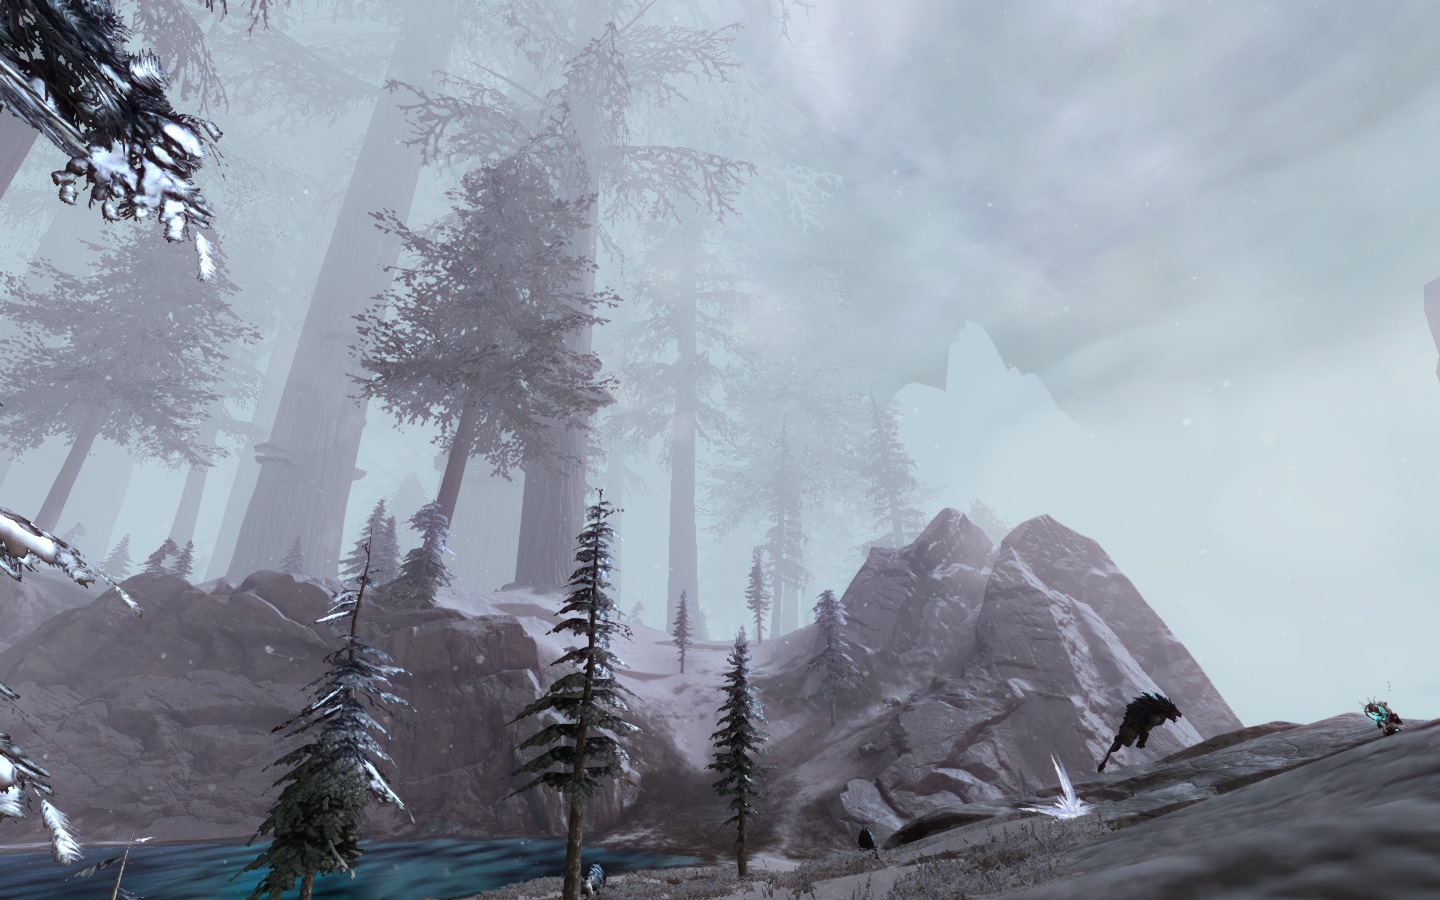
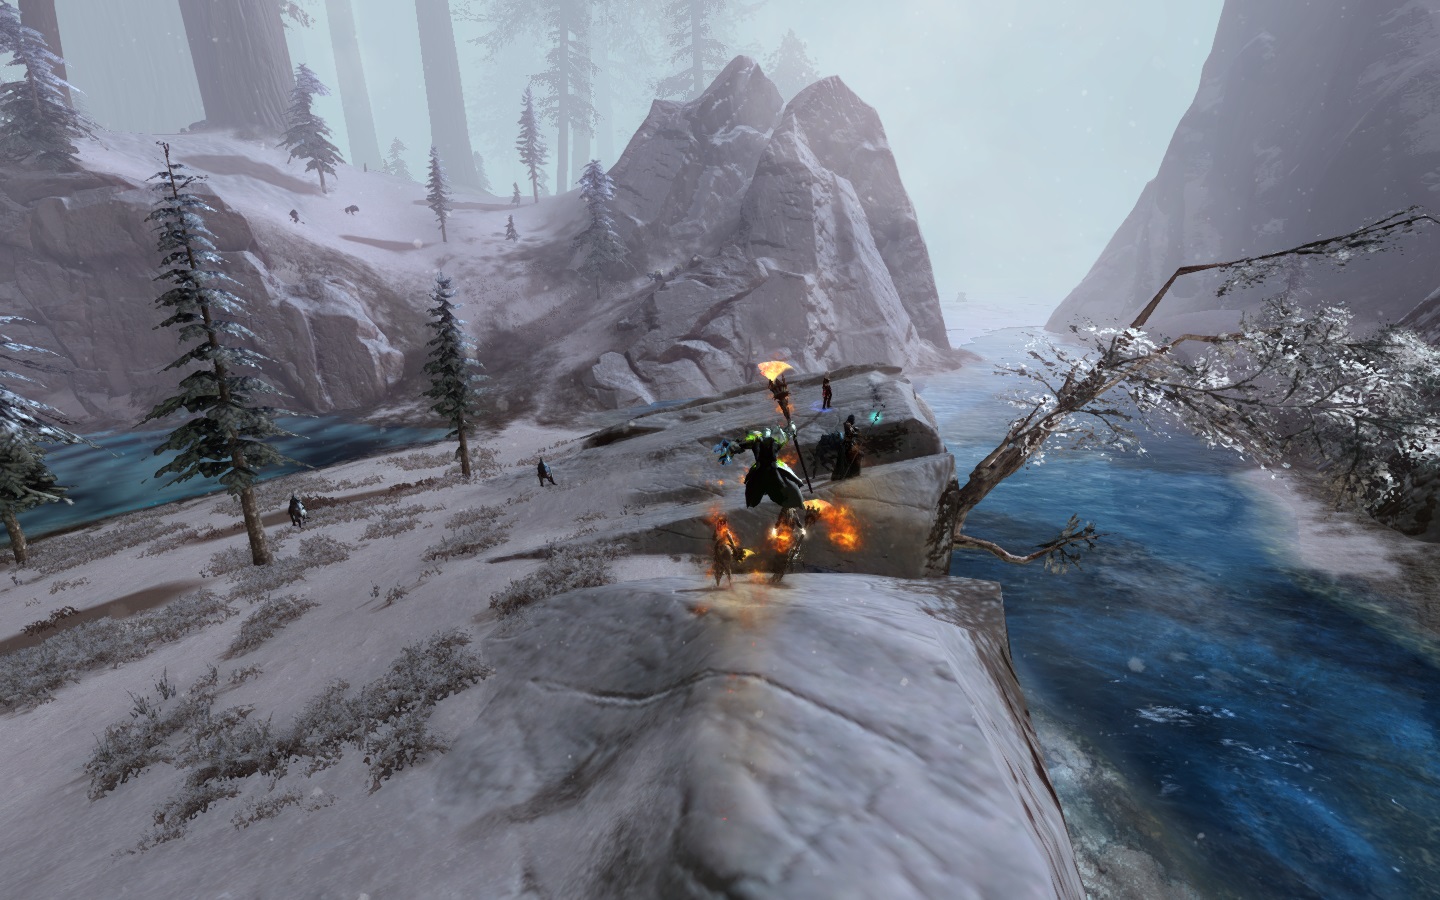
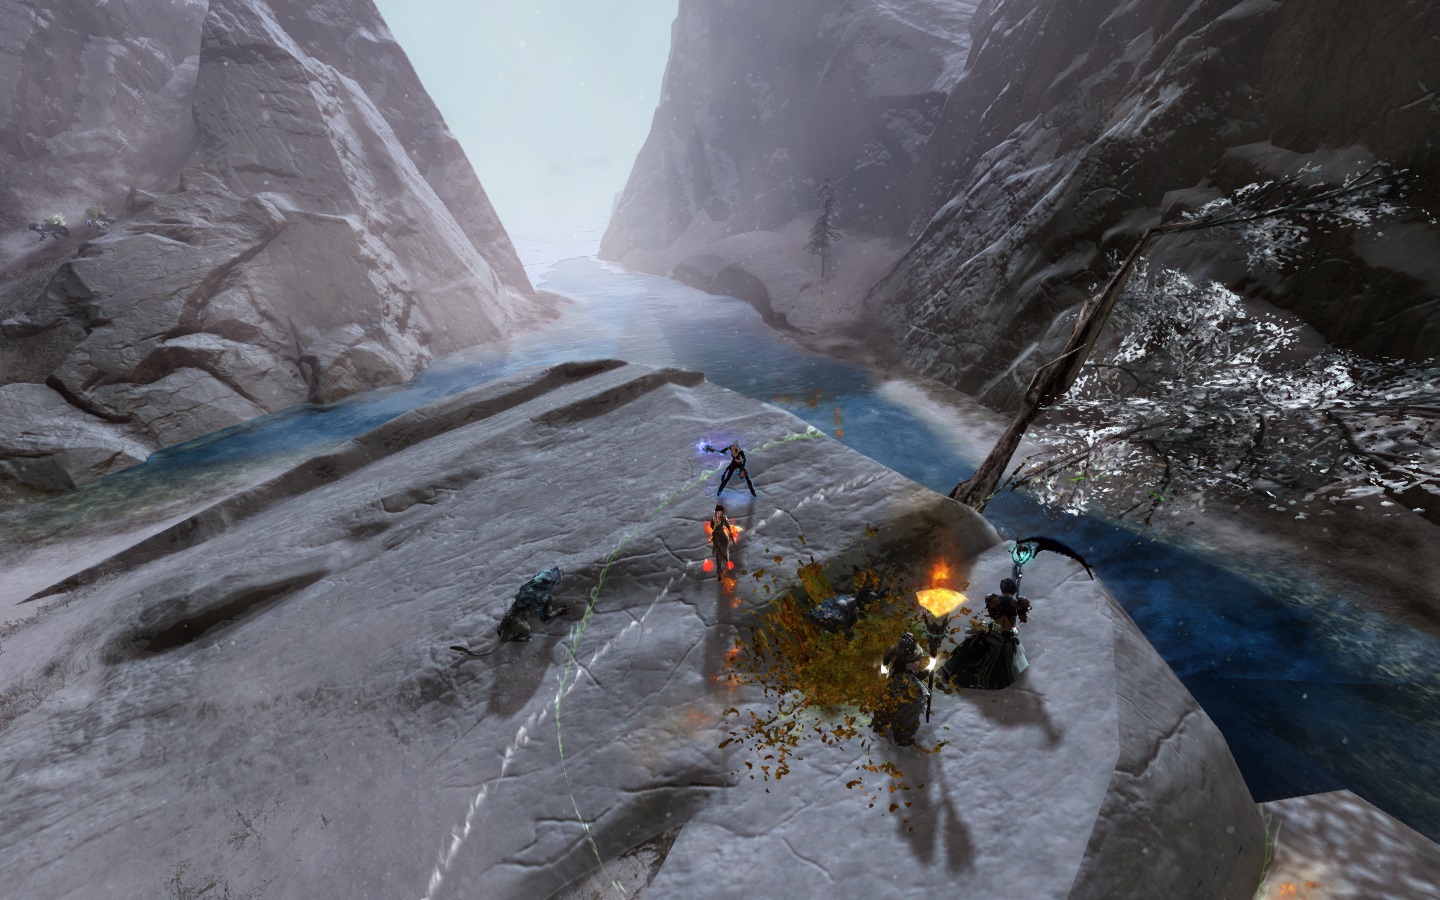
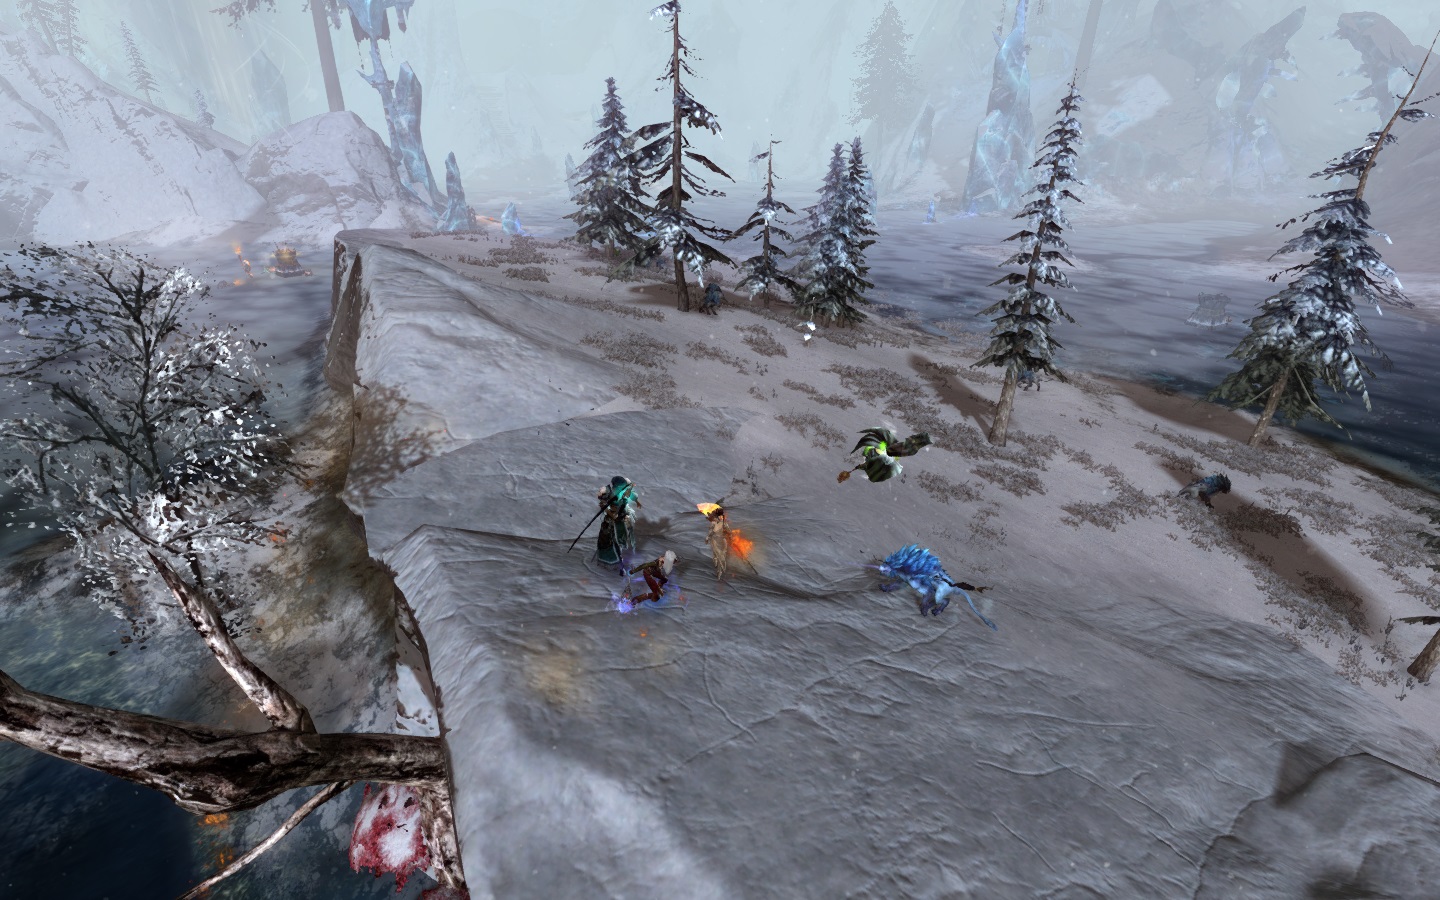
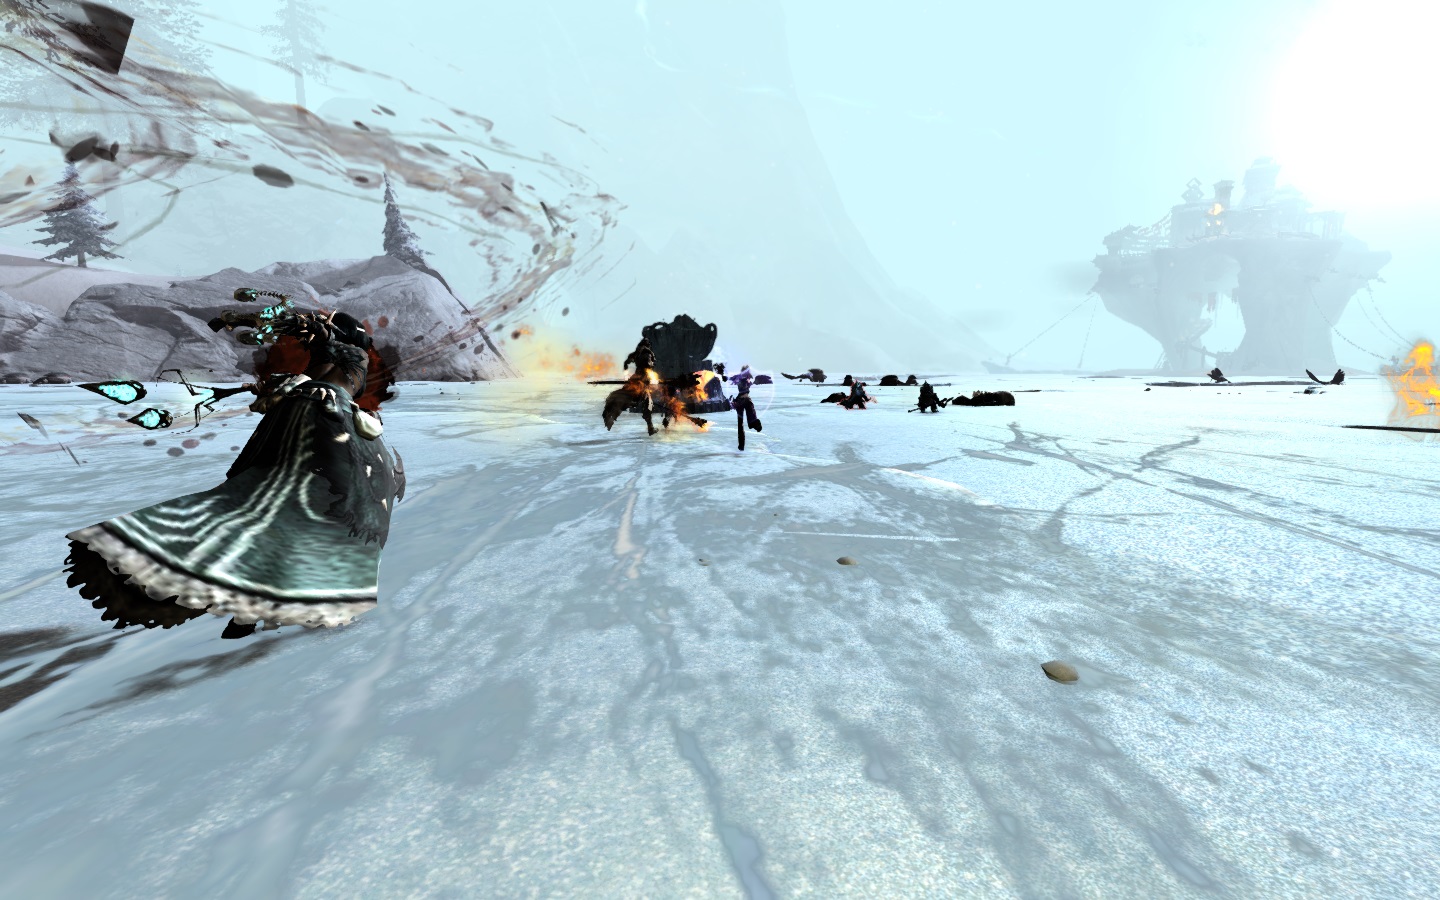
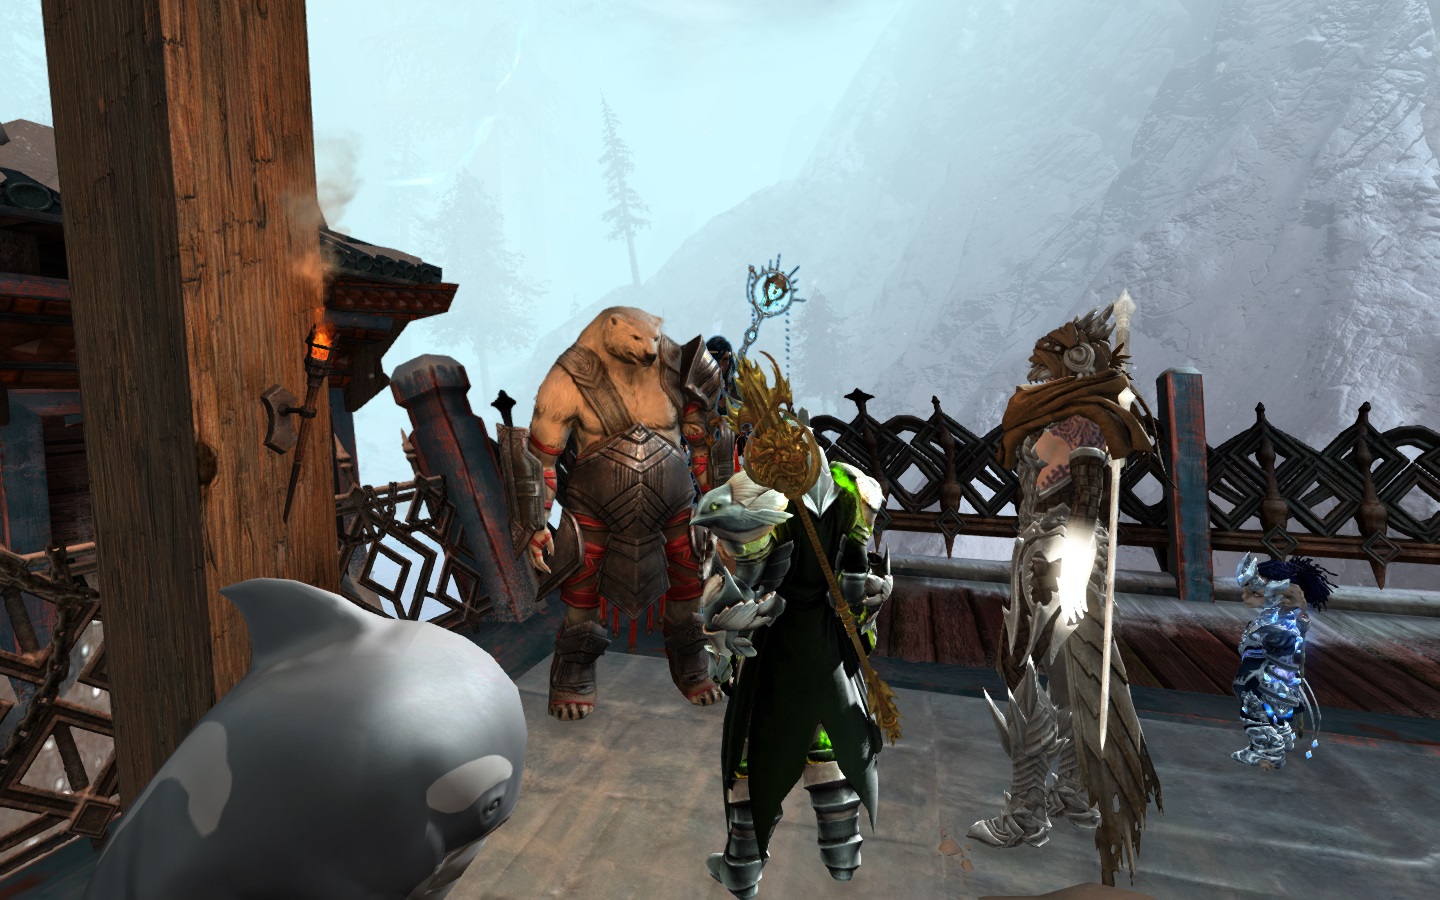
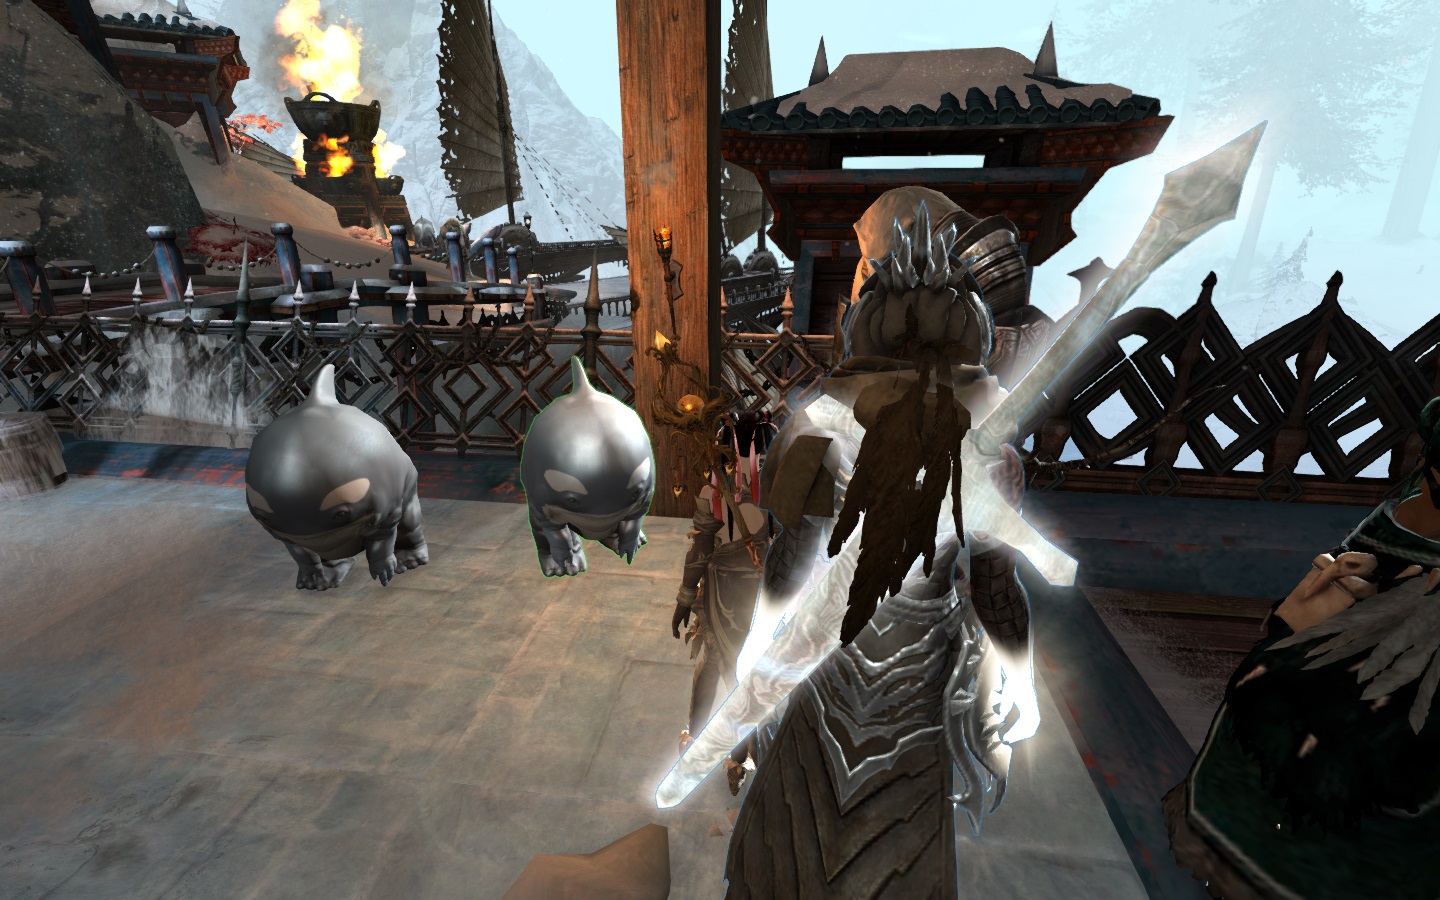
Click to reveal teaser about the plotJust as we saw in the last episode, increasingly hostile environments are teaming up with even more dangerous minions to make our dragon-hunting all the more difficult, especially since we still have not reacquainted ourselves with most of our party members from the Mordremoth battles. Check out the screenshot gallery below for a visual treat that matches the time of the year.


Initial impressions
I found the chosen chapter for the playthrough a little lacking in the usual gut-punching reveals that I’ve come to expect from this season of the Living World, but I highly suspect that most of the juicy details are locked in the bitter north just out of my reach. I really enjoyed the humour injected into the scenes: Despite the solemn passing of the torch and dire predicament of the Frontier’s friendly occupants, there were still lines that made me audibly chuckle. The new zone seems well populated and expansive enough even though it’s not particularly revelationary in scope or design, but I suppose if you’ve found a model of content delivery and style that works, then you don’t want to reinvent the wheel each and every chapter.
 The new Nightmare Fractal
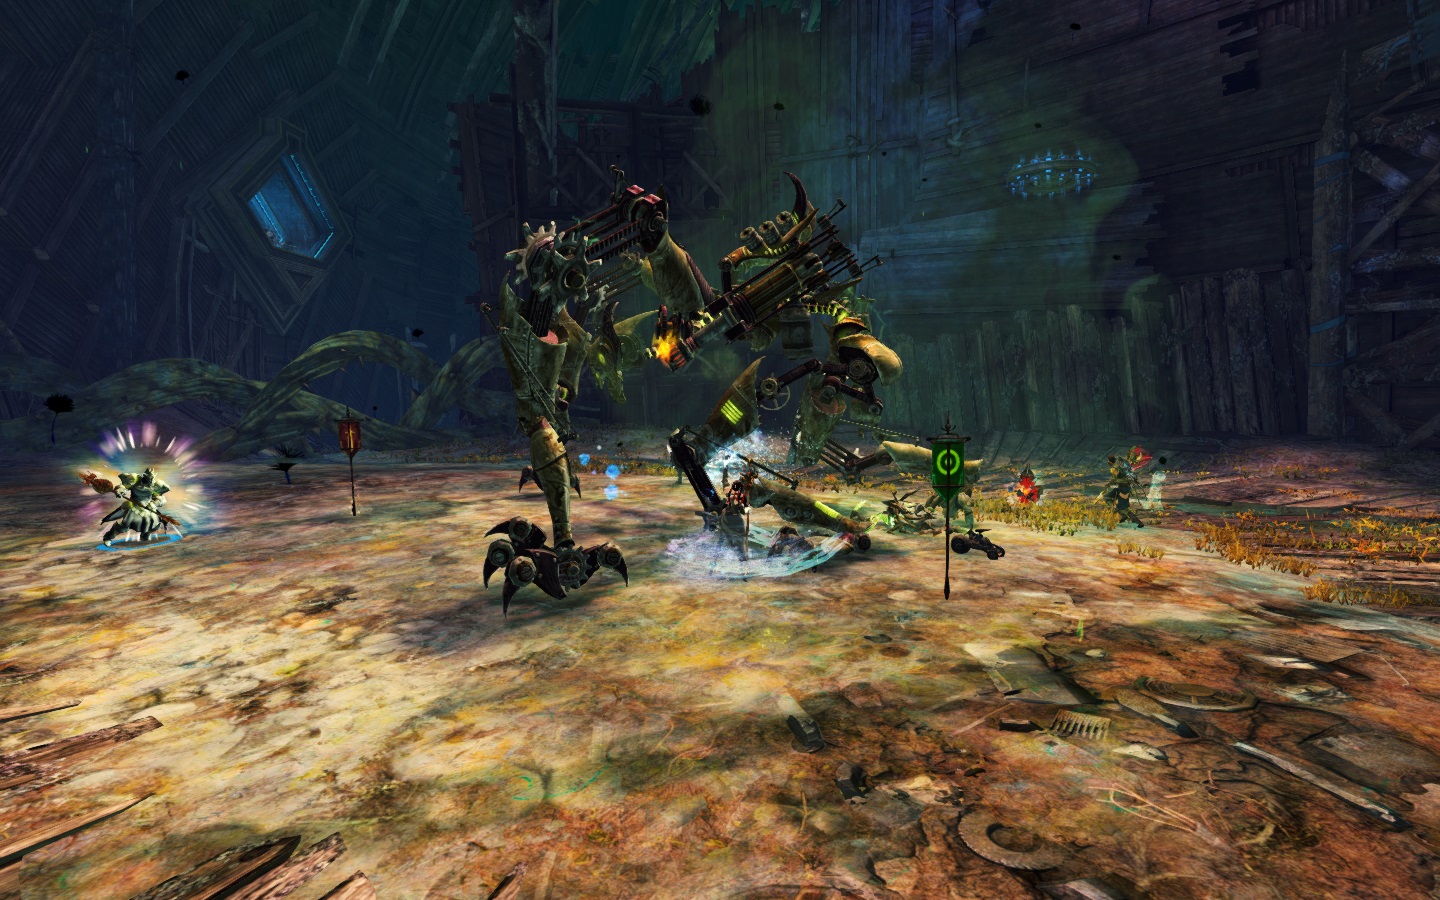
The new Nightmare Fractal is frantic, brutal fun that should get your blood flowing and hearts racing as you avoid near-death around every corner and egg on your squaddies as you venture further. The now-familiar Mysterious Asura meets us in the tower and becomes our acquaintance through mutually satisfied curiosity as we progress in the fractal. He’s rather too appreciative of Scarlet’s handiwork for my liking, but I do have to admit that M.A.M.A. is an impressive bunch of weapons and sprockets!
Fairly soon, your fractal party will be faced with capture points that will be familiar to those who have every stepped foot into PvP.
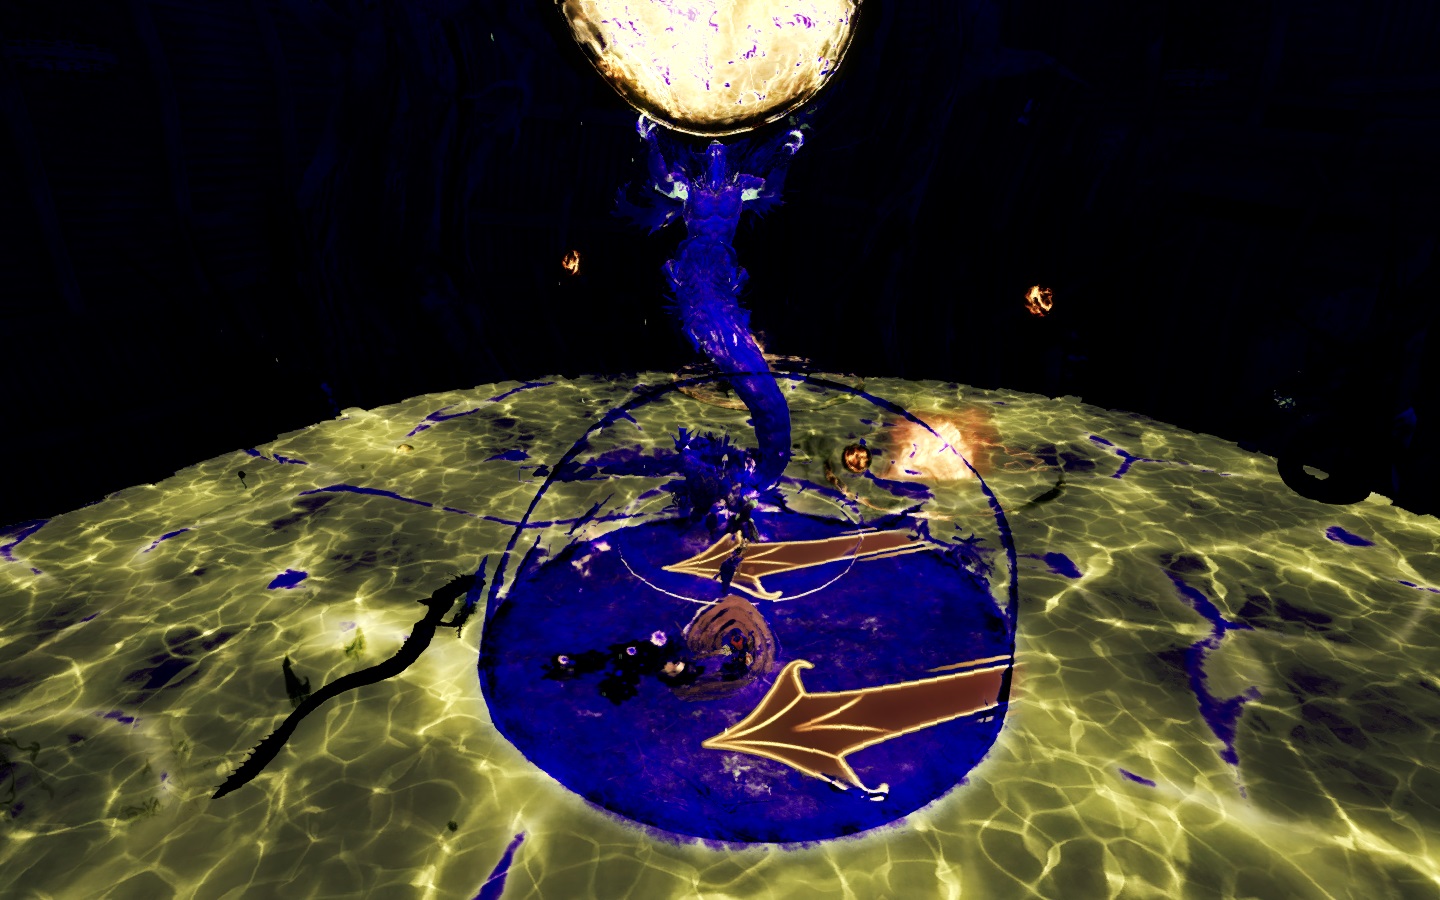
Click to reveal spoiler about the mapThe hellishly fun encounters don’t stop at bullet hell craziness and clockwork tomfoolery: Siax the Unclean makes players spew on one another if they aren’t careful, and the last battle is a culmination of all the horrors you’ve faced so far packed into one frantic fight. I don’t want to spoil specific mechanics before you get to run the fractal on your own, but do let me know in the comments what you thought whenever you have had a chance to have a go.
 Over to you!
This episode’s story seems to be off to a slow yet appreciatively sombre start, and I hope that the pace picks up somewhat once I manage to unlock the secrets of the bitter north for myself. Bitterfrost Frontier is stark and dangerous, just as I had imagined it would be, but I cannot wait to push further into Jormag’s territory. Many little easter eggs from the trailer have yet to be revealed, however, so I’m fairly confident that I’ll be blown away by the time I complete the episode.
Click to reveal spoilers about the charactersLet me know your thoughts as you play today; I’ll also try to check in later on this evening and tomorrow with updates as and when I advance further into the episode.


